Trade Secrets: How Can I Make a Hotbox to Keep Epoxy Warm in Winter?
Why Is Winter a Challenge for Epoxy Products?
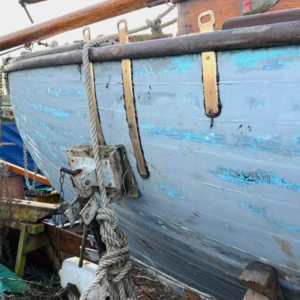
Winter can be tough on epoxy products. They need warmth to stay fluid enough for dispensing pumps to work well. Cold temperatures can slow down curing times and may even weaken the finished work.
Many of us have left our epoxy products in a cold garage or unheated workshop. It’s no surprise that the epoxy comes out like treacle and takes longer to cure.
Understanding Epoxy Resin Crystallisation
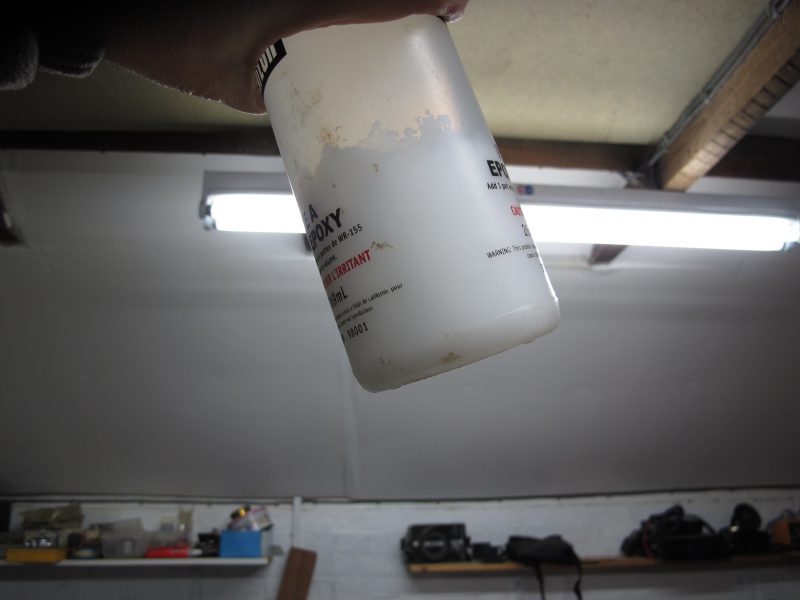
Epoxy resin can crystallise during a warm-cold-warm-cold cycle. You can return the crystals to liquid by immersing the container in hot water and stirring the resin gently. Be careful not to get water in the container. But it’s best to keep the resin at a steady, warm temperature to avoid crystallisation.
The Traditional Solution: Building a Hot Box
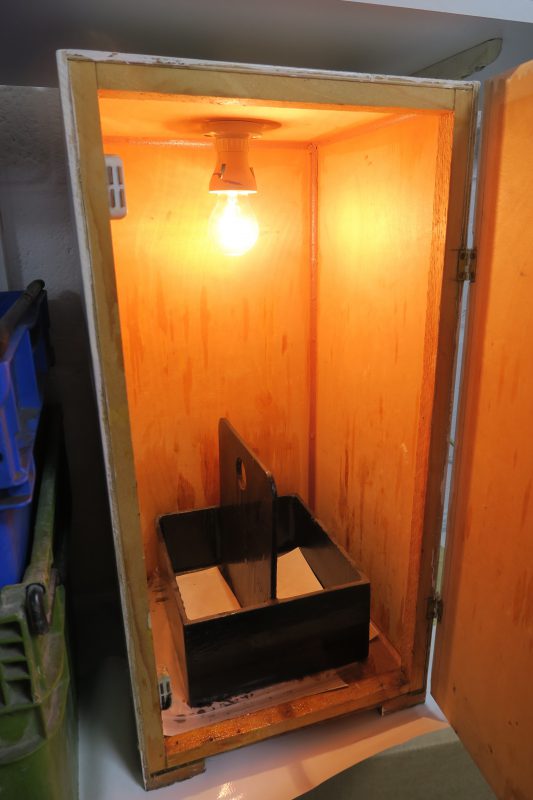
The most common solution is to build a ‘hot box’. This is a plywood container with a 40-watt filament light bulb inside. The bulb is left on permanently, keeping the box at a steady temperature (around 15°C-20°C). If done properly, this will keep your epoxy warm.
The Modern Approach: Building a ‘Smart’ Hot Box
More and more people are replacing the standard filament bulb with more efficient (but cooler) LED equivalents these days. We all aim to save on electricity and minimize the risk of blown bulbs, especially when leaving the hot box unattended for long periods.
We recommend building a ‘smart’ hot box using standard, off-the-shelf, DIY electrics with simple thermostats. You could even swap the bulb for a heating element designed for heating reptile tanks. Insulate the hotbox well to minimise energy transfer. The heat stays in, and the cold stays out.
How Can You Build a Hotbox?
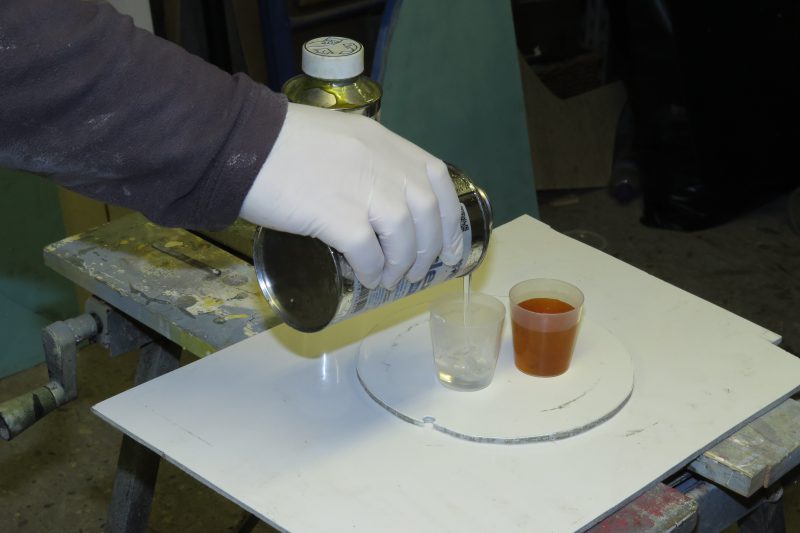
Building a hot box is easy. Use a basic electric jigsaw to cut up a sheet of 6mm or 10mm plywood. Assemble the box using fillets of peanut butter consistency, WEST SYSTEM® 105 Epoxy Resin® with 205 Fast Hardener® epoxy mixed with WEST SYSTEM 406 Filler.
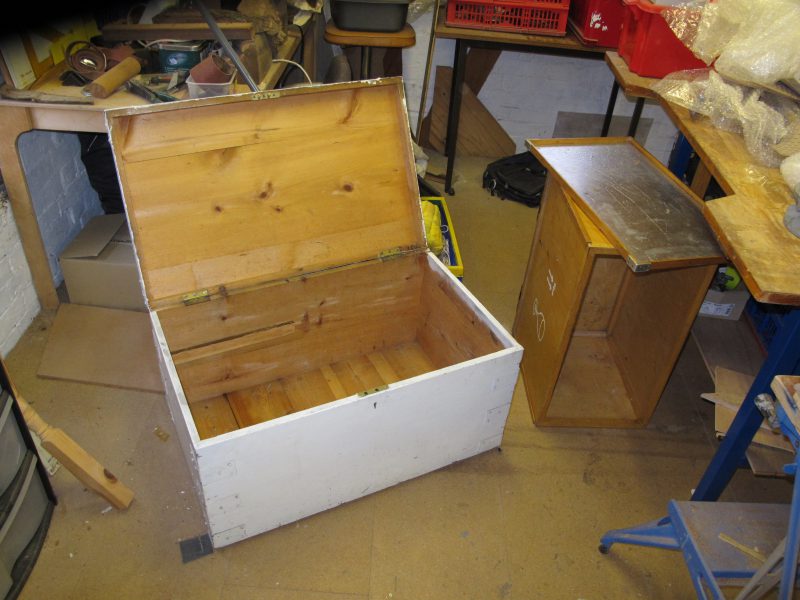
If you use thicker plywood, you can nail or screw it together. The hotbox should be big enough to hold a WEST SYSTEM B-pack* with the pump installed. A 30cm x 30cm x 60cm hot box is ideal.
You could also use a wooden packing case, tea chest, or old wooden locker. Avoid plastic boxes as they can distort and give off toxic fumes when heated.
How Can I Add Insulation?
Foam sleeping mats from camping shops are ideal for insulation. Stick the dense foam to the wood using DIY adhesives. For a strong bond, consider using WEST SYSTEM G/flex Five Minute epoxy. It’s excellent at bonding foams, rubber composites, and other porous materials. Thickened WEST SYSTEM Epoxy also makes an ideal adhesive.
You’ll need to provide some compression or weights if the foam is bendy to hold it down until the epoxy cures. An old car battery works well for this. Alternatively, you could use a self-adhesive foam. This is more expensive than a camping mat but very effective.
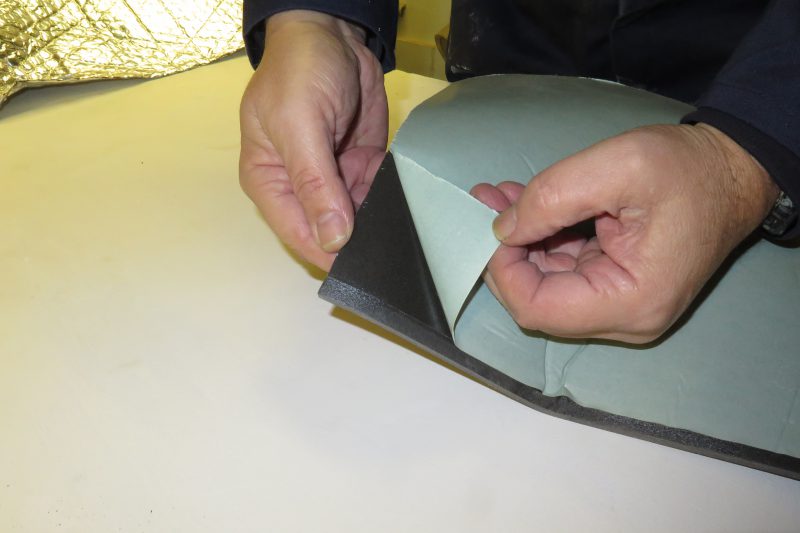
The material shown below is for the insulation of GRP hulls or camper vans (RVs) and is 6mm thick, with closed cells (won’t soak up moisture) and with a powerful adhesive on the back.
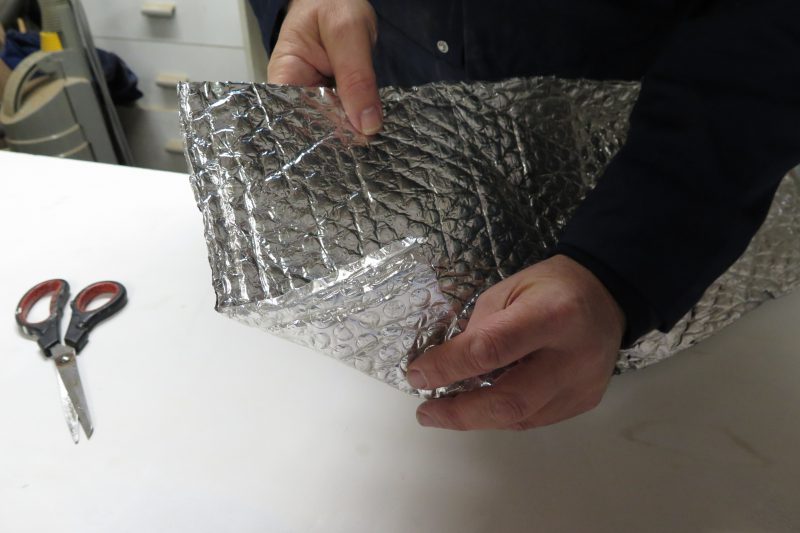
After placing the foam, you can add some standard silver coated bubble wrap from a household DIY superstore – again, it’s just a few pounds for a sizeable roll.
This will reflect the heat back into the enclosure. Any excess can be trimmed with a sharp knife in situ.
The edges can then be tidied up with some sticky-backed silver thermal tape. The bond is surprisingly strong and the tape can also be used to repair any accidental holes in the lining.
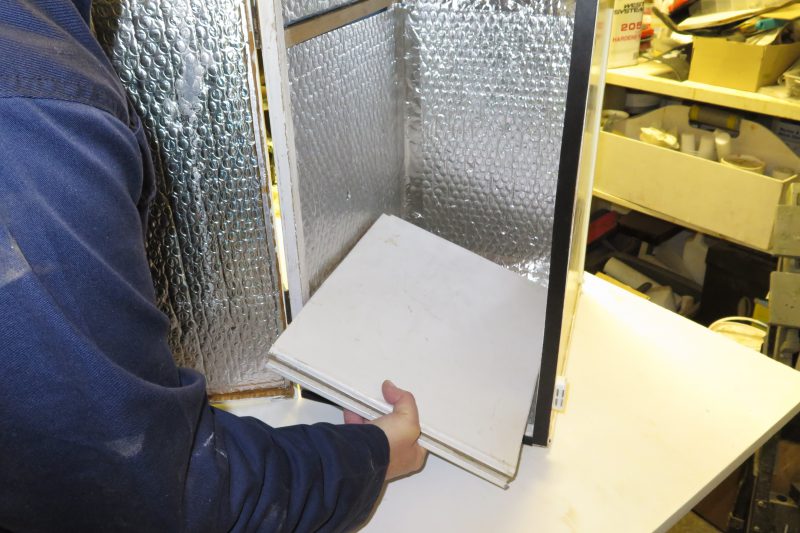
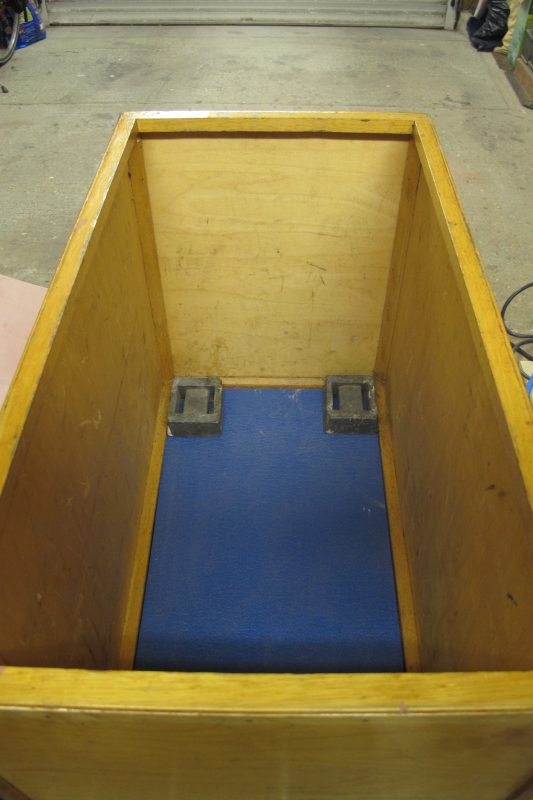
You can use an old piece of PVC from a double-glazing job for the base, or a trimmed and painted offcut of plywood or an MDF shelf will work just as well. This ensures there is a wipe down surface under the tins should any epoxy drip or spill.
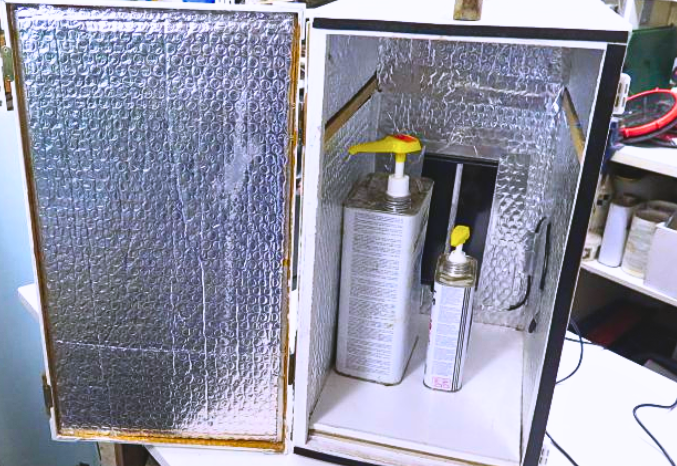
How To Add The Heating Element?

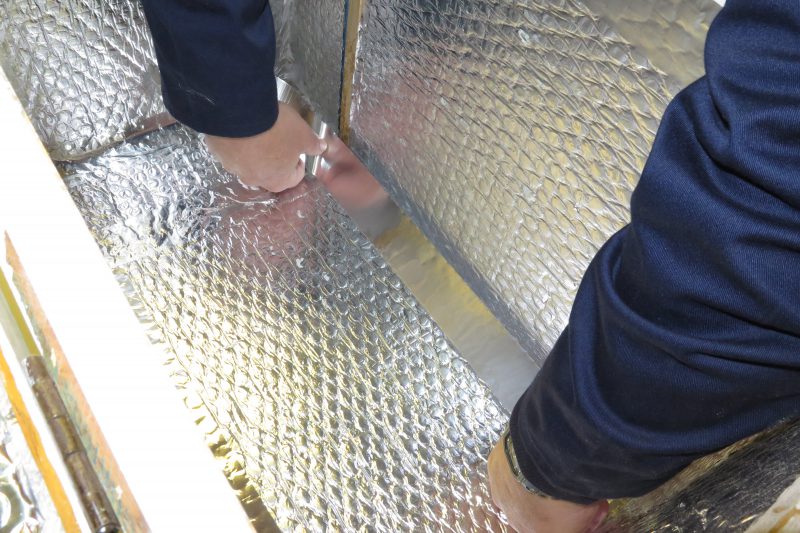
The heating element shown above came as a kit from a pet superstore and costs around £40. The element is flat and is designed to fit inside the cage and gently irradiate the reptile with infra-red, keeping the animal at a steady temperature.
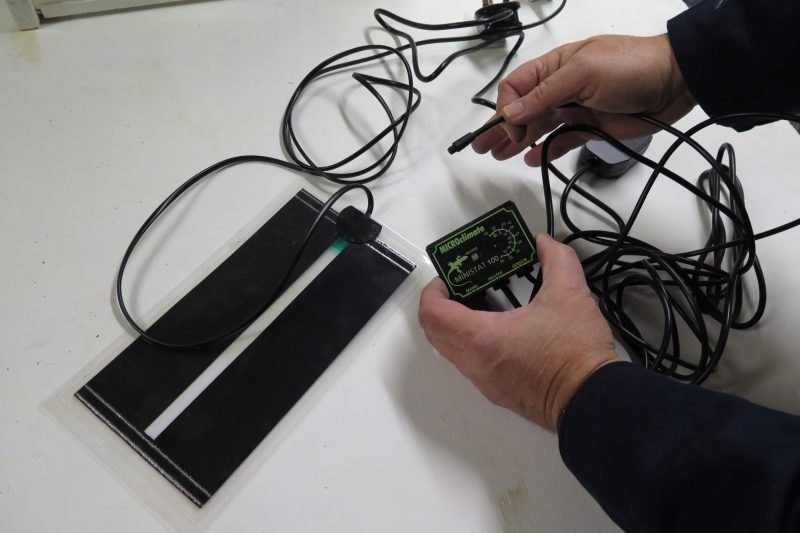
To ensure the reptile isn’t overheated by connecting a temperature probe (shown in the right hand) with a thermostat (shown in the left hand), which is located outside the box. To set this to the ideal temperature, and for epoxy, the sweet spot is around 20°C.
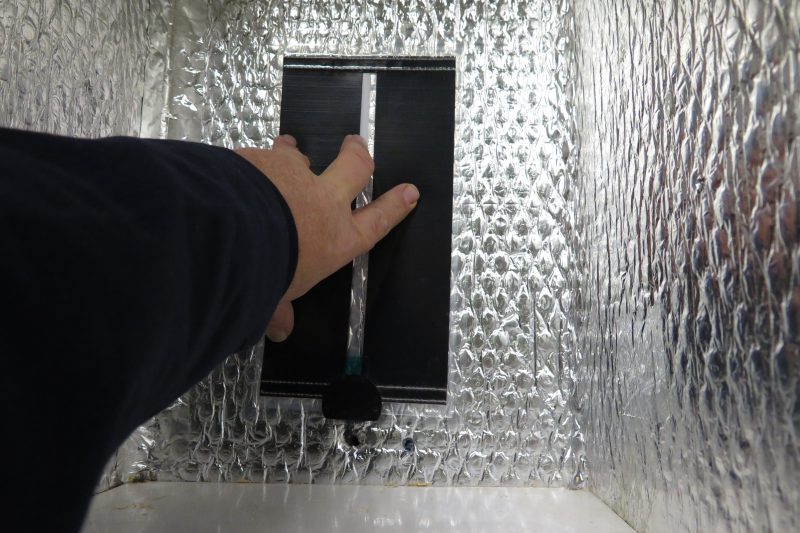
You mount the irradiator using silver tape at the back of the box and take the leads through to the outside. You might need to do surgery on the wiring to tidy it up and shorten the leads a bit.
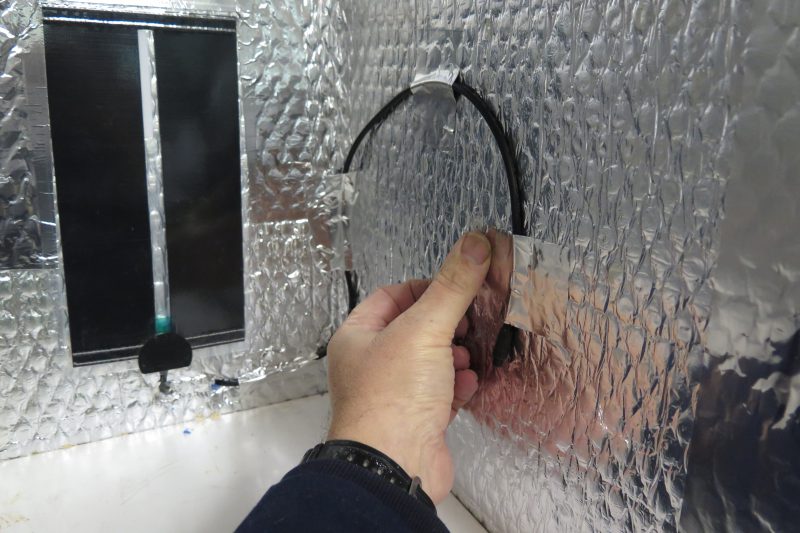
The sensor should be set quite low down and held with thermal tape. This is because any crystallisation of the resin will start at the bottom of a tin of epoxy, so you want the 20°C warmth to penetrate right to the lower part of the box. Only then should the power shut off.
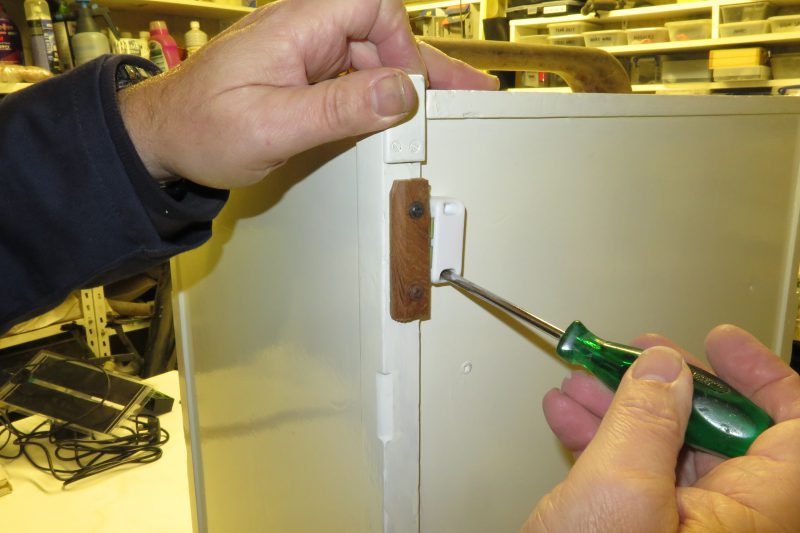
You can also insulate the lid to the box, fit it with a pair of hinges and two magnetic catches. In the example below, we added a carry handle for easy movement.
And now you’re up and running!
The ‘smart hot box’ should keep a steady temperature within the box with little loss of temperature.
Note the battens at the top allow the fitting of a shelf for smaller items, such as tubes of sealant or other temperature-sensitive products. Energy draw in is minimal, which is just as well as electricity to the hard standing is individually monitored for each project.
*A B-pack contains 5kg of resin and 1kg of hardener for a ratio of 5:1

Have you subscribed to our FREE monthly newsletter? Sign up here!
Working on a project? Share it with us! Click here…