Trade Secrets: TRADE SECRET: Installing teak decking panels using vacuum bagging
Top tips for installing teak decking panels using PRO-SET® ADV 170 Adhesive and utilising vacuum bagging techniques.
Modern prefabricated teak decking panels are manufactured from accurate jigs that allow speedy, clean, final fit installation at the production boat manufacturers.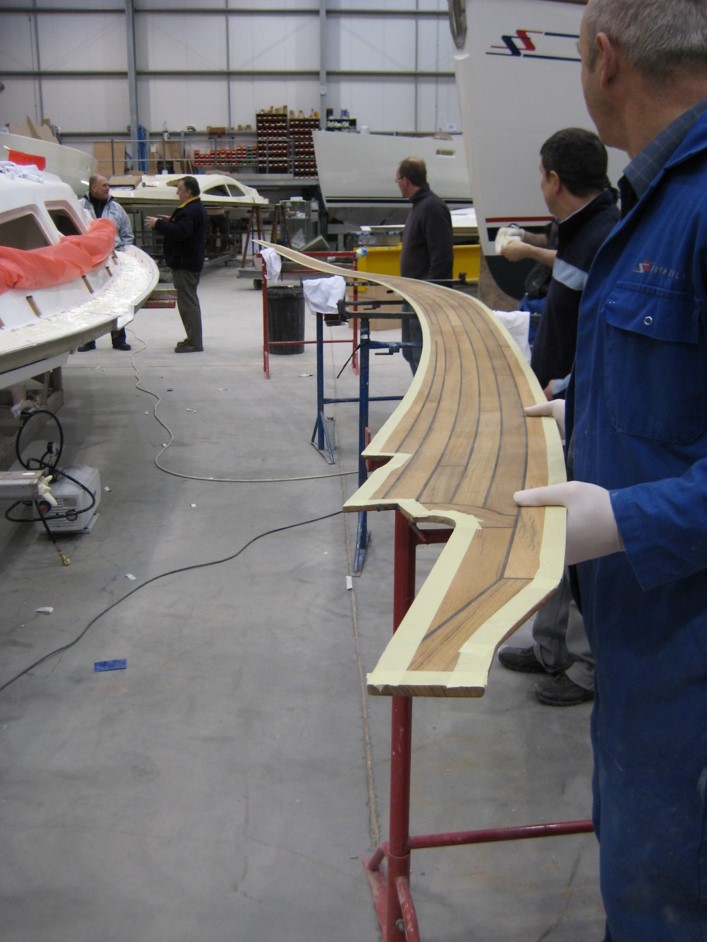
PRO-SET ADV 170 Adhesive is a highly developed thickened, easy to use, 1:1 mix epoxy adhesive that is totally compatible with the prepared or peel ply finish of the WEST SYSTEM® Epoxy and glass laminate that stabilises the bond face of the teak decking panels.
Vacuum bag installation is best practice for the successful bonding of these large surface area panels where consistent and uniform pressure is required. The generally accepted available atmospheric pressure distribution, should a full negative atmosphere be achieved under the vacuum bag, is:
On average, a column of air one square centimetre in cross-section, measured from sea level to the top of the atmosphere, has a mass of about 1.03 kg and weight of about 10.1 N (2.28 lbf) (A column one square inch in cross-section would have a weight of about 14.7 lbs, or about 65.4 N).
This ensures there is a high degree of evenly distributed force and importantly, from a technician’s point of view, this is highly repeatable providing the same vacuum is applied on every installation.
Clean up of excess adhesive is very important as there is no opportunity to remove this whilst the bag is in place and the adhesive achieves a partial cure.
Therefore the three things that control adhesive bleed out and consequently clean up can be addressed as detailed below. (We assume that all contact surfaces must be free from oil, release agent, dust or any contamination and scrupulously abraded. The GRP moulded non slip pattern should be abraded away to ensure no low spots exist where release agent residue might be present.)
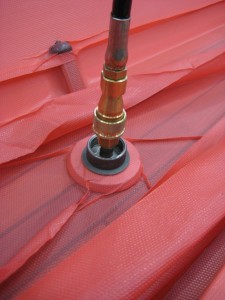 The vacuum pressure must always be consistent: -800 millibars is enough to give just under a kg/cm2 of pressure.

- The amount of adhesive applied must always be controlled: use a WEST SYSTEM 809 Notched Spreader to give even adhesive distribution using the middle sized notches.
- Trowel the spreader in the same direction to allow all atmospheric air a free passage from the bond line.
Once the adhesive has been applied use a pallet knife to remove excess adhesive from the borders of the panel to leave a 25-35mm border with a thin film of adhesive (this is a top tip and much better than masking or guessing the border width as it leaves a thin film of adhesive on the border, providing an effective moisture seal).
These methods can easily be qualified on a scrap of clear acrylic to reveal how the vacuum consolidates the panel.