How To: Top Tips for Working with Epoxy in Warm Weather?

Why is Warm Weather Ideal for DIY Tasks with Epoxy?
It’s that glorious time of year when the sun is shining, the weather is warm, and we’re ready to tackle those DIY tasks and hobbies. There are projects waiting to be started and others that need finishing. But how can you maximise the use of epoxy in this warm weather?
How Does Warm Weather Affect Epoxy?
Epoxy tends to prefer warmth over cold. However, warmer temperatures and humidity can lead to curing issues, affecting the optimal results.
What Temperature is Considered Warm for Epoxy Work?
When we say ‘warm’, we’re referring to temperatures around 21˚C for handling characteristics (pot life) and curing to a solid state at 25˚C, as stated in our data sheets. WEST SYSTEM® 105 Epoxy Resin® with 205 Fast Hardener® can cure right down to 5˚C. Ideally, a temperature above 15˚C is perfect. But as the temperature rises to or above 25˚C, the following tips should help you achieve good results. A good rule of thumb is if it’s comfortable to wear a T-shirt, it’s a suitable working environment.
What Happens When Epoxy Resin and Hardener are Mixed?
Epoxy resin is mixed with a compatible epoxy hardener in a precise ratio to kickstart the curing process. The result is a rock-solid thermoset plastic that’s strong and resilient. Mixing epoxy in temperatures above room temperature accelerates the curing process – the higher the temperature, the quicker the mixed epoxy will cure.
Did You Know Humidity Can Affect Epoxy?
Humidity can cause a cloudy and oily-like appearance on the surface due to the moisture in the environment. This is referred to as amine blush, which can be easily removed with clean water and white paper towels.
Why is it Important to Work Within the Right Temperatures?
To understand the importance of working within the right temperatures, let’s discuss the three stages of a cure.
What is the Liquid Stage of Epoxy Cure?
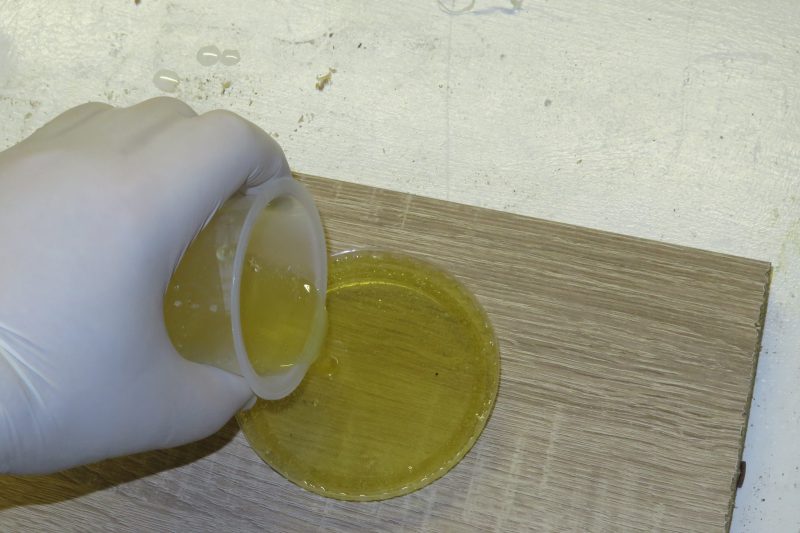
The first stage, known as the ‘liquid’ or ‘open time’, occurs when you’ve mixed the epoxy resin and hardener together, resulting in a workable liquid. This is your window to mix any additives and do any spreading or clamping. The warmer it is, the quicker the liquid will transition to the next phase.
What is the Gel Stage of Epoxy Cure?
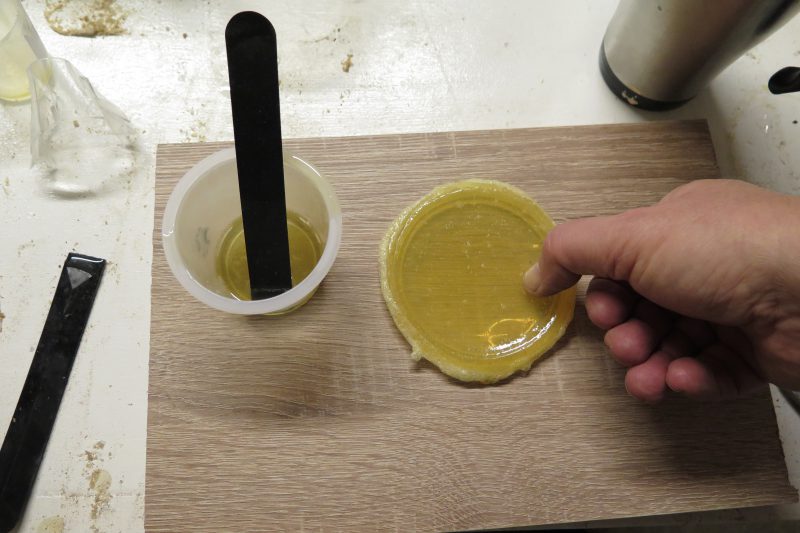
The second stage, or ‘gel’ stage, is when the epoxy is no longer workable and progresses from a tacky gel consistency until the mix becomes ‘rubbery’. It’s too soft to sand but remains as tacky as masking tape for a while. When used as a coating, this ‘tackiness’ can form a chemical bond with a fresh layer, creating a stronger bond.
What is the Solid Stage of Epoxy Cure?
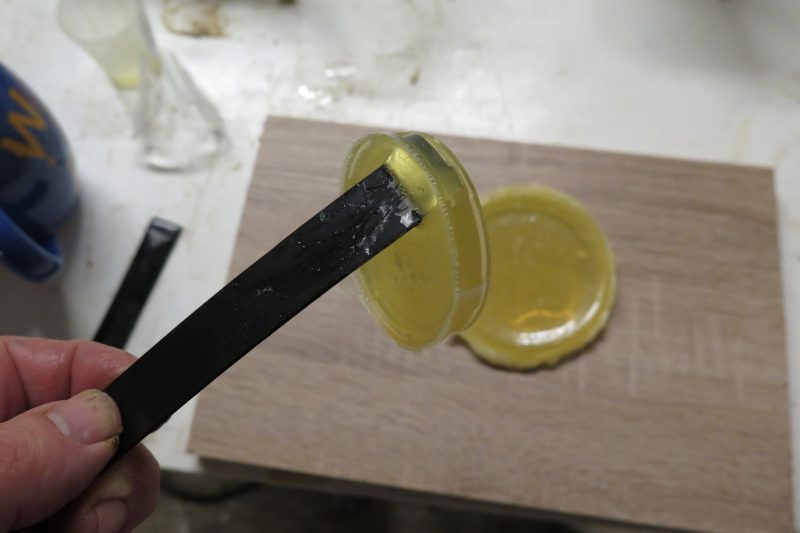
The final stage, or ‘solid’ stage, is when the epoxy has cured into a solid. It can now be dry sanded or shaped but won’t form a chemical link to any fresh epoxy. Therefore, the surface must be thoroughly washed and sanded before recoating to achieve a good mechanical, secondary bond. Sanding increases the surface area to create a key for a mechanical bond instead. In reality, the epoxy mix is 90% cured and will achieve full hardness over the next couple of days at room temperature.
What Are Negatives of Warm Epoxy?
- Shortened pot life.
- Greater risk of run-away exotherm.
- Risk of drain out if laminating fabric on a vertical surface.
- Potential for slumping of fillets as epoxy starts to gel.
Check out our epoxy problem solver!
What Are Advantages of Warm Epoxy?
- Lower viscosity will wet out fabrics quicker and will brush/roller out thinner coatings.
- Lower viscosity mixed epoxy will soak into wood grain and wick into exposed glass fibres on a GRP surface prepared for a repair.
- Faster dispensing with pumps.
- Efficient blending of resin, hardener and additives.
Want Some Top Tips?
- Keep a thermometer close by so you can ensure the epoxy is within the right temperature limits.
- Keep the air flowing through, open windows and let as much air come in to cool the room down. Keep mixing pots and roller trays away from direct sunlight.
- Never use epoxy that has been in the sun for a prolonged period of time, for example next to a window with sunlight bearing in, in a hot car, or outside.
- Use a slower curing hardener to provide a longer working time
- Mix small quantities at a time.
- Plan your work session accurately and have all the materials to hand; work smart and swiftly
If you have any questions when you are using our products in warmer weather, please do get in contact techinfo@wessex-resins.com

Have you subscribed to our FREE monthly newsletter? Sign up here!
Working on a project? Share it with us! Click here…