How To: How to Make Botanical Bookmarks with Bio-Based Epoxy
We set our team a challenge! We sent them a bag of Entropy Resins® goodies and asked them to get creative. Find out what they got up to! We follow how Richard Ross designed and created a set of botanical bookmarks.
“I wanted to create well cured, bubble-free, clear bookmarks with dried leaves cast inside them,” explains Richard.
You’d think the smaller the mould, the easier something is to create right? Well, that’s not always the case. With a smaller mould, your curing time will increase and ensuring that any materials you suspend inside the epoxy stay in place becomes a lot trickier. In this article, Richards talks us through how he made these beautiful bookmarks.
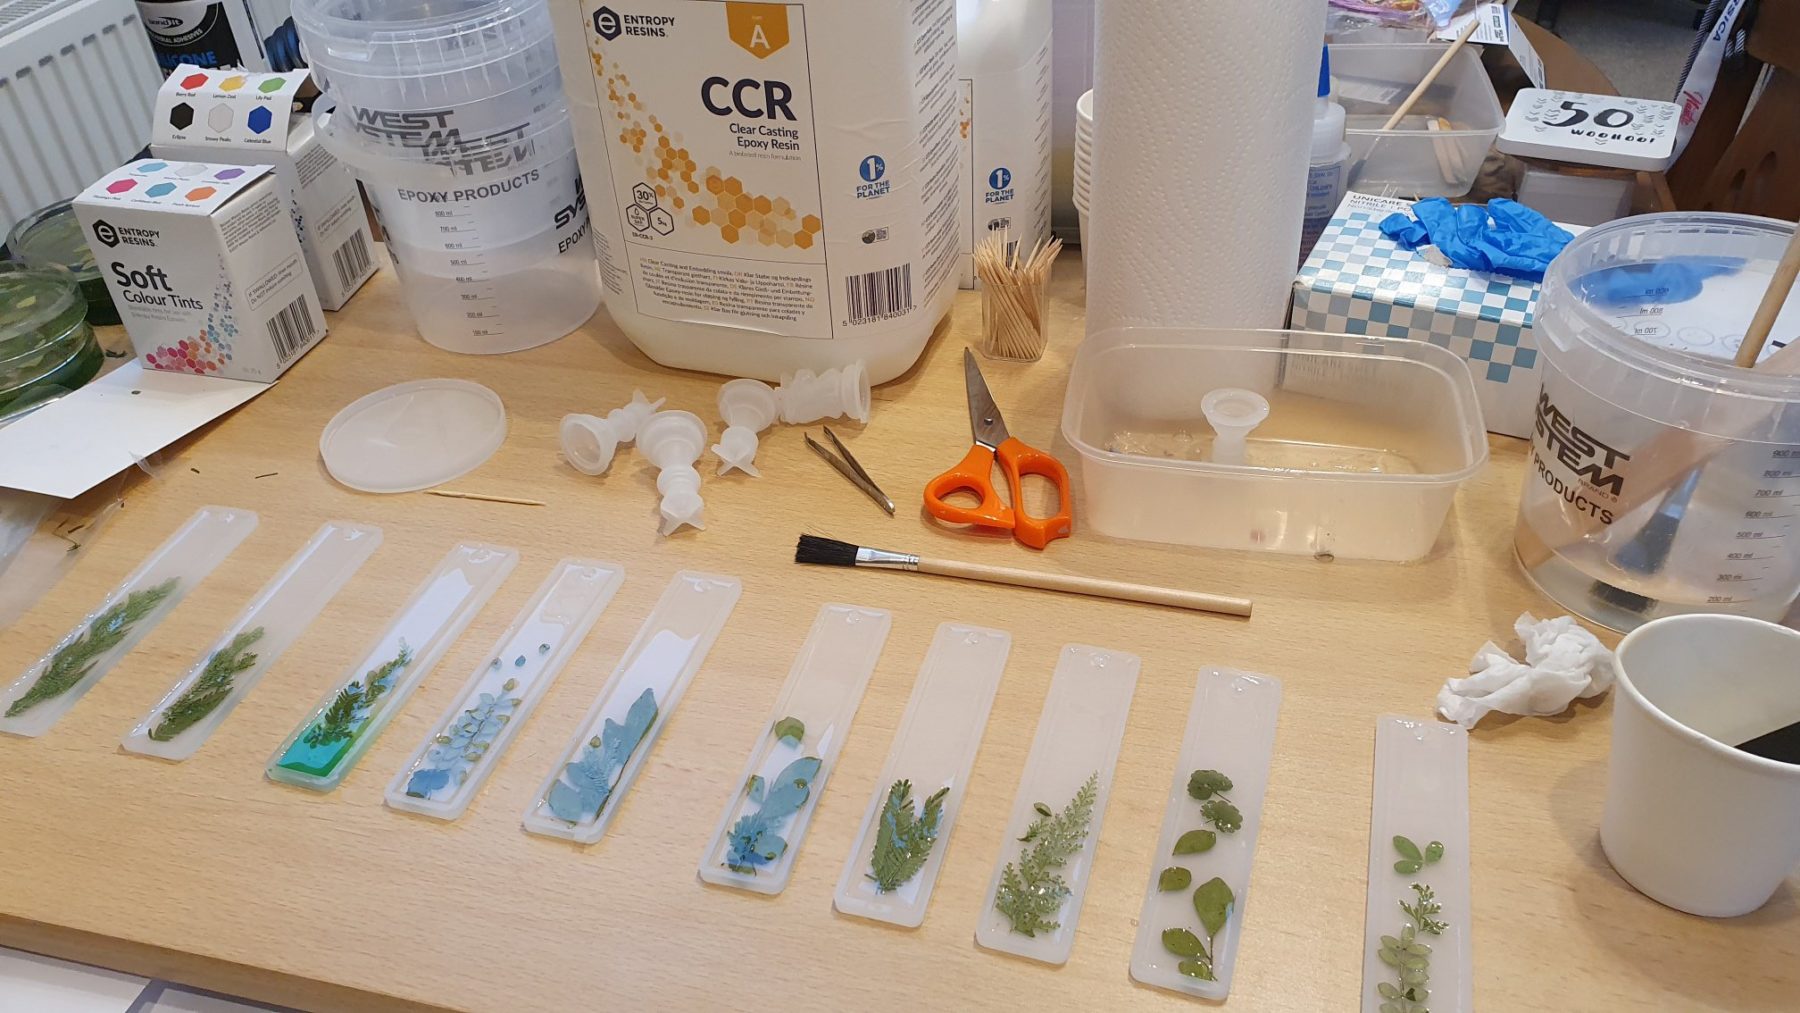
What are the Steps to Create a Comprehensive Guide for Botanical Bookmarks?
- Nitrile gloves
- Scales
- Mixing pot
- Mixing sticks
- Glue brush
- Cocktail sticks
- Silicone bookmark moulds
- Dried leaves
- Entropy Resins CCR Resin and CCF Hardener
- Spirit level
How To Prepare?
Step 1: Wash moulds in soapy water and then rinse.
This was to ensure that any residue from the manufacturing process was removed and would not contaminate the product.
Step 2: Prepare your work surface.
Clean your work area and use a spirit level to ensure your working surface is perfectly level.
I set the ambient temperature to 16°C. Because of the cooler working temperatures, I put the Entropy Resins CCR in warm water for 30 minutes to allow the viscosity to drop.
I put on my gloves to protect my hands and got all my equipment together ready to start the project.
What Method Should I Follow?
Step 3: Measure the resin and hardener.
I poured the resin and hardener into a mixing cup and measured the correct amounts using digital scales. The weight ratio of 100:43 gave me exactly 143g.
Step 4: Mix thoroughly for 2 minutes.
In order to avoid the risk of having any unmixed material around the edges or at the bottom of the mixing cup, after two minutes of mixing I decanted the mixture into a second cup. I scraped the edges and sides of the first cup into the middle of the second cup – I scraped the sides and bottom of the first cup because if there was any un-mixed material left in there, the rest of the mix could be off-ratio. I then mixed for a further minute.
Step 5: Leave the mixed epoxy to stand for 5 minutes.
This allows any bubbles to rise to the surface and burst.
Use a Glue Brush to Apply Epoxy to the Bottom of the Bookmark Moulds
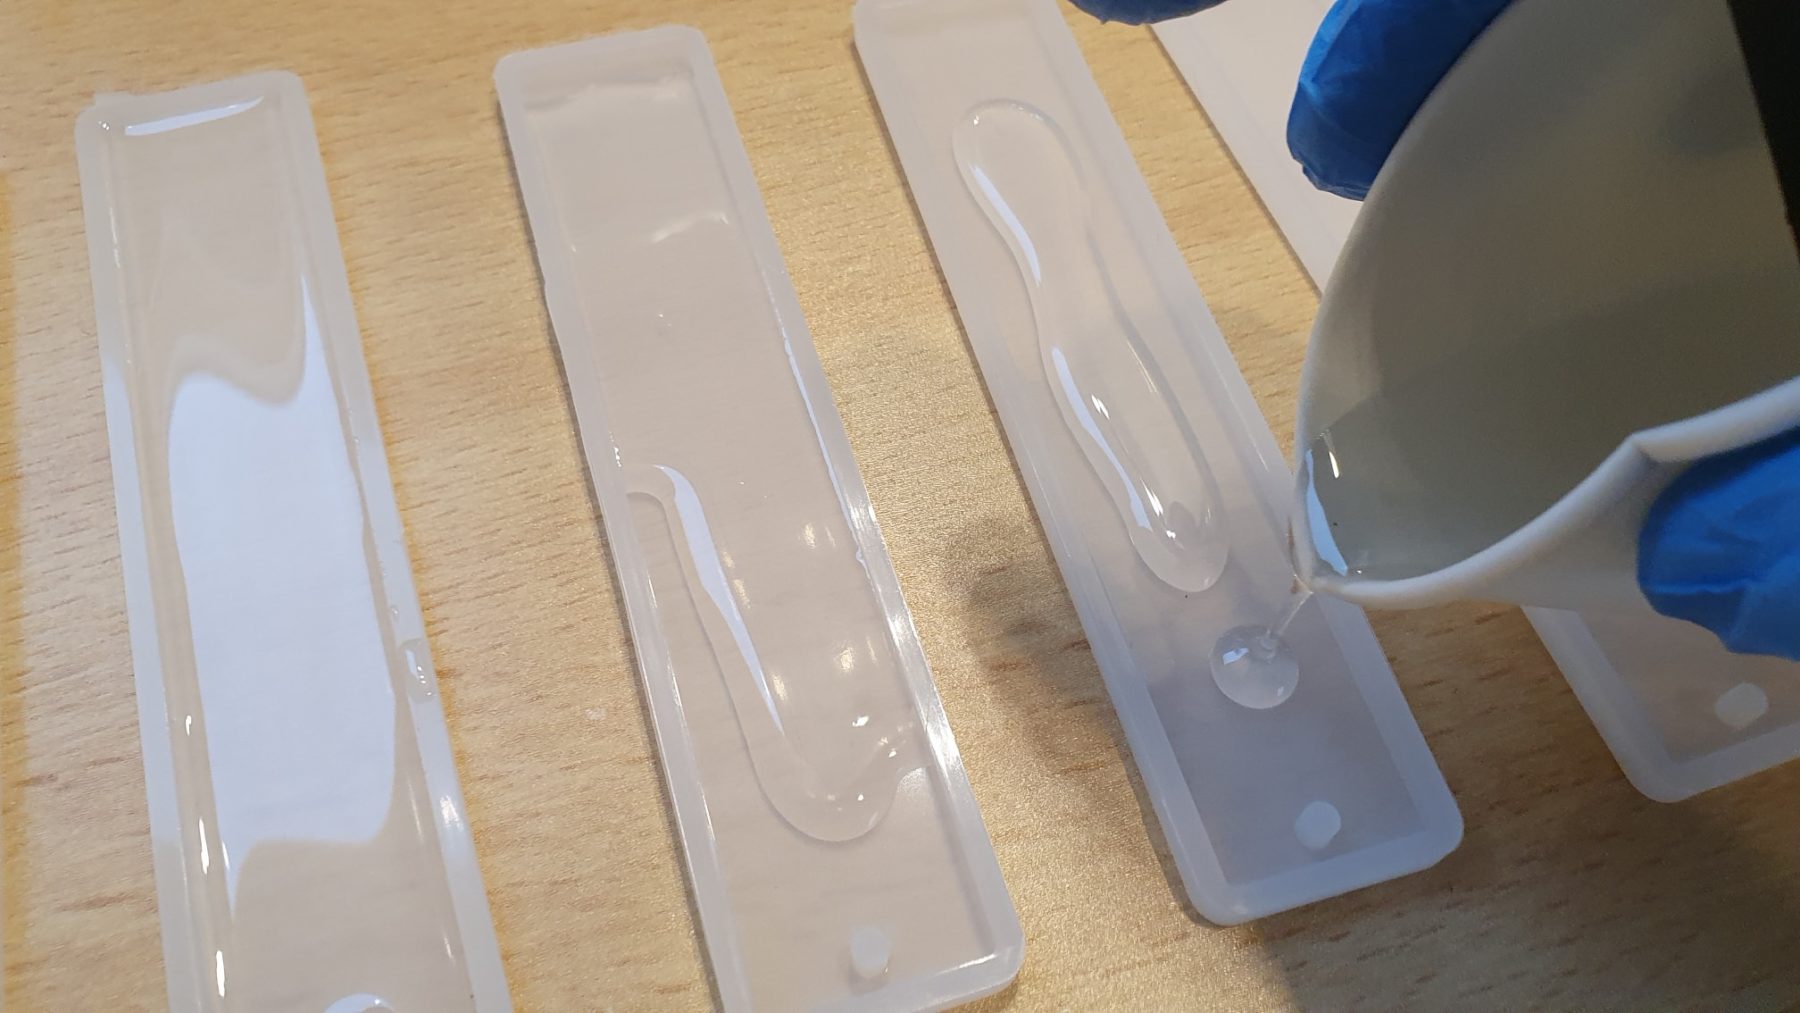
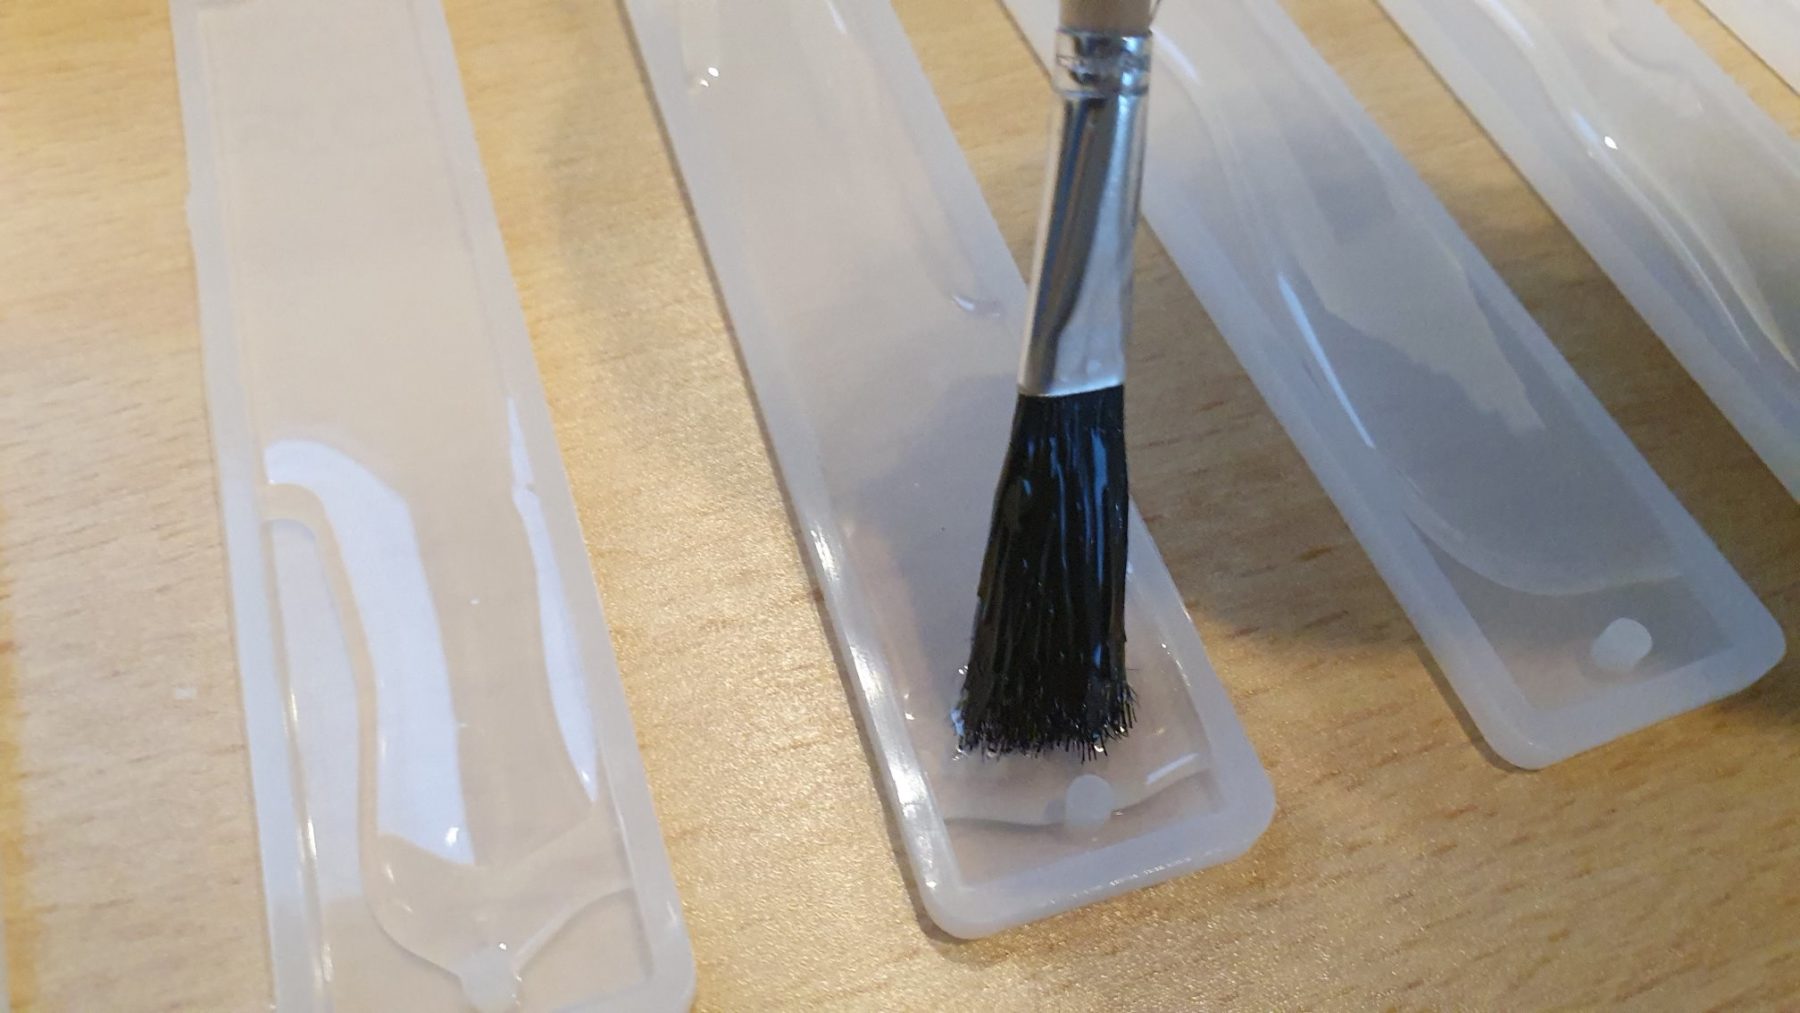
I ensured the moulds were laid flat on the levelled surface. Then poured a thin layer of epoxy directly to the bottom of the moulds and used the glue brush to spread this across the surface (as pictured below). I do this to break the surface tension so that any small bubbles that formed would not stick to the bottom of the mould, and instead rise to the surface. I filled the moulds to a depth of only approximately 1.5mm – 2mm.
Step 7: Dip the dried leaves in mixed epoxy and place into the mould.
I dipped the leaves in the epoxy until they were completely wet so they don’t take any air into the mould, which could then form a bubble. I placed them in the moulds and used the glue brush and brushed over them to ensure they were completely covered in epoxy. The dried leaves float, so at this point, the moulds were left with the epoxy still a couple of mm away from the top of the mould.
Top tip for getting rid of any bubbles: Use a cocktail stick to pop and remove any bubbles from the mixed epoxy
Step 8: leave the epoxy to gel and add a final layer of epoxy.
Once the epoxy has gelled but was still tacky (after approx. 18 hours at 16°C), I made a second mix of epoxy in the same way as the first. I poured the epoxy directly over the dried leaves in the mould. This ensures that the leaves are totally encapsulated in the epoxy and not left to poke out of the surface.
Step 9: leave to cure in their moulds.
As we mentioned earlier, bookmark moulds take a long time to fully cure because they are so thin in size. I left these to cure for 3-4 days in their moulds.
On the last day of curing I moved them onto a flat board on a radiator in the house. This allowed them to post-cure at a surface temperature of 35 – 40°C.
I then left them cool over night and then demoulded them the next day.
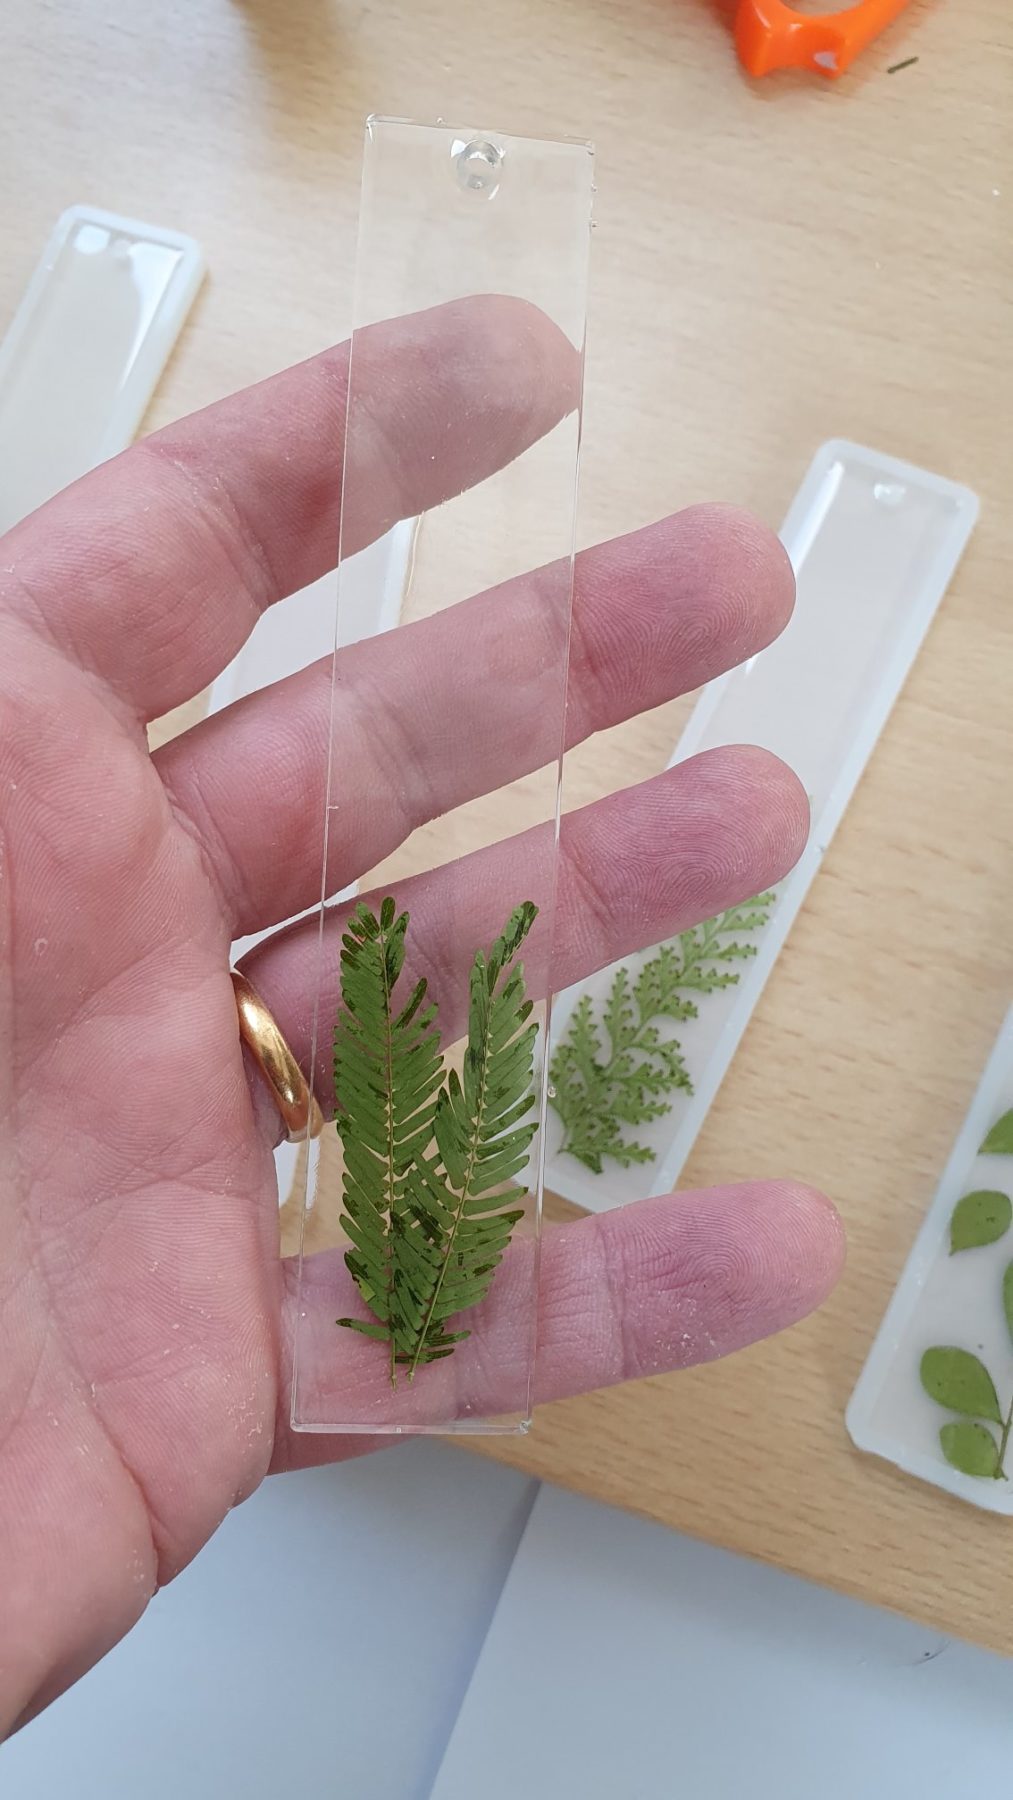
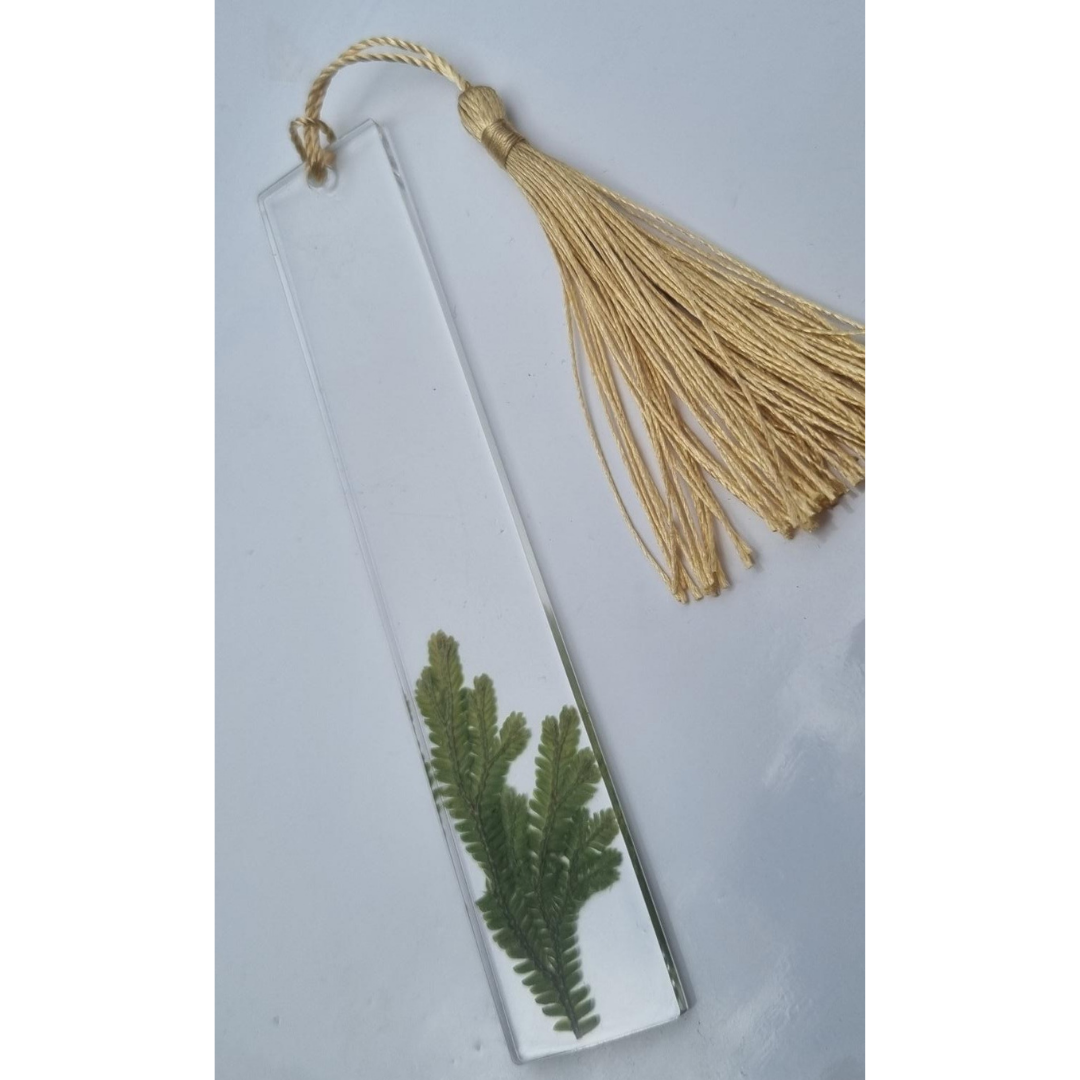
Now that you have made the botanical bookmark, if you wanted to add an extra touch, you can add a tassle, here is what Richard’s final bookmark looked like!
Have you subscribed to our FREE monthly newsletter? Sign up here!
Working on a project? Share it with us! Click here…
