How To: DIY Coasters at Home with Your Family?
“I wanted to produce four coasters using Entropy Resins® Epoxy, the Soft and Vivid Colour Tints and the metallic gold pigment,” explains Colin, a former employer of Wessex Resins. “This was a joint project with my daughter and we had so much fun creating these coasters together.”
Collaborative projects with your family are a great way to connect and teach your children a new skill. Epoxy resin is versatile and easy to work with and Colin’s coaster designs are the perfect project for beginners.
Important safety note: While Entropy Resins products are safe for use at home, please remember that during this project you will be working with chemical substances. Follow manufacturer’s instructions and safety precautions. Please ensure that children are supervised at all times and that everyone involved in the project wears appropriate personal protective equipment as detailed below.
What are the Steps to DIY Colin’s Metallic Coasters?
MATERIALS NEEDED
- Nitrile gloves
- Safety glasses
- Entropy Resins Mixing pots
- Entropy Resins Mixing sticks
- 4x Coaster moulds
- Entropy Resins CCR Resin and CCF Hardener
- Entropy Resins Soft Colour Tints
- Entropy Resins Vivid Colour Tints
- Metallic Gold Pigment

What’s the Preparation?
Prepare your workspace. This needs to be a surface that you can use for 24 hours without having your work disturbed and saves you from having to move your moulds elsewhere to cure.
I set the ambient temperature to 20°C. I have found this to be the optimum temperature for working and curing.
The Next Step?
Make sure to leave your equipment, resin and hardener in your workspace to acclimatise for 2 hours.
Typically, your resin and hardener will be very low in viscosity, but after 2 hours in a 20°C room, these should be at a better consistency to work with.
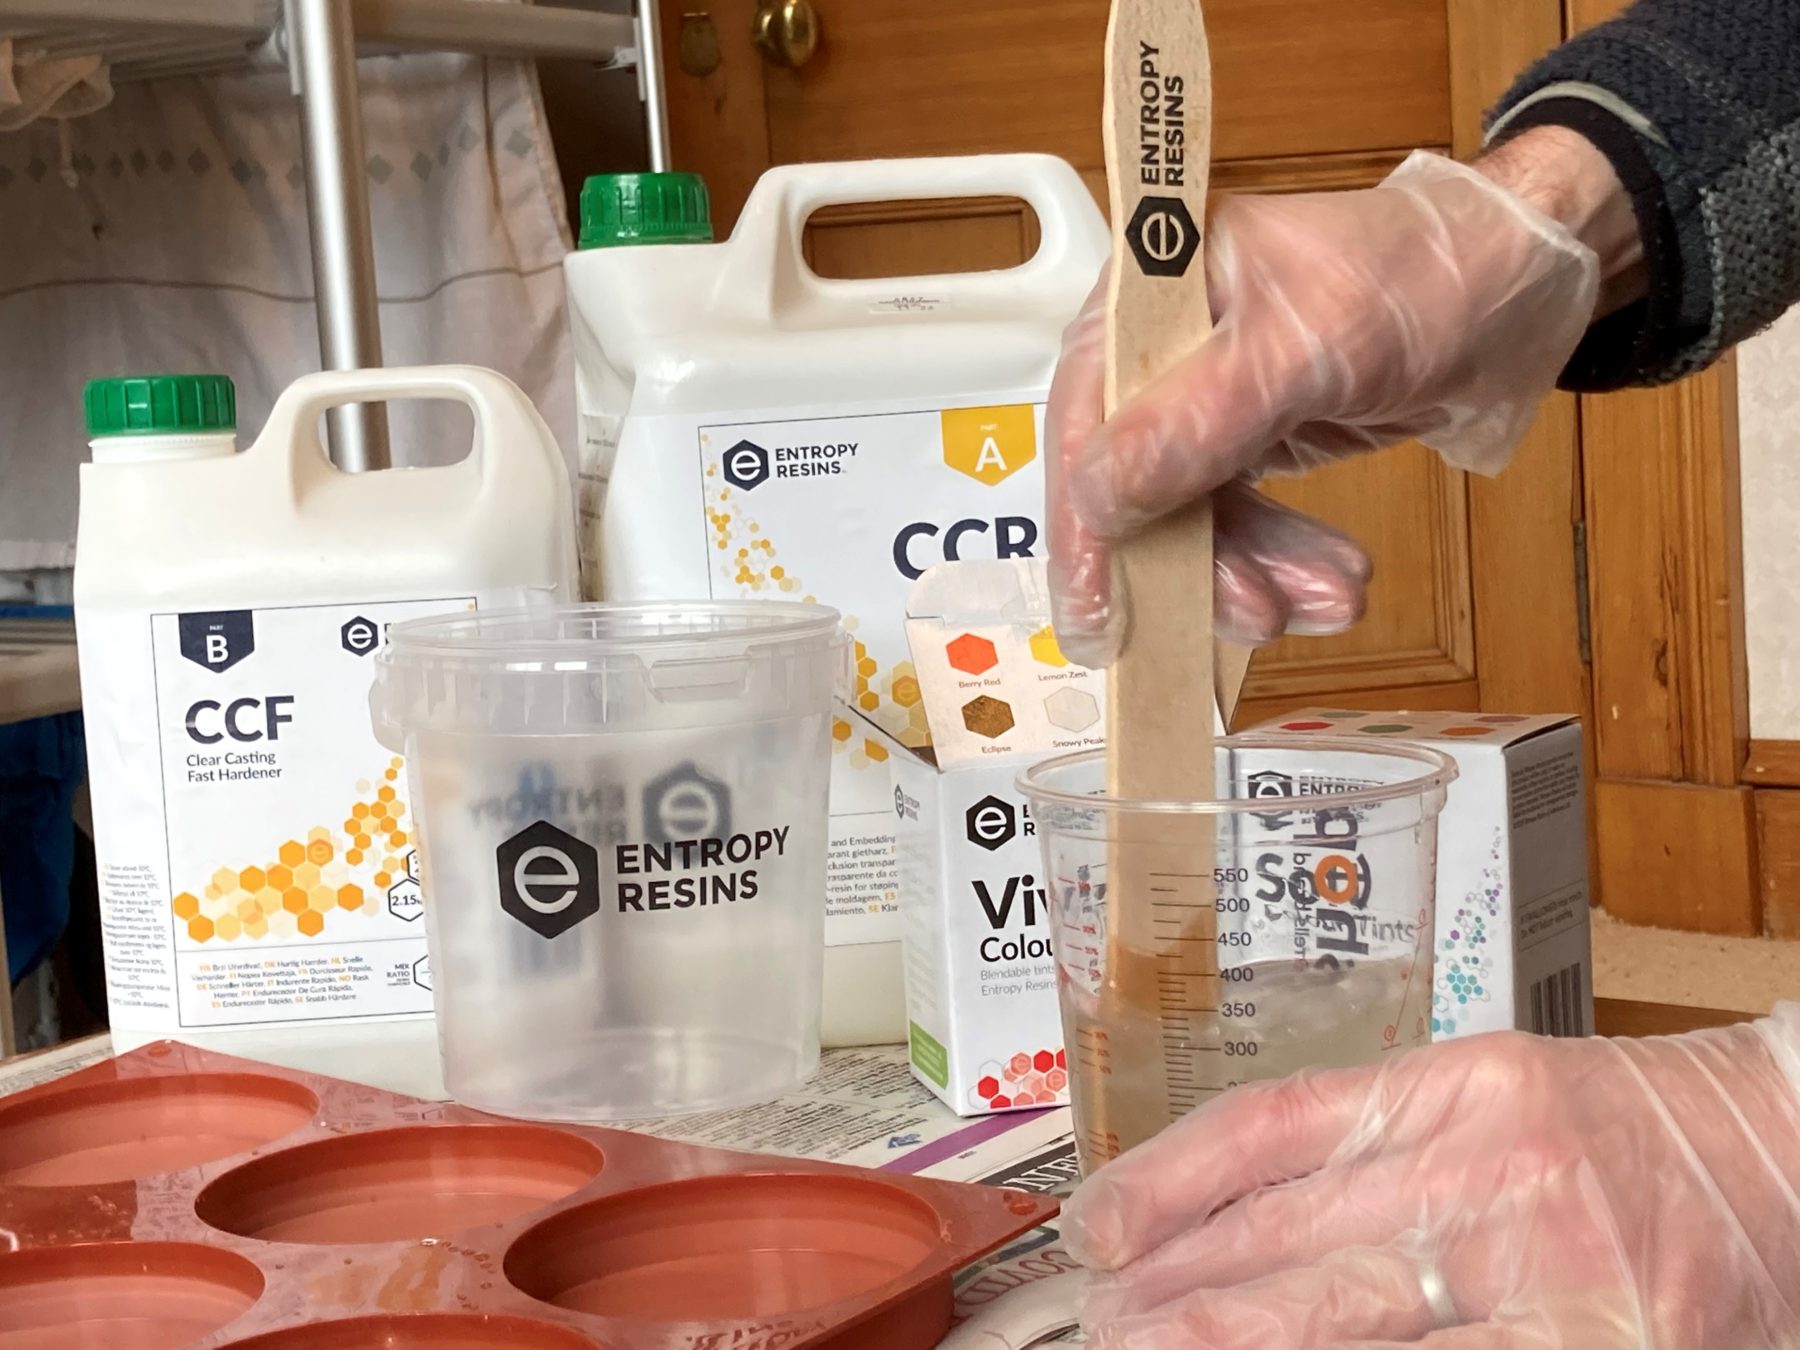
For personal safety, I always wear a long-sleeved top and nitrile gloves during the entire project. When I mix the resin and hardener, I advise you wear safety glasses in case of any splashes.
How Do I Measure the Epoxy?
The Entropy Resins CCR Resin and CCF Hardener are mixed at a volume ratio of 2:1 or by weight at 100g to 43g. For this project, I mixed by volume so I measured out 200ml of resin and 100ml of hardener (300ml in total) into an Entropy Resins Mixing Pot.
Mix the resin and hardener thoroughly for 2 minutes…
Then pour half of the mixed epoxy into another mixing pot.
This allowed us to make two coasters designs; one using the gold pigment and another with the Entropy Resins colour tints.
Pour half of the mixed epoxy into another mixing pot
This was my first time using gold pigment and it’s really difficult to put a value on how much to use. It really depends on how deep you want the colour to go.
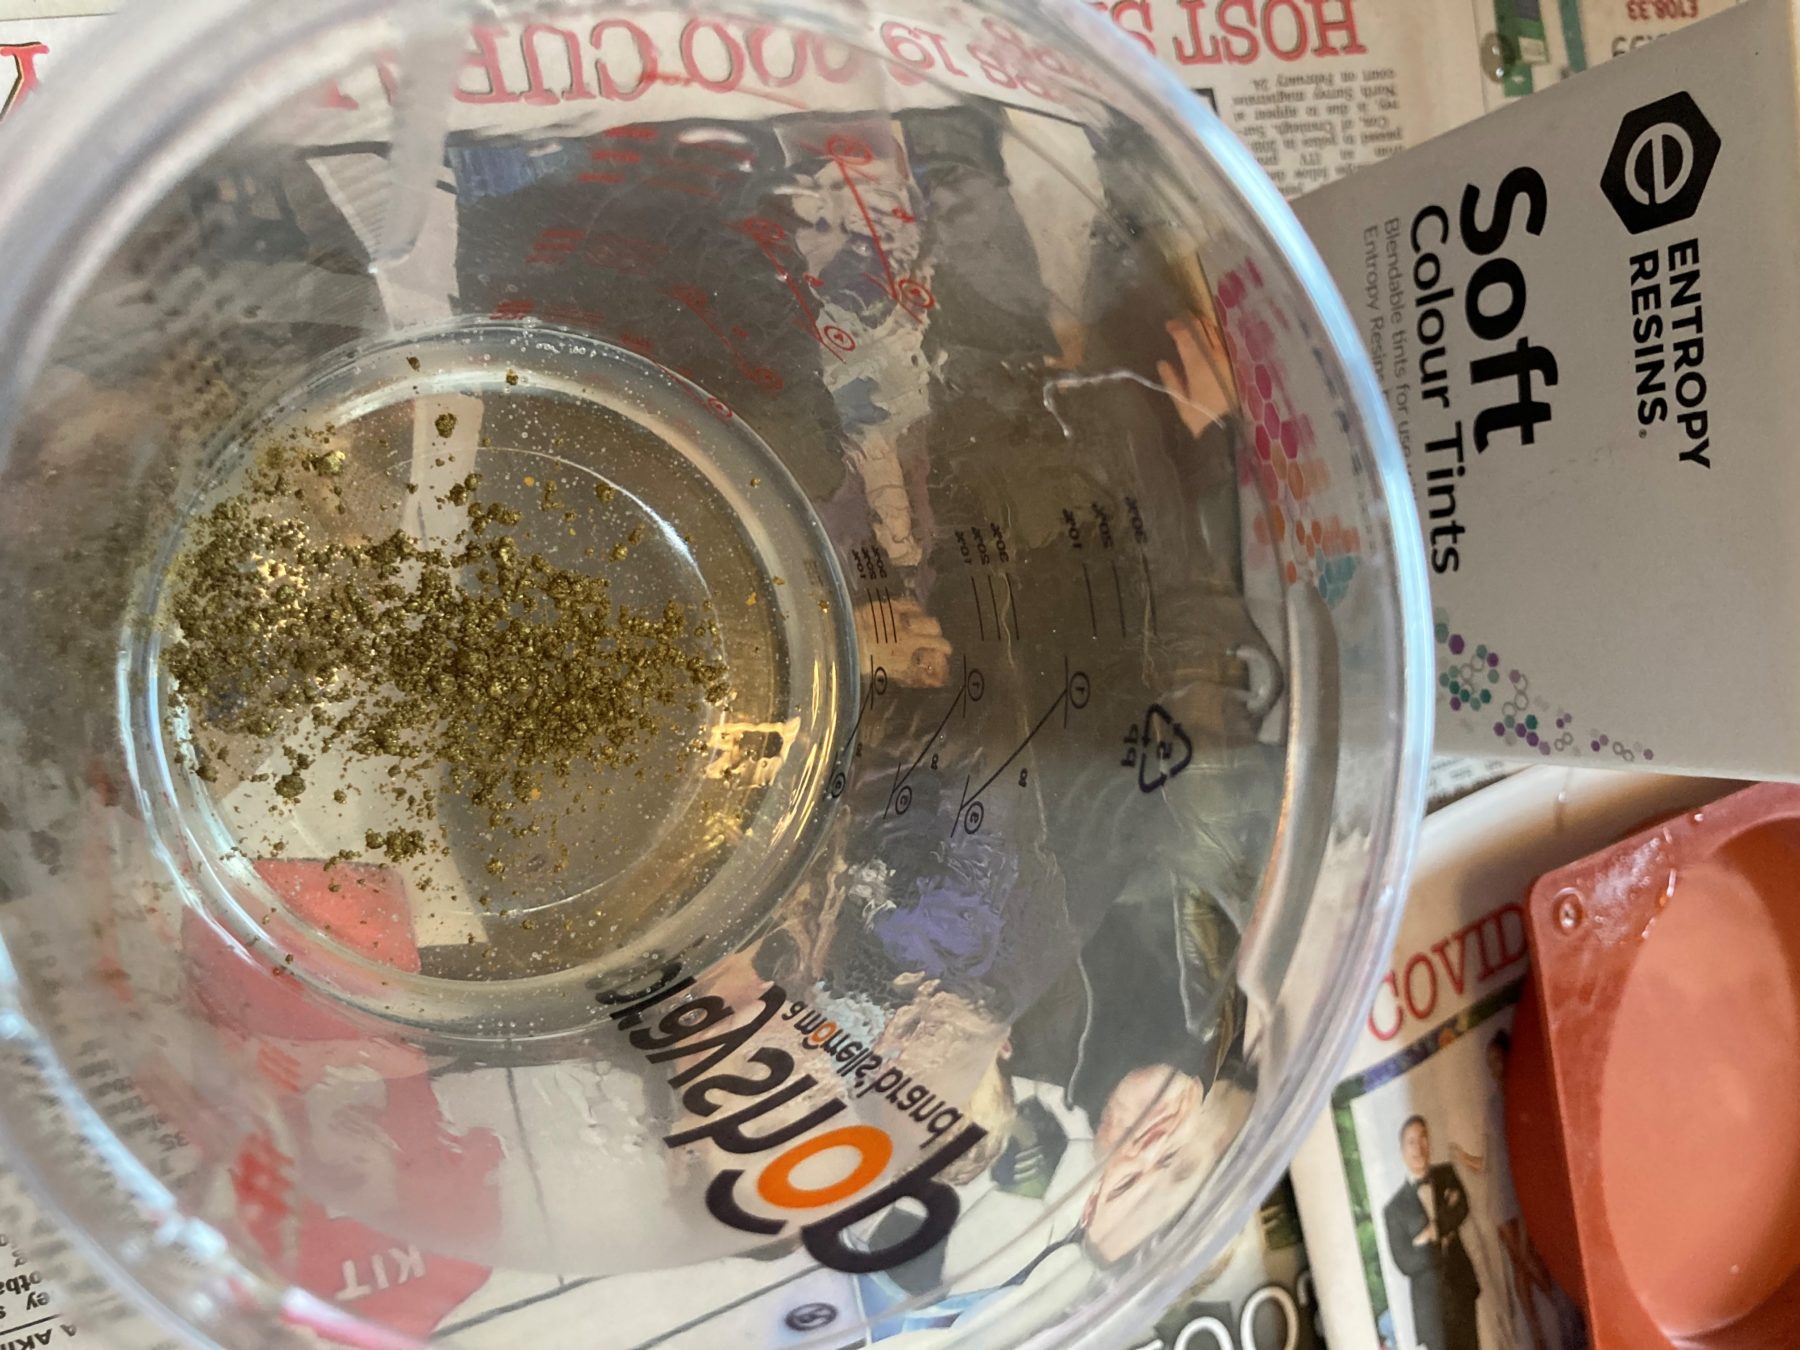
I added 0.1g of gold pigment to 150ml of epoxy and in hindsight, I should have used half that amount… but as with most resin art projects, it’s all about trial and error.
Mix the Metallic Pigment with the Epoxy
Pour one of the mixed epoxies into the pot with the gold pigment and mix thoroughly. I mixed for approximately 10 seconds.
Important note: It’s essential that you add and mix the colour pigment with either the resin or the mixed epoxy only. If you try mixing your pigments with just the hardener, you will get flecks in your final product.
Pour the epoxy into 2x coaster moulds.
Repeat the same process with the entropy resins colour tints
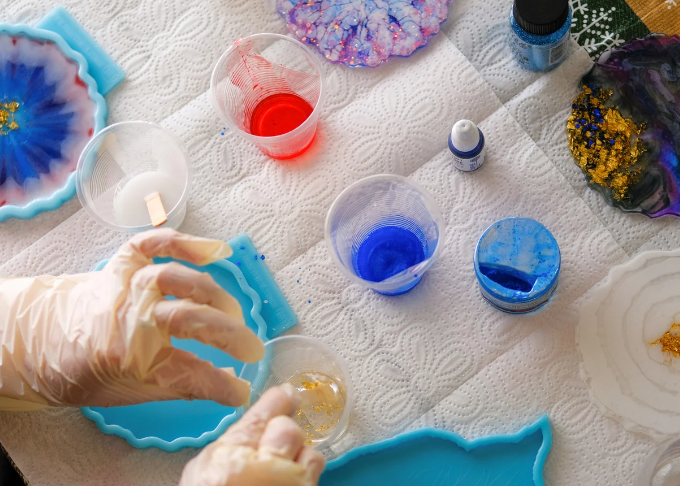
My daughter’s choice of colours, we added 5x drops of the Flamingo Pink colour tint from the Entropy Resins Soft Colour Tints pack to the other 150ml of mixed epoxy. We mixed them thoroughly for one minute.
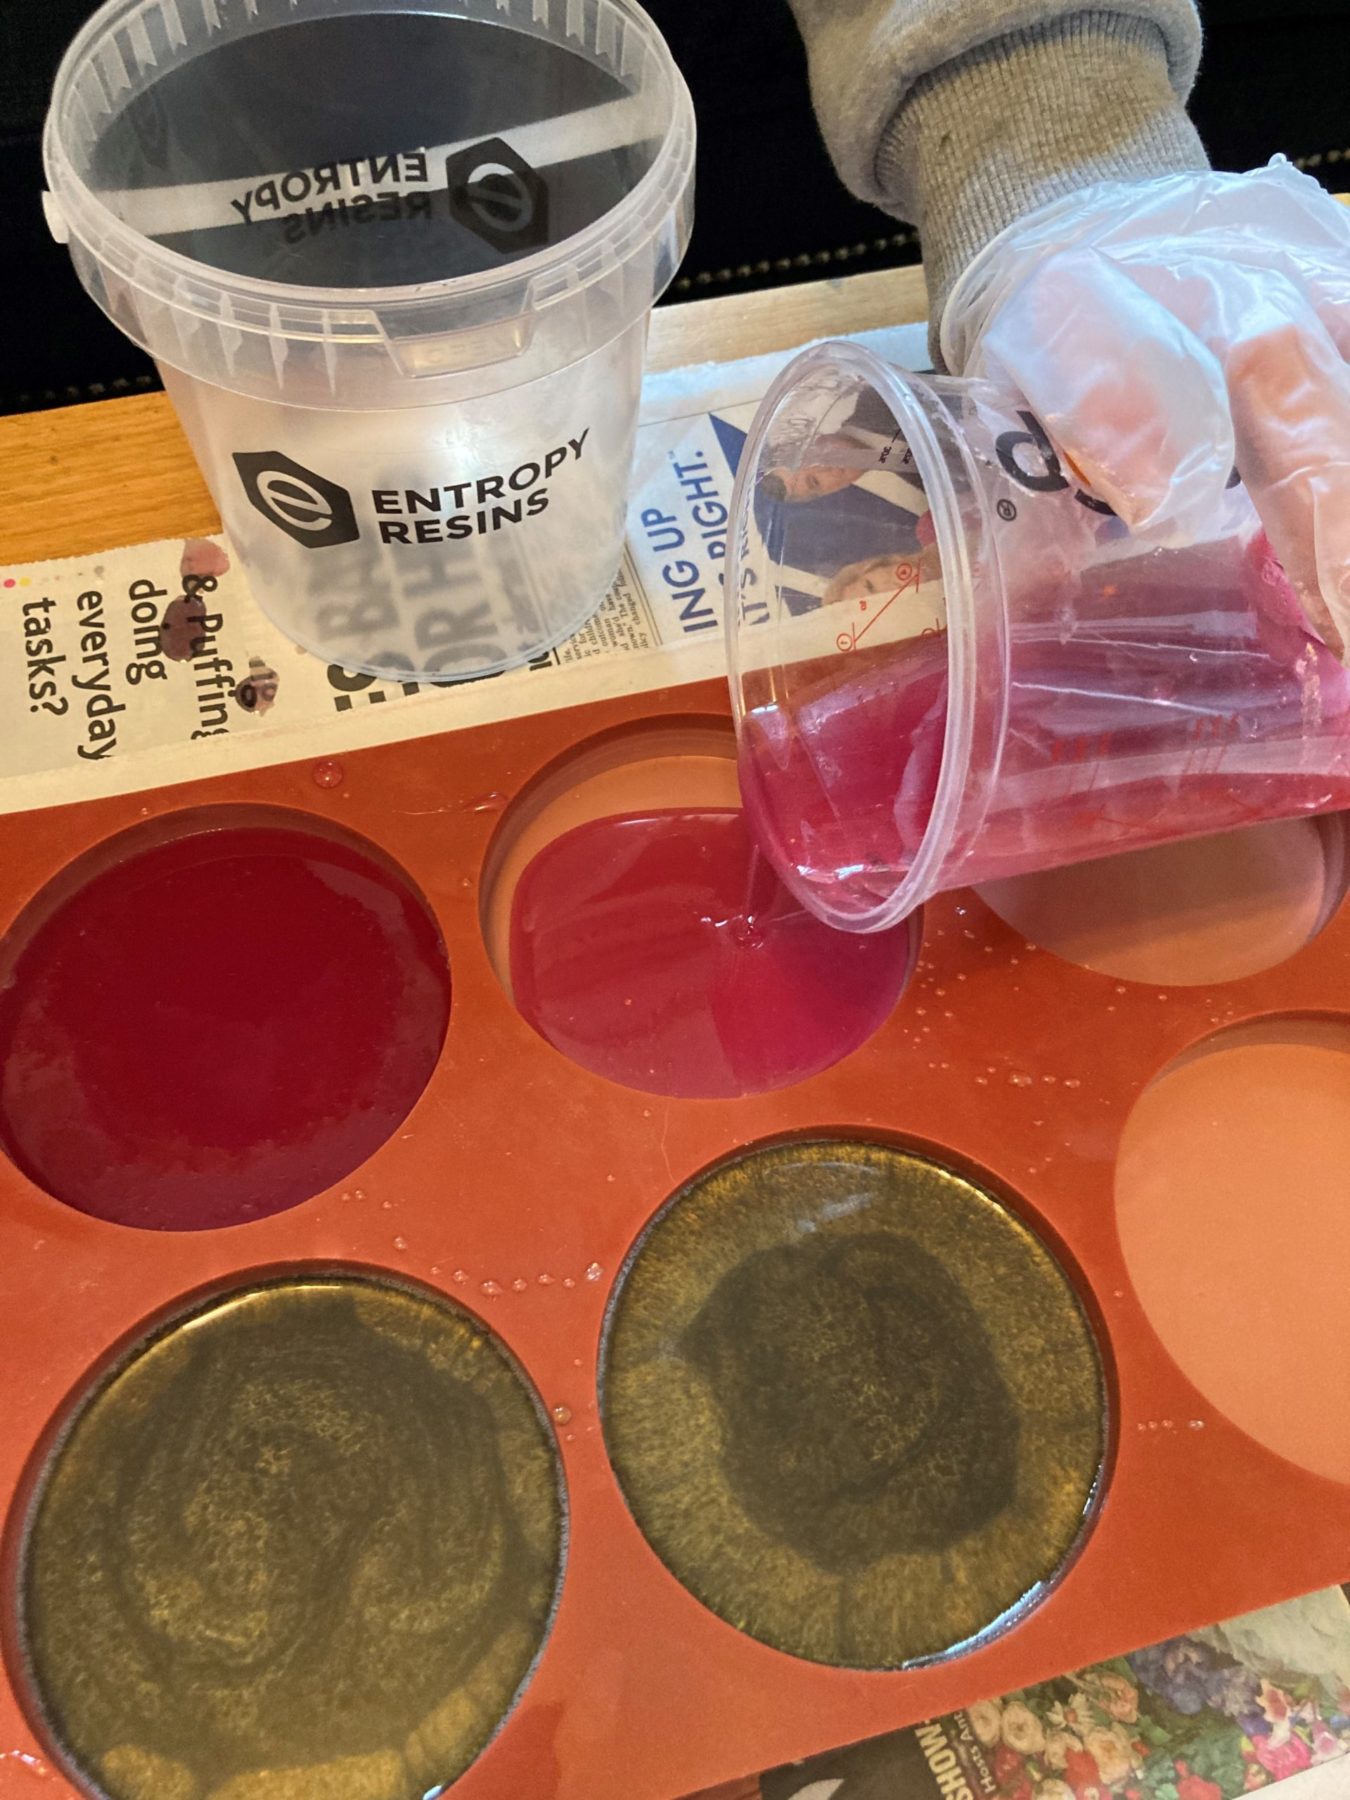
After we poured the mixture into the mould, we added 10x tiny drops of White pigment to one mould and 10x tiny drops of Berry Red tint and 4x tiny drops of the Eclipse tint to the other mould (all from the Vivid Colour Tints Pack by Entropy Resins). We didn’t mix them any further and decided to let the colours do their own thing as they cured.
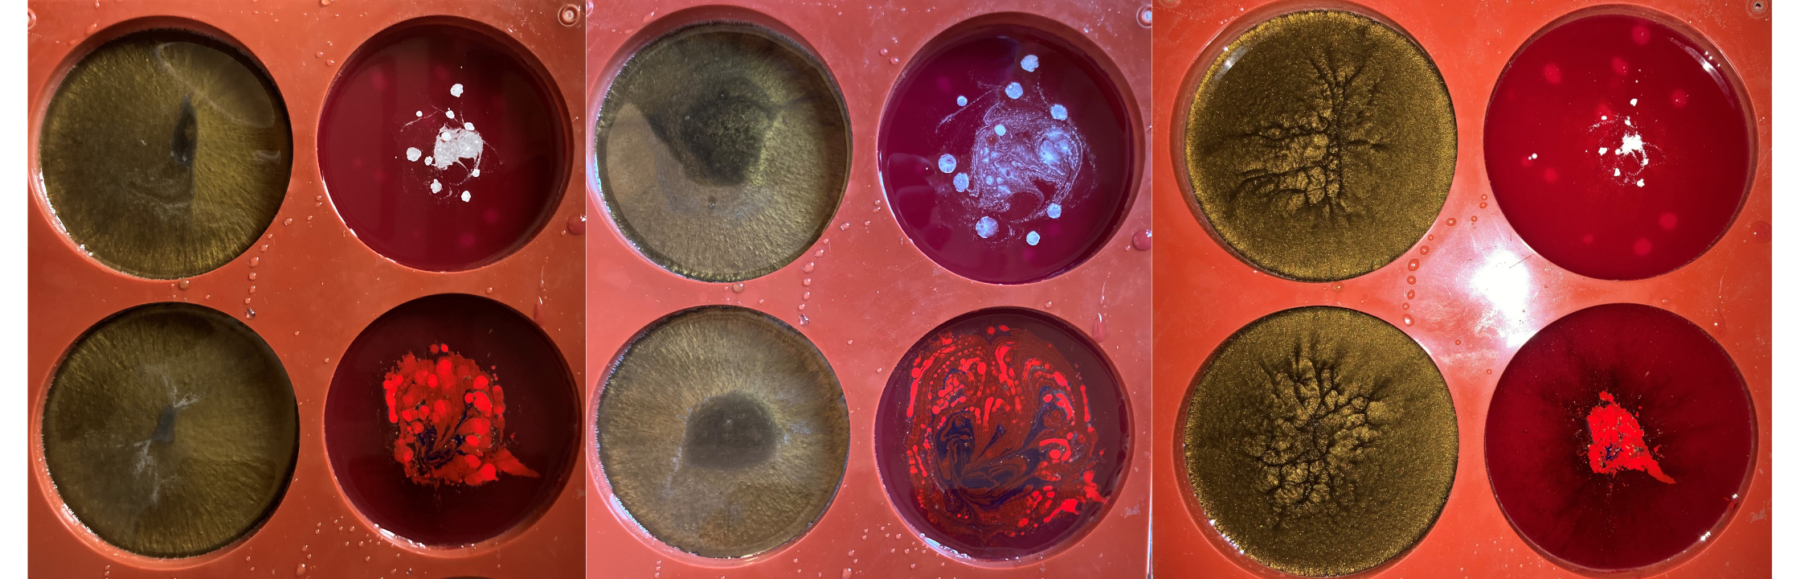
Leave to cure in their moulds.
We left the four coasters to cure for 24 hours. As you can see from the images below, the colour pigments moved a lot during the curing process. Once cured, we released the coasters from their moulds and the finished product is very different from the design at the first pour.
Final thoughts from Colin
“Next time, I will definitely add less gold pigment to give a partially translucent effect to the design. However, the metallic gold works really well and it’s something I am considering experimenting with on a small river table… watch this space!”
Have you subscribed to our FREE monthly newsletter? Sign up here!
Working on a project? Share it with us! Click here…