How To: Fixing a ring with G/flex® 655 Thickened Epoxy
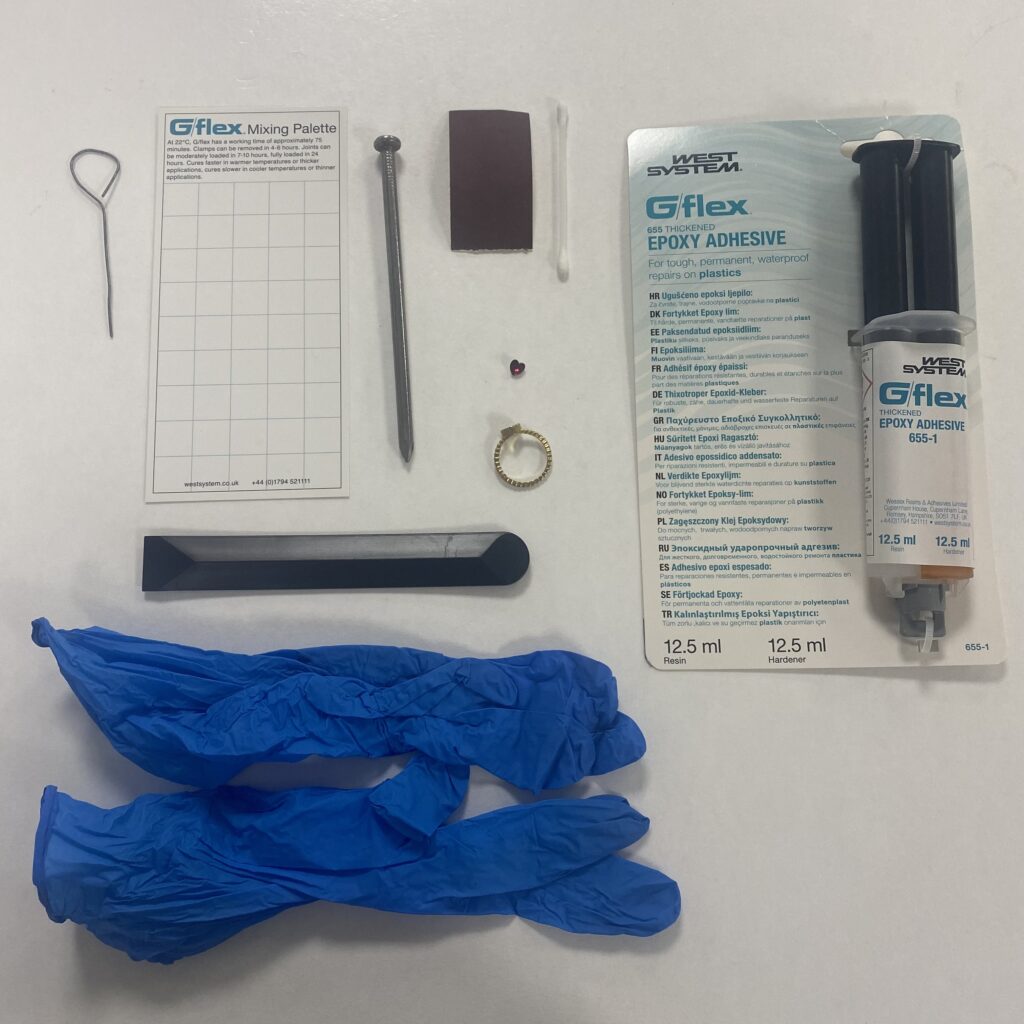
Have you got some broken jewellery that’s been on your to-fix list for a while? Or maybe you are waiting to glue a household item back together? Ever found yourself wondering about the best product to use for these kinds of repairs? The WEST SYSTEM G/flex Thickened Epoxy Adhesive is a resilient, all-around, two-component epoxy engineered for the long-lasting, water-resistant adhesion of a variety of materials such as plastics, fibreglass, ceramics, metals, and even woods that are damp or typically hard to bond.
Flexibility and Rigidity Combined
Whilst G/flex 655 maintains a higher degree of flexibility than conventional epoxies, it’s still more rigid than adhesive sealants. This balance allows G/flex 655 to establish structural bonds that can tolerate the strain of expansion, contraction, shock, and vibration. It’s especially suited for connecting different types of materials.
We followed this process to fix a ring with G/flex 665 Thickened Epoxy, and you can apply it to other projects.
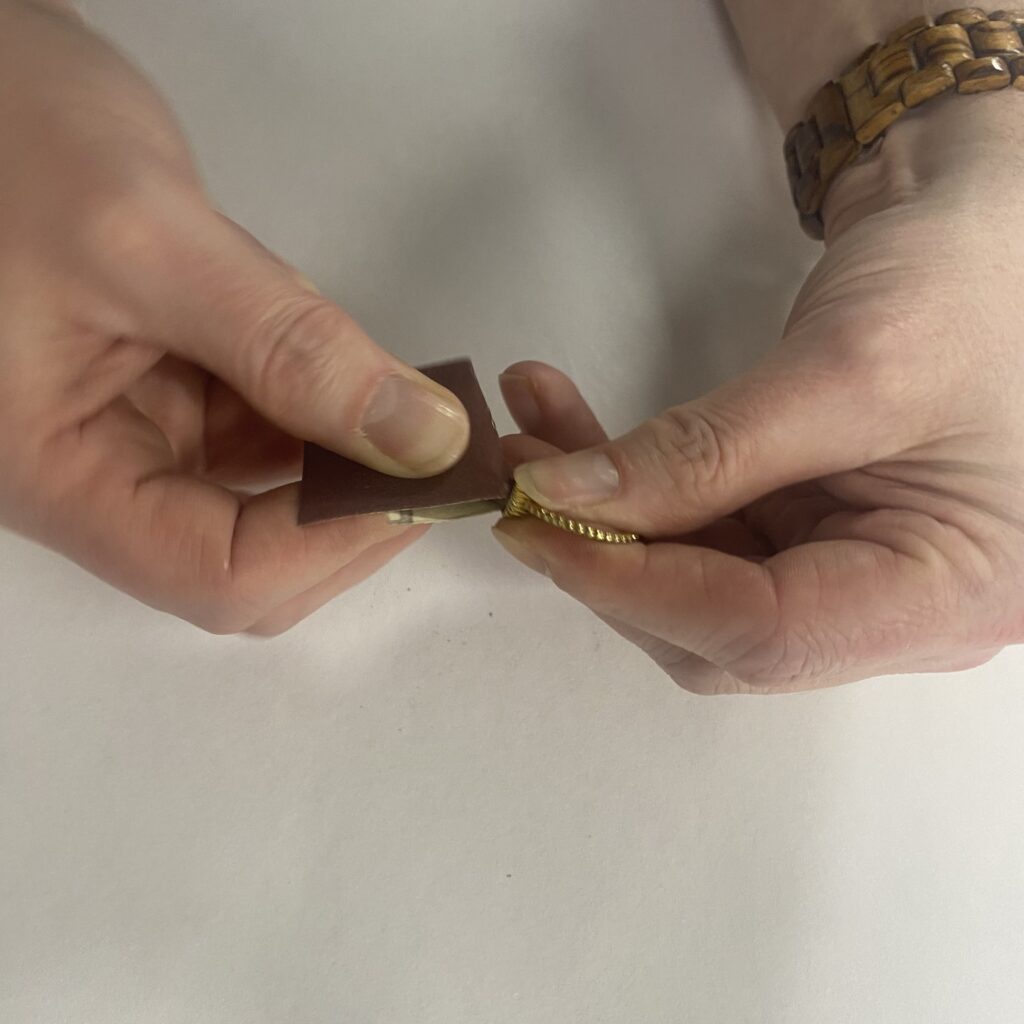
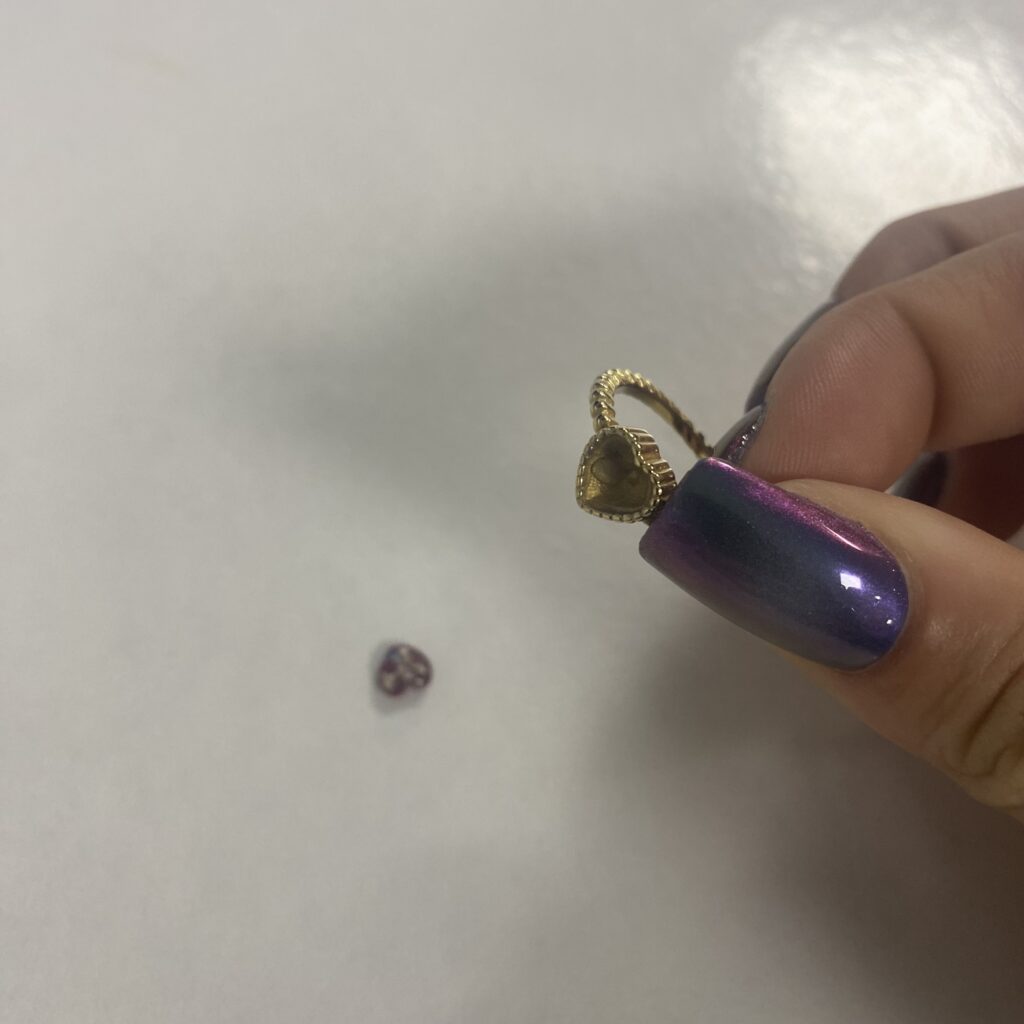
1: Abrade bond surfaces, in this case it would be the metal part of the ring and the back of the stone. But please bear in mind, if it’s expensive jewellery such as a diamond it is advised to get this professionally fixed.

2: Clean the bond surfaces to remove any dust or grease using solvent.
3: Mask up the edges of the ring with masking tape to prevent oil overspill of the epoxy adhesive.
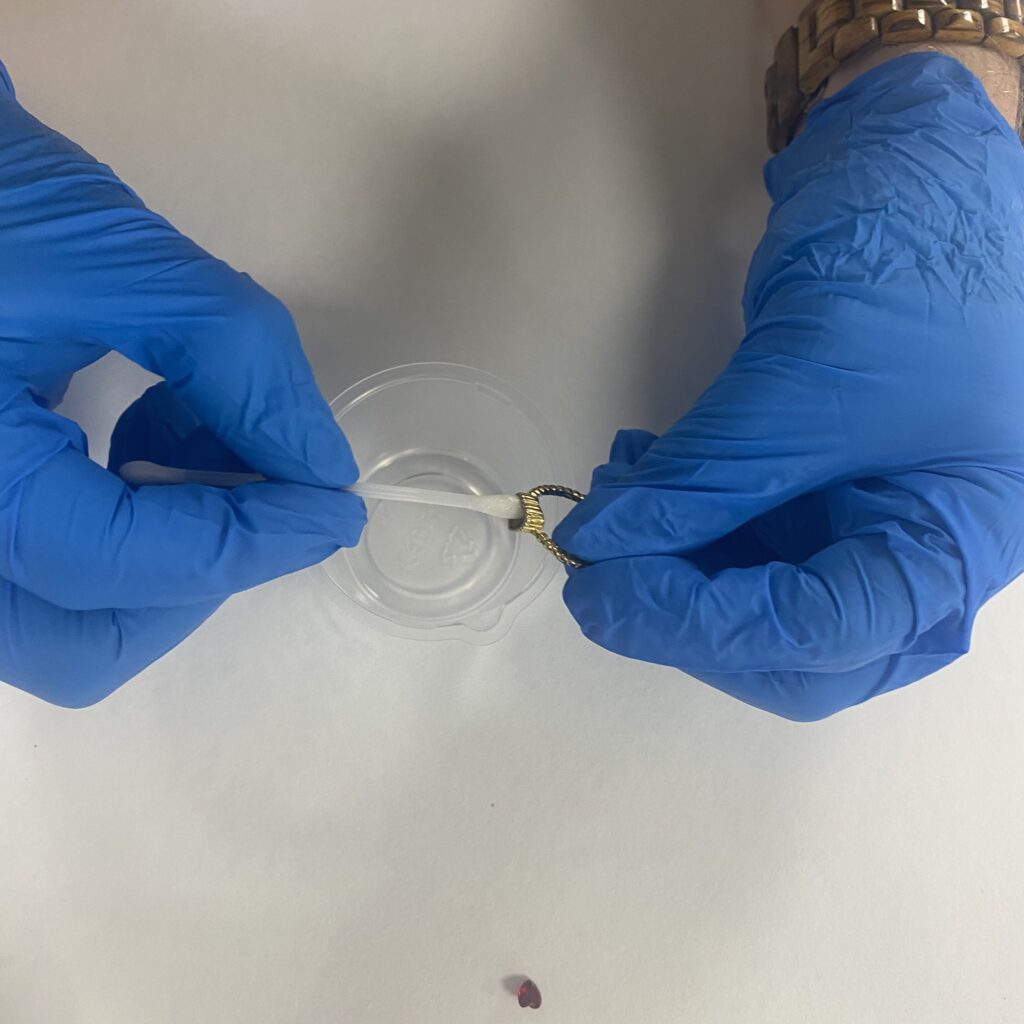
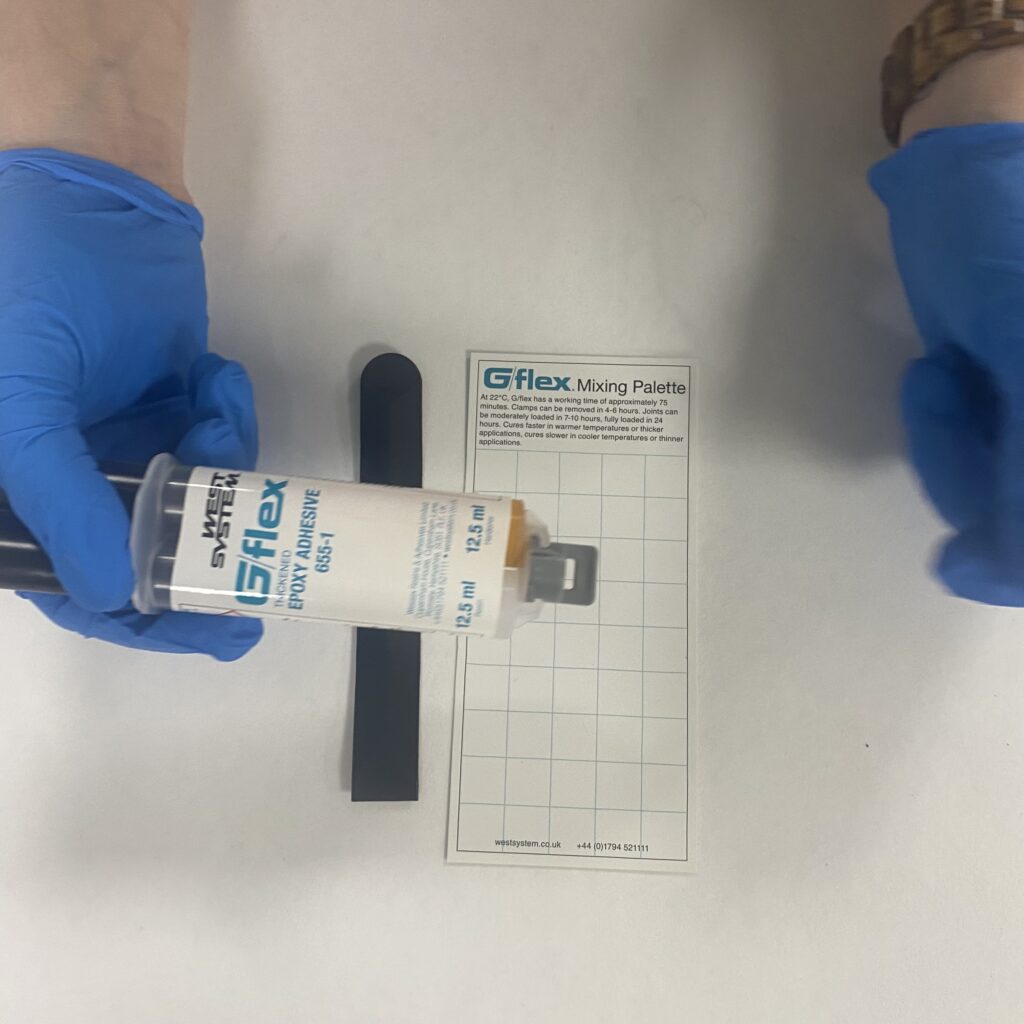
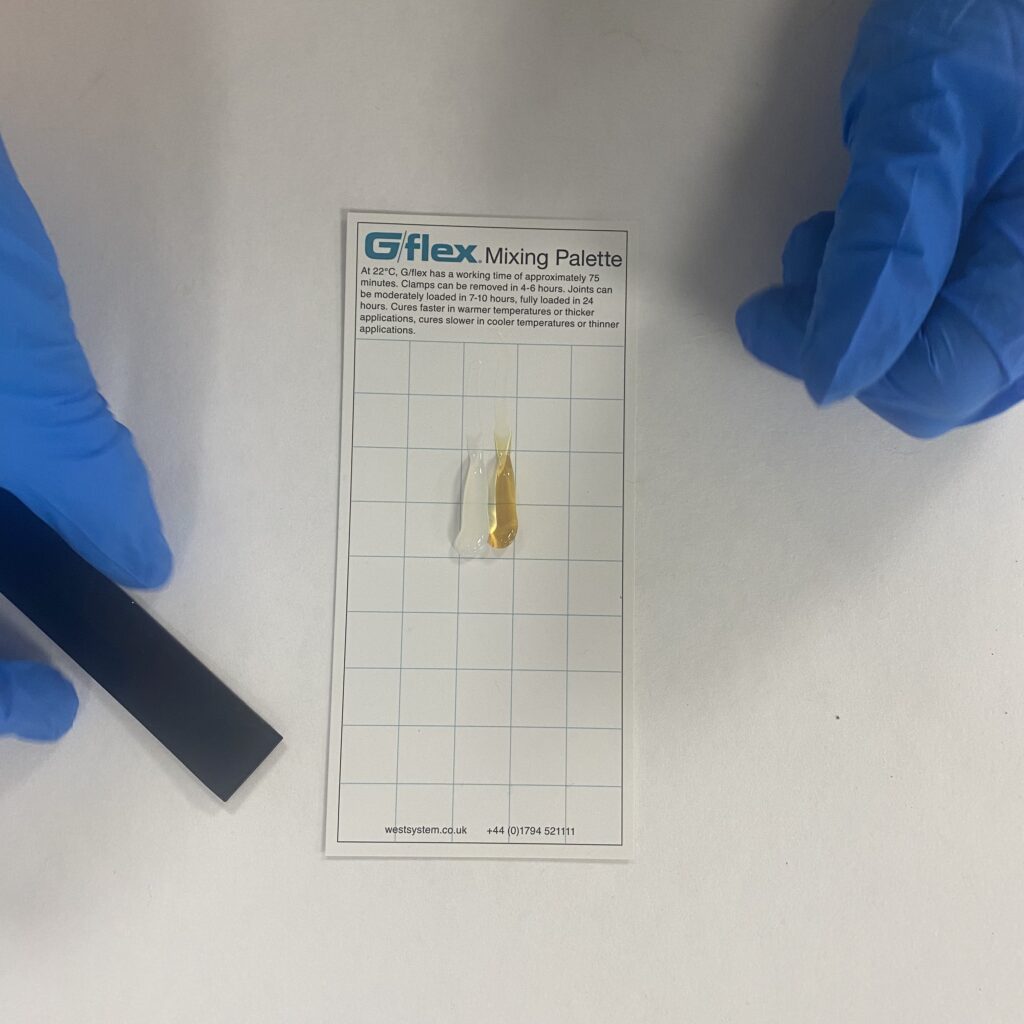
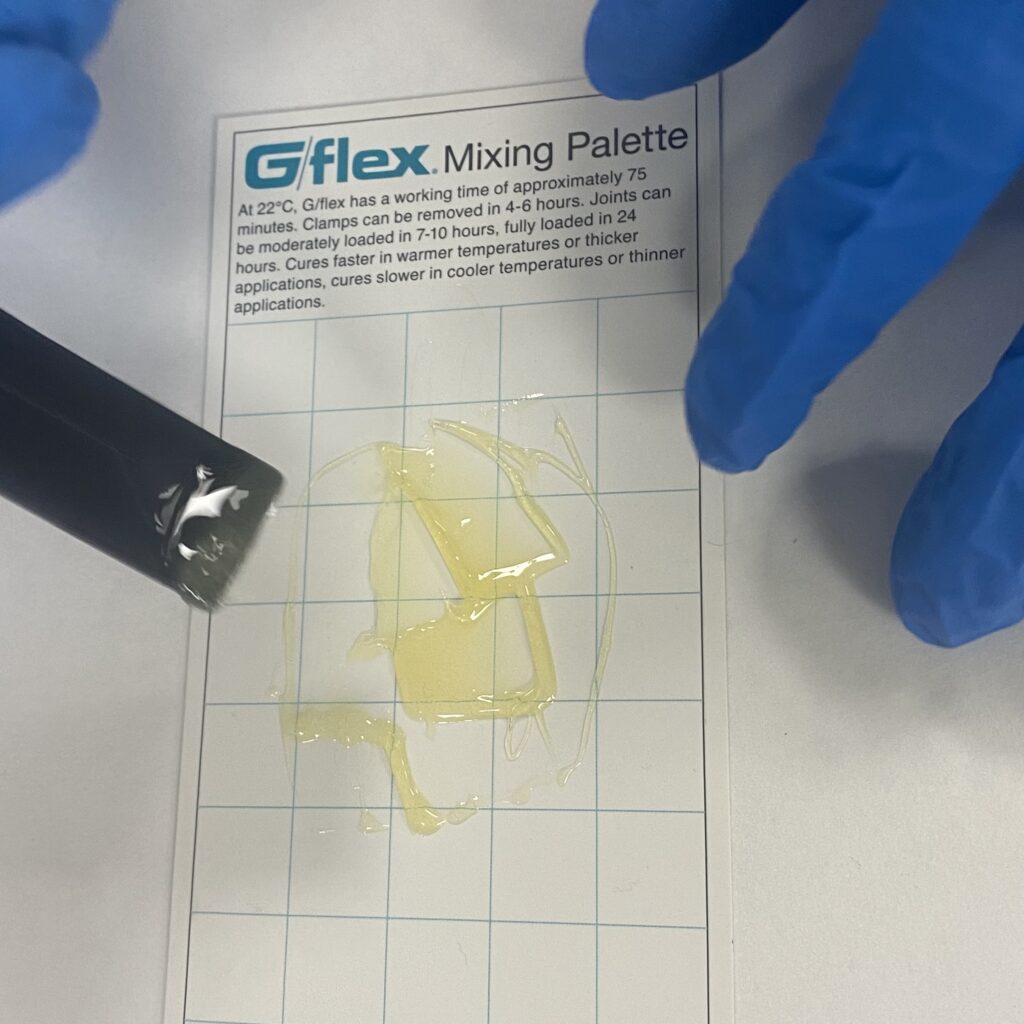
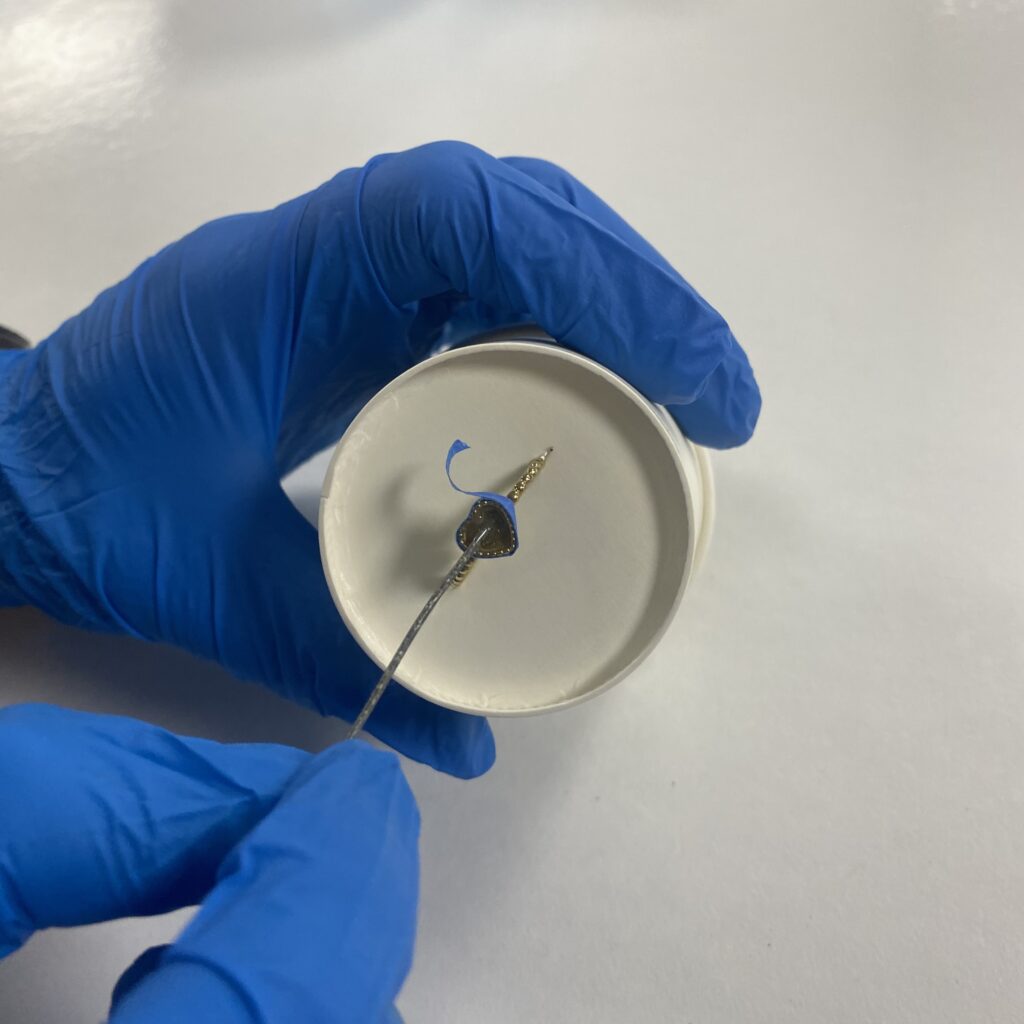
4: Dispense the G/flex Thickened Epoxy Adhesive onto a mixing palette and mix until there’s a homogeneous consistency. Then using either a cocktail stick or a metal wire, scoop up a portion of the epoxy and apply it to the ring.
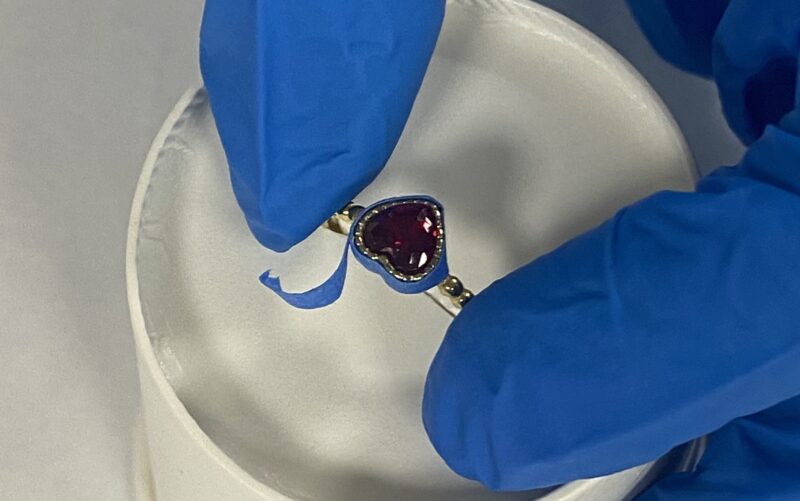
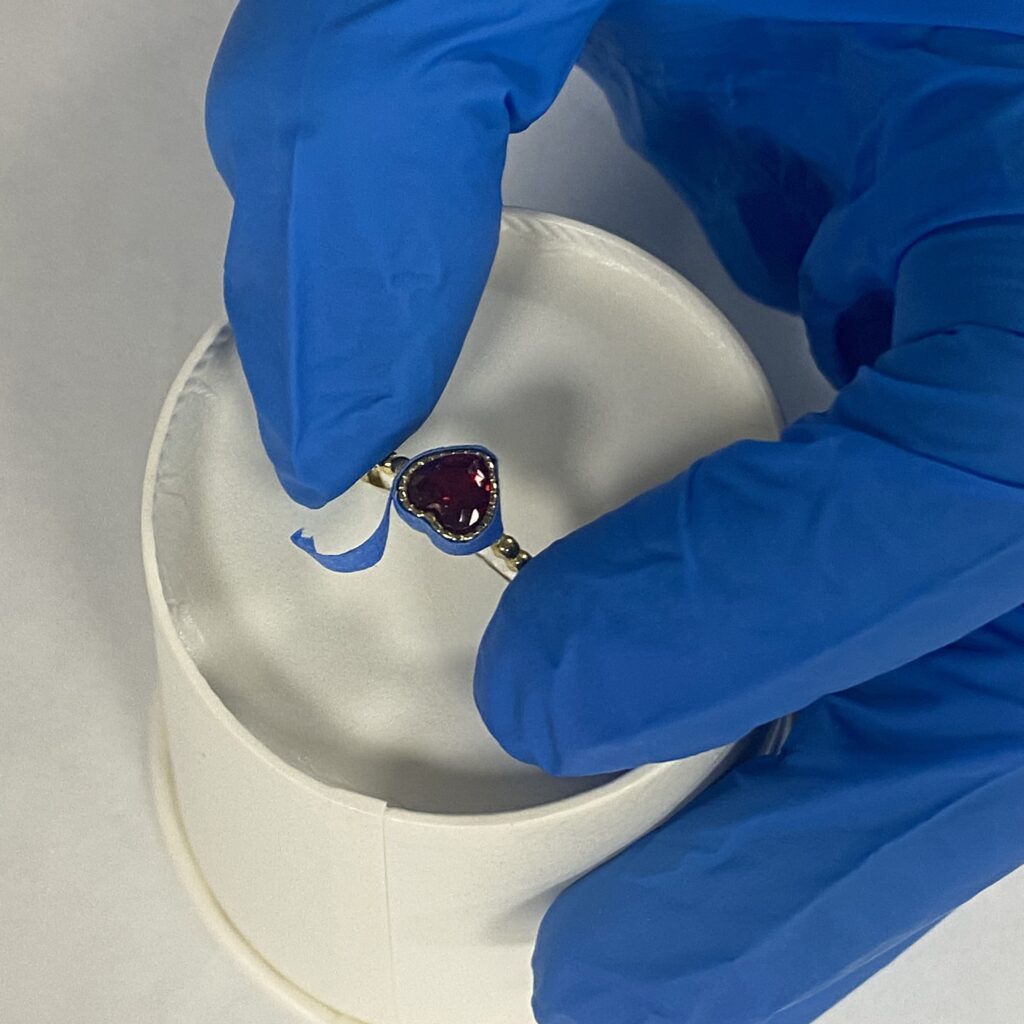
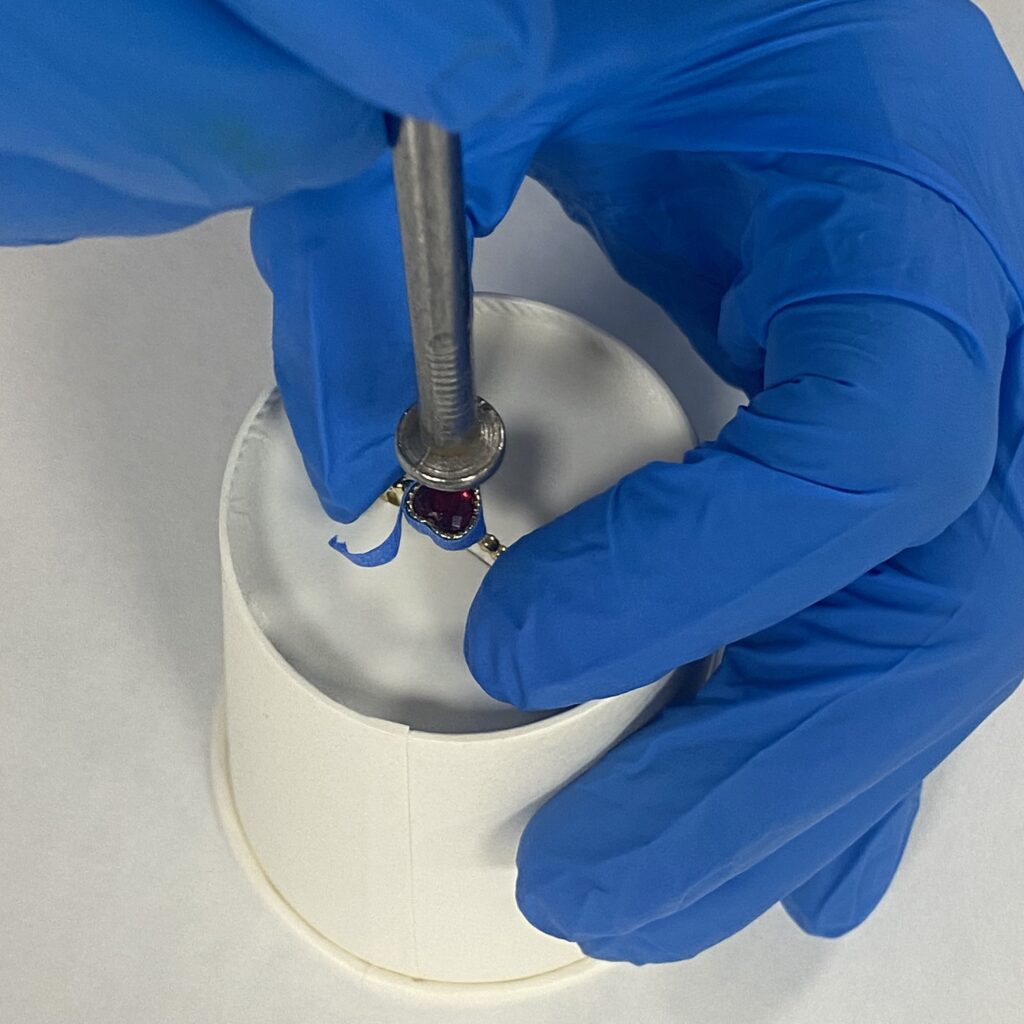
5: Align the stone with the ring and secure it into place. We did this by gently tapping the stone with a nail.
6: Align the stone with the ring and secure it into place. We did this by gently tapping the stone with a nail.
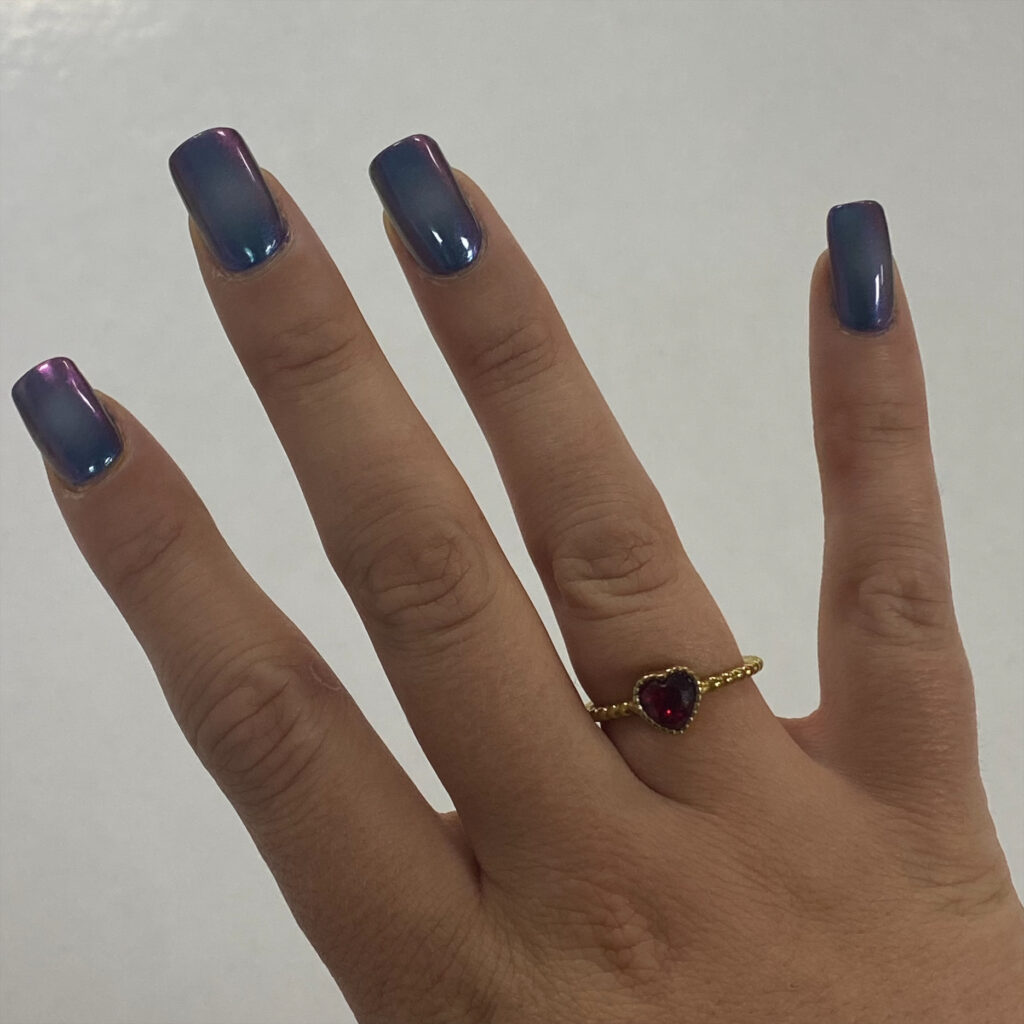
7: Place aside to cure overnight and voila!

To find your local stockist click here: https://eu.westsystem.com/where-to-buy/
Have you subscribed to our FREE monthly newsletter? Sign up here!
Working on a project? Share it with us! Click here…