Artists: Make Christmas Tree Decorations?
Isn’t Christmas just the best time to get our hands a little glittery and gluey? I totally agree! So, why not make the most of this festive season and create some unique Christmas tree decorations?
You might be just starting your crafting journey or maybe you’re an epoxy crafting pro – either way, this project is just right for you. So, come on, let’s roll our sleeves up…
To get started this is what you will need:
- Entropy Resins Clear Casting Resin (CCR)
- Entropy Resins Clear Casting Slow Hardener (CCS)
- Colour Tints (Don’t forget that extra sparkle too!)
- Festive ribbons / string to hang the tree decorations
- Silicone moulds (Matt or shiny)
- Epoxy stirrers
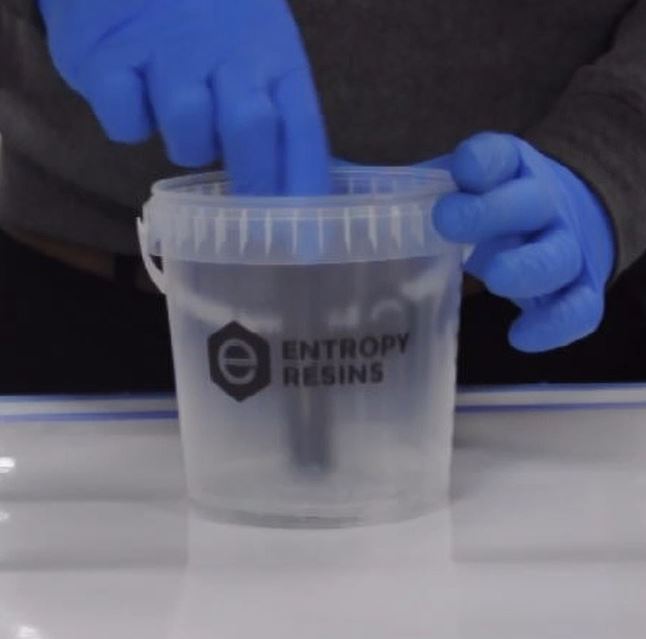
- Entropy Resins mixing bowl
- Safety glasses, and gloves.
How to Prepare Your Workspace for Crafting Christmas Decorations?
Now that we have all our materials, it’s time to prepare our workspace. Arrange all your crafting tools and materials on a table for easy access. Before we start, let’s ensure we protect our workspace from any potential epoxy spillages. Using a table cover can be a great way to prevent any damage to your table.
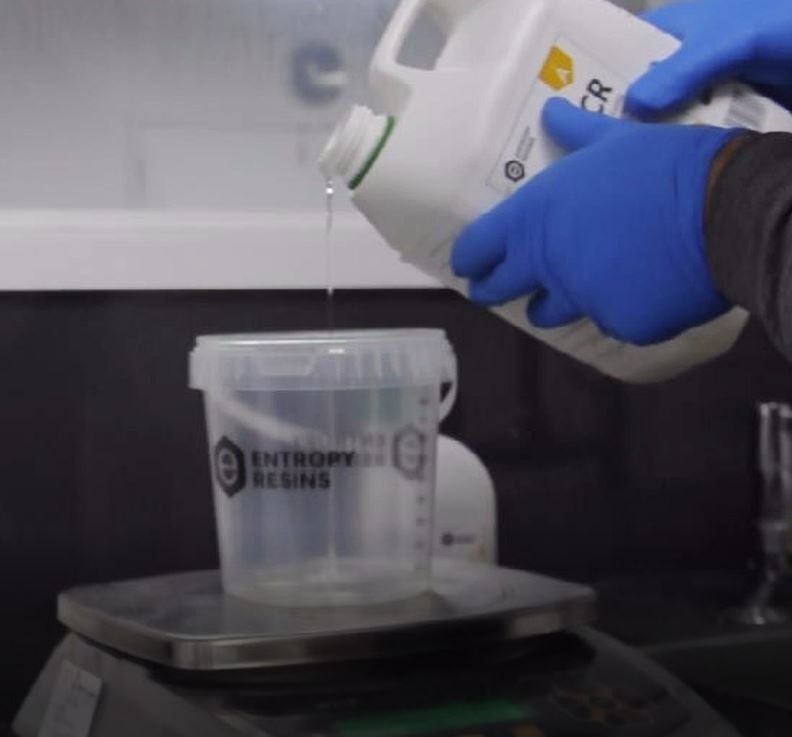
What is the Correct Way to Measure Resin and Hardener for Christmas Decorations?
The first step in our crafting process is to measure the required amounts of resin and hardener. To do this accurately, follow the instructions provided on the packaging. For this project, we’ll be using Entropy Resins’ clear casting resin and hardener, which are ideal for crafting beautiful and durable Christmas tree decorations. Let’s get started!
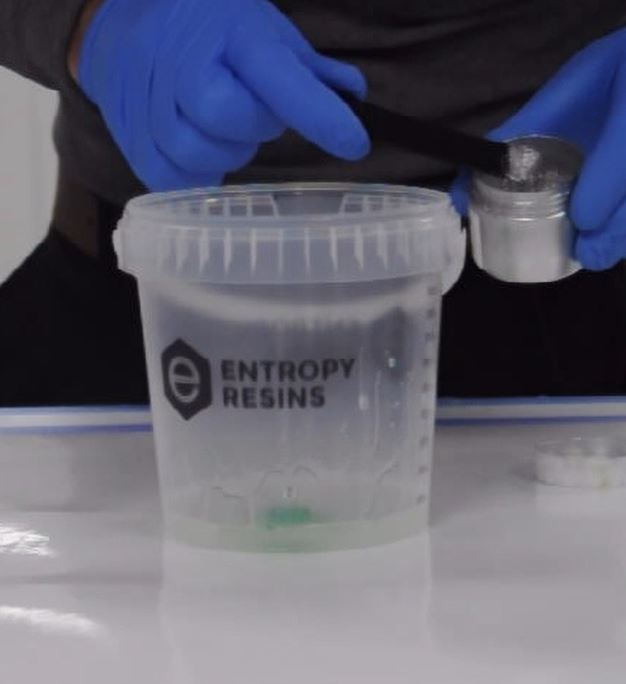
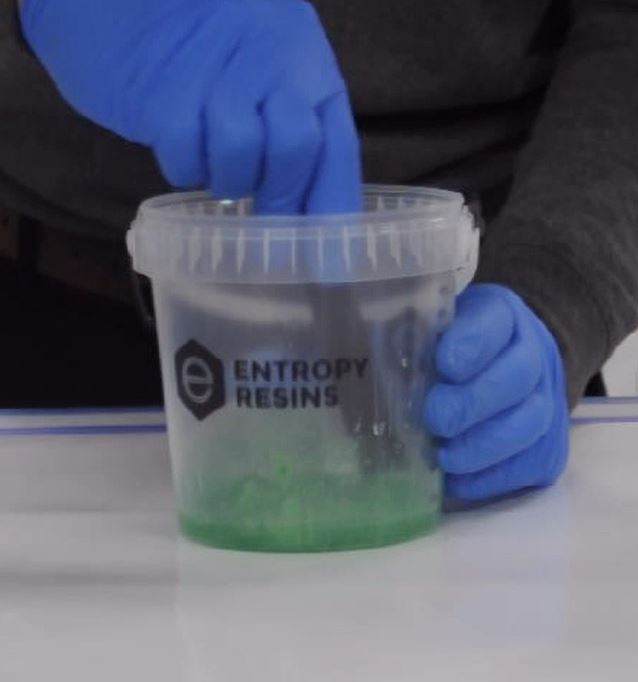
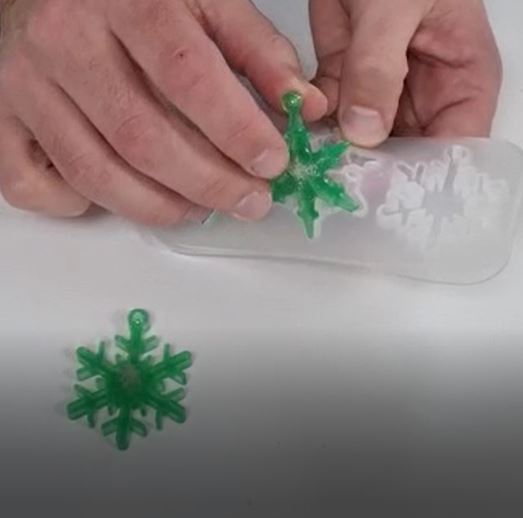
After mixing the resin and hardener, it’s time to bring our Christmas decorations to life with some colour. We chose a festive green with a sprinkle of silver glitter for that extra sparkle!
Once you’ve added your chosen colour and glitter, mix everything together for a couple minutes to ensure an even distribution.
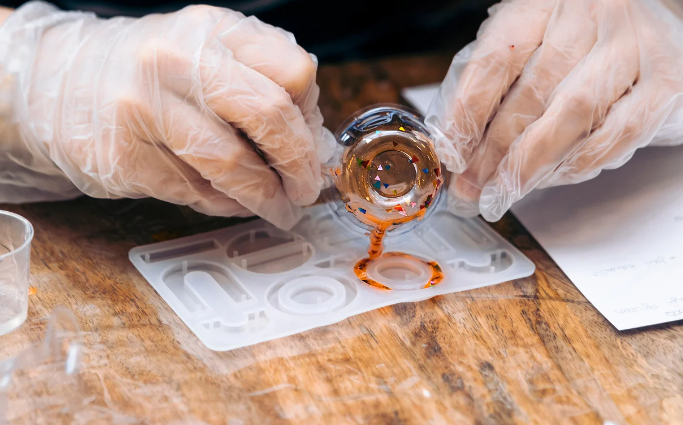
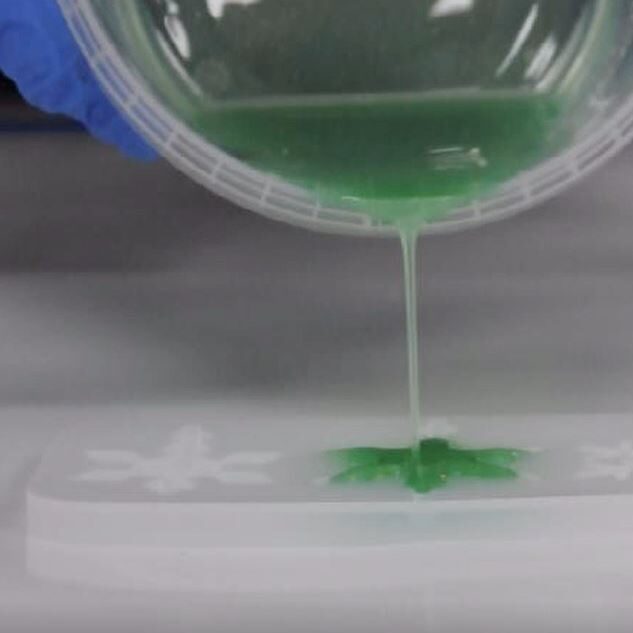
With the mixing done, it’s time to pour the mixed epoxy into the moulds.
What is the Correct Curing Process for Your Christmas Decorations?
After pouring the epoxy into the moulds, we need to let them rest overnight. The next day, it’s time to cure our creations in the oven. Please refer to your oven’s manual to find the appropriate temperature and curing time for your specific crafting project.
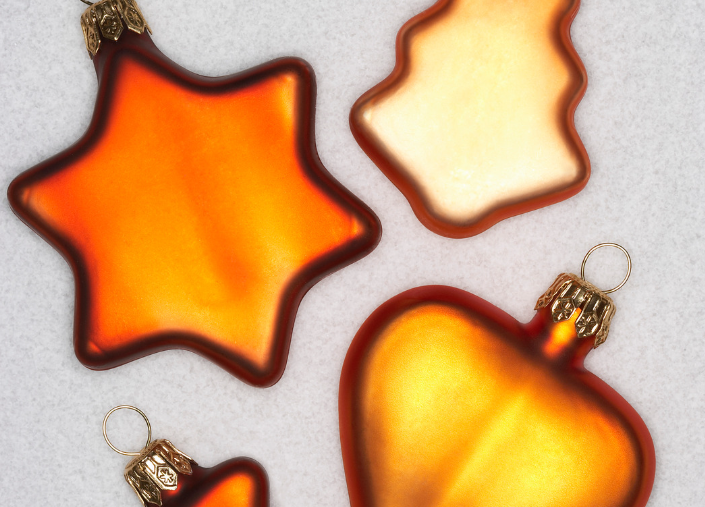
Congratulations! After the curing process, your moulds are set and ready to be unmoulded. Now comes the most rewarding part – taking your creations out of the moulds and hanging them up. You’ve successfully crafted your own festive Christmas decorations!

Have you subscribed to our FREE monthly newsletter? Sign up here!
Working on a project? Share it with us! Click here…