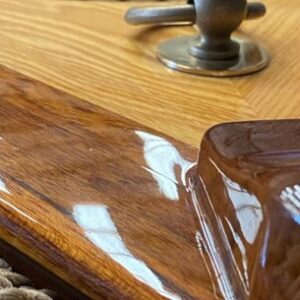
Projects: Upgrading a KELT 850 Rudder using PRO-SET Epoxy
Back in 2015, we ran a story on fixing rudders, written by technical guru David Johnson. Here he updates us on his rudder repairs and how to make them using PRO-SET and WEST SYSTEM products.
Read the original article here: https://epoxycraft.com/how-to-use-epoxy-to-fix-the-rudder-of-a-sailing-yacht/
Planning and preparation
Firstly this kind of work is no small undertaking. Work-planning and choosing the correct materials are paramount to success. Thought should be given to what you might find once the rudder is split into two halves. A thorough investigative approach is essential.
You will need some good specialist GRP tools and appropriate Personal Protection (PP) gear.
Check the condition of the stock
The condition of the stock is critical. If it’s alloy just have a new rudder made. If it’s stainless steel, check for corrosion of any kind that might compromise the welds on the web or tangs on the shaft. On a spade-type fin keel arrangement, the easiest source for water ingress is where the stock enters the rudder mouldings. On a bilge or lifting keel, where the rudder takes the ground, be suspicious of the rudder halves splitting. If in any doubt at all call a surveyor. There are not many things a good surveyor hasn’t seen on old GRP production boats from the 1970s onwards.
Checking the condition of my Kelt 850
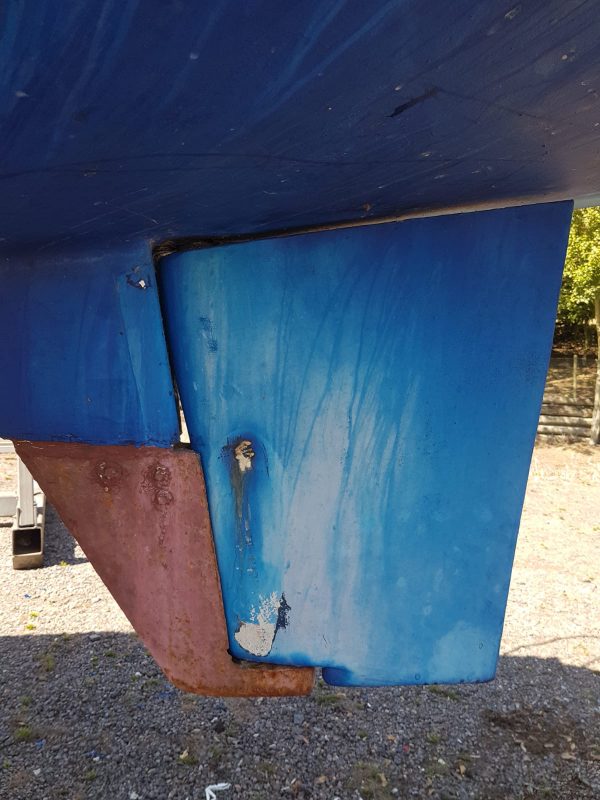
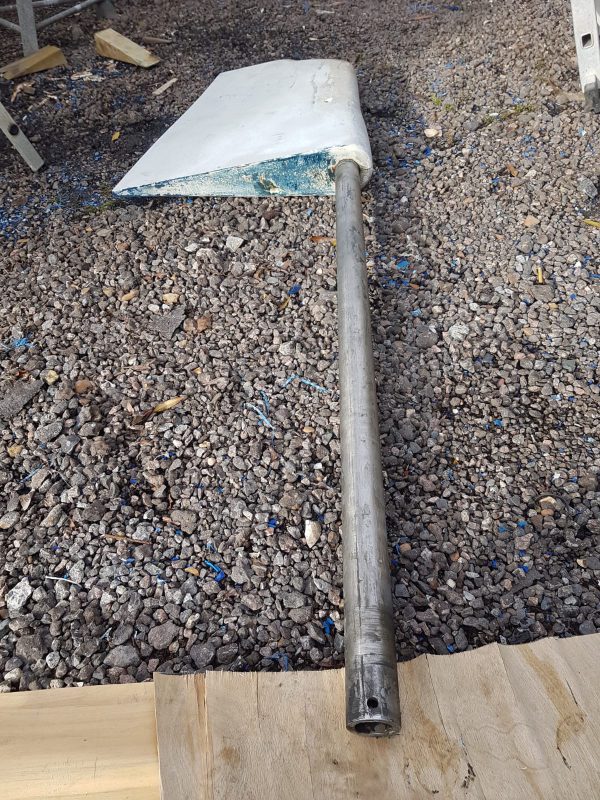
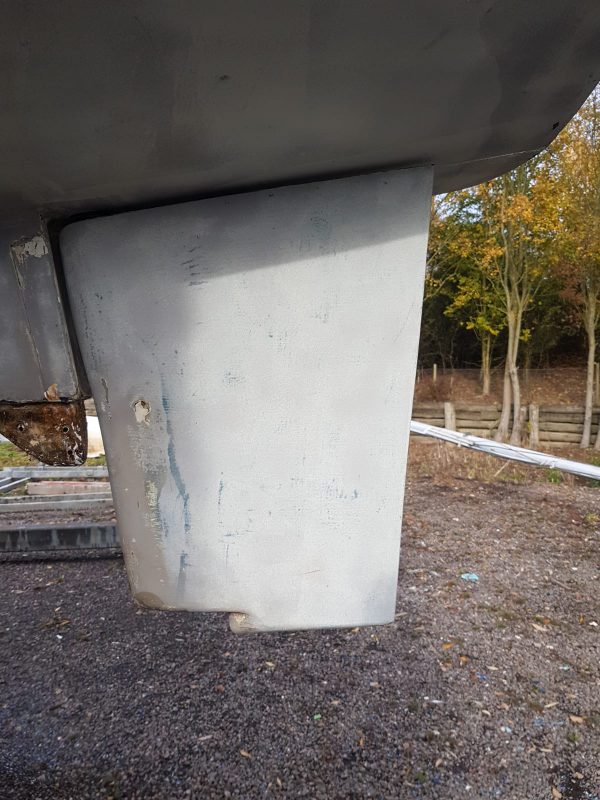
This is my Kelt 850, a ground-breaking French design from 30 years ago. A quick swipe with a sovereign moisture meter revealed off the clock readings on the rudder blade. Be careful as the meter will read high in way of the metal stock. A secondary indication after drilling a hole in the bottom was pungent isocyanate rich water from the polyurethane expanding foam draining out. Two guides, based on observation, are much better than relying on one.
Slicing the rudder
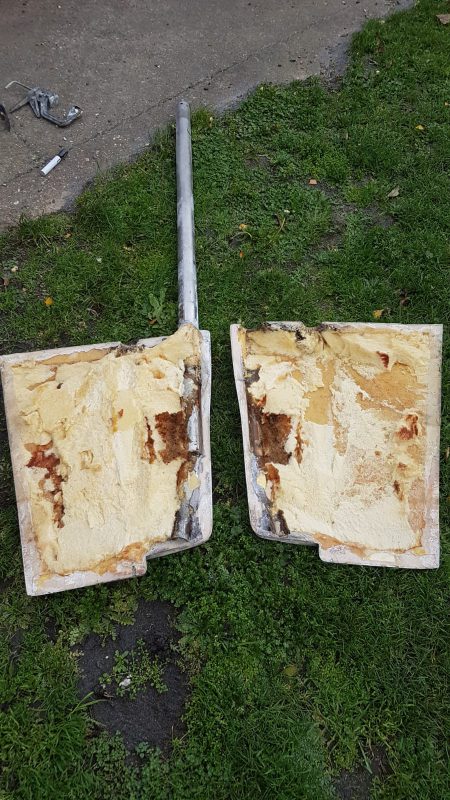
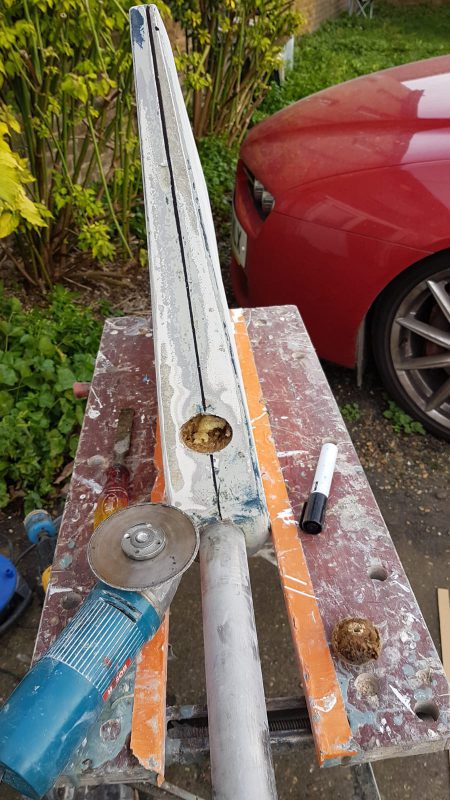
Once the rudder was off, taken back under cover and all antifoul and old epoxy coatings removed, I could start work on slicing the rudder around its joint with a diamond cutter. When split apart with a crowbar, my suspicions were confirmed. The polyurethane foam was sodden, undercured and pungent.
Preparation
I removed all the foam and polyester bonding paste. The quality of the original stainless stock appeared sound and the polyester overlaminating to one half moulding was robust and in good order. The interior (b face) of the laminate was scrupulously abraded with 60 grit paper and vacuumed clean. No acetone was used. Acetone has a tendency to reactivate the surface of old polyester laminate which is not good for a powerful epoxy bond.
Products used
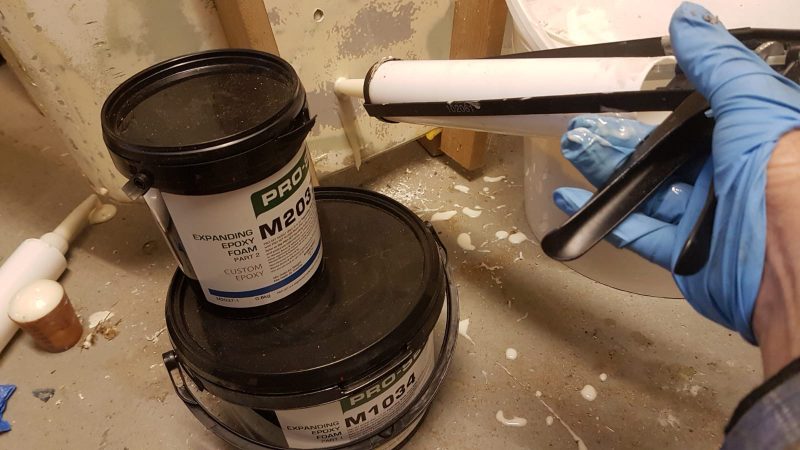
I decided to enhance the contact area of the new joint. I used WEST SYSTEM 105 Resin, 206 Slow Hardener and 410 Microlight. This is lightweight yet bonds tenaciously to scrupulously prepared polyester GRP. The rudder halves were distorted so I trued these with hardwood battens secured with car body filler (this is cheap, bonds sufficiently and is easy to remove).
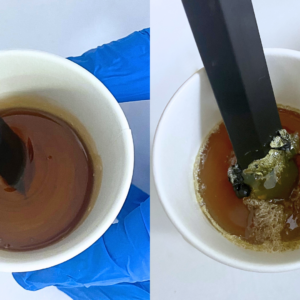
I chose to fill the available void with PRO-SET Expanding Epoxy Foam – M1034 Resin and M2037 Hardener. This is an utterly exquisite product expanding to four times its volume. It also has superior adhesion and moisture exclusion effectiveness than polyurethane foam.
Great care and thorough reading of the Technical data sheet is encouraged here, as the mixing and expansion rate are very temperature driven. Minimum workshop, mixed epoxy and part temperature should be 22°C.
Calculating volume
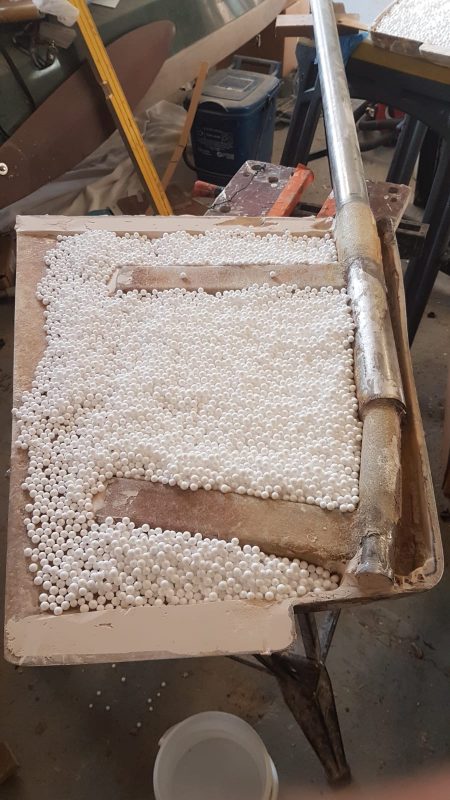
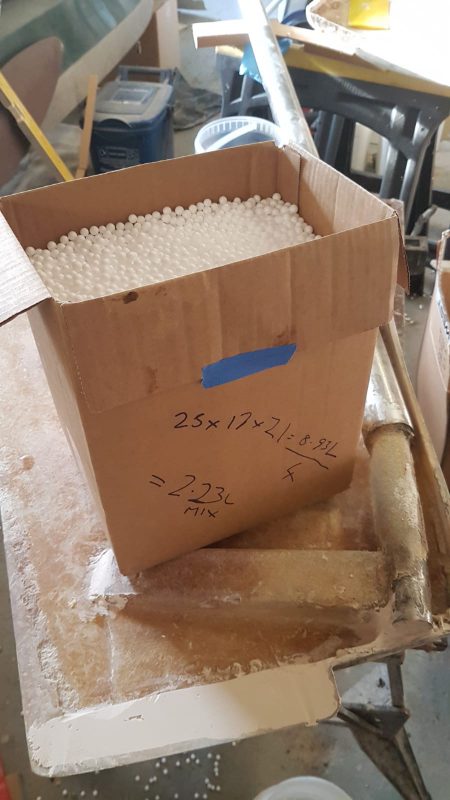
To calculate the available volume I used beanbag beads and poured them back into a cardboard box. This meant I could measure the volume and reverse calculate the weight I needed to pour/inject.
Bonding the rudder halves
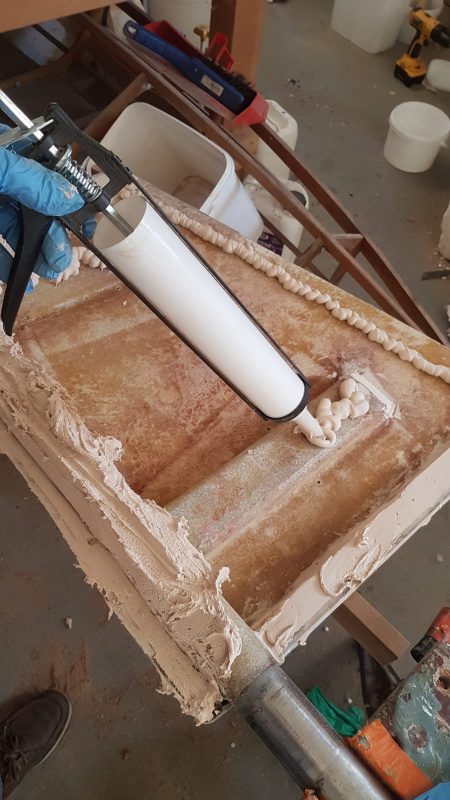
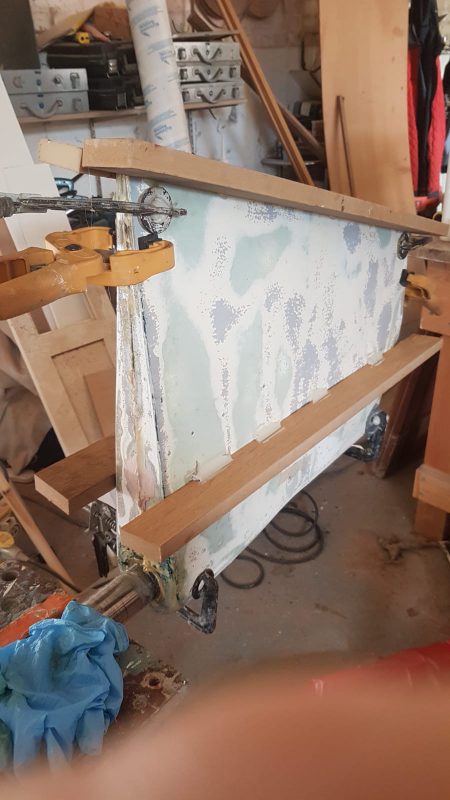
Bonding the two rudder halves with enhanced surface area joints was straightforward after dry fitting and jigging.
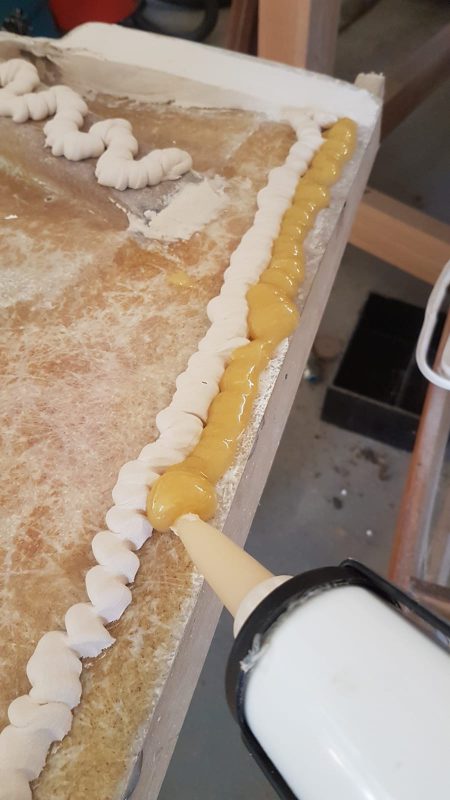
I used WEST SYSTEM G/flex 655 Epoxy. This product has superior “America’s Cup” type adhesion yet is available at your local chandlery shop. I can’t tell you how easy this is to apply once the resin and hardener are diligently mixed together. Using clean empty mastic cartridges for precision application is especially useful.
The rudder was clamped-up and left for 24 hours. With all the excess adhesive flashing cleaned up I could concentrate on filling the void inside the mouldings.
Filling the void
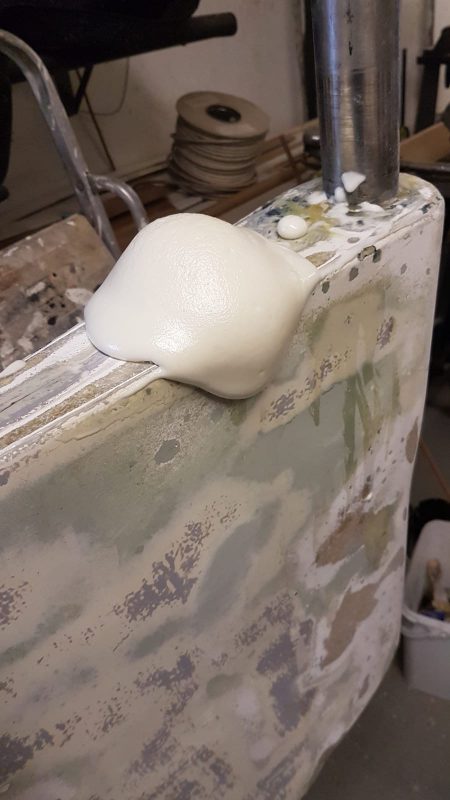
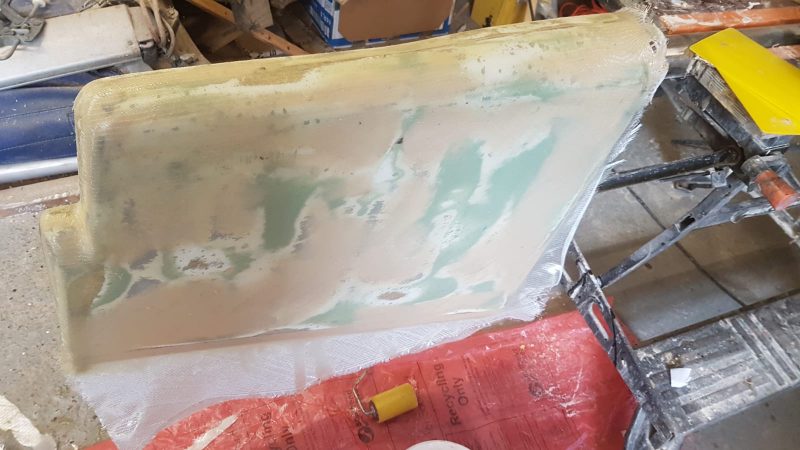
I paid particular attention to the point where the stock entered the mouldings. This is a weak point of entry for moisture. I created a rebate to allow judicious application of WEST SYSTEM G/flex 655 Epoxy between the stainless stock and GRP rudder mouldings. G/flex 655 epoxy is perfect for bonding appropriately prepared metals and composites.
Using empty mastic cartridges to dispense the foaming epoxy into the lower part of the rudder is a great tip. The final 2/3 of the pour was from the top, through a larger pour aperture. Tell-tale holes gave me a clear indication as to the level the foam had expanded. I used a 2.8kg kit of PRO-SET epoxy foam, poured in two work sessions. One third was injected, the other two thirds poured. There was no significant exotherm or distortion of the rudder halves.
Modifications to design
Because the Kelt 850 has such shallow draft, I decided to make some alterations to improve rudder handling when heeled. I chose to add to the trailing edge of the rudder by about 30mm at the trailing tip, tapering to 10mm at the head. If it’s unsuccessful I’ll just grind it off.
Filling, fairing and sheathing
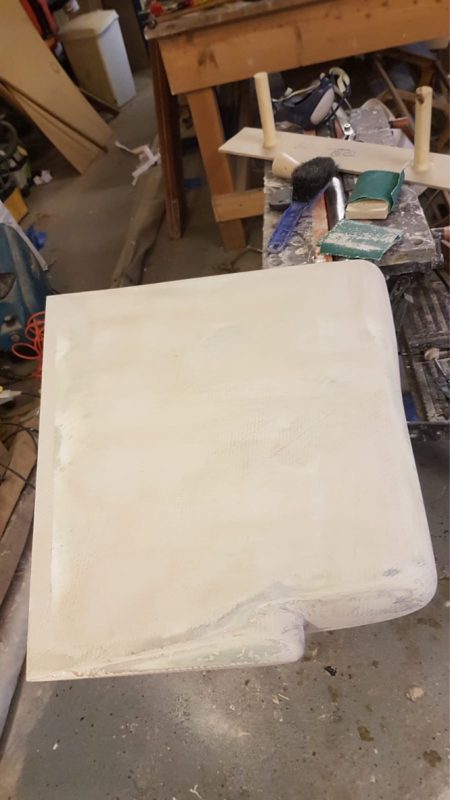
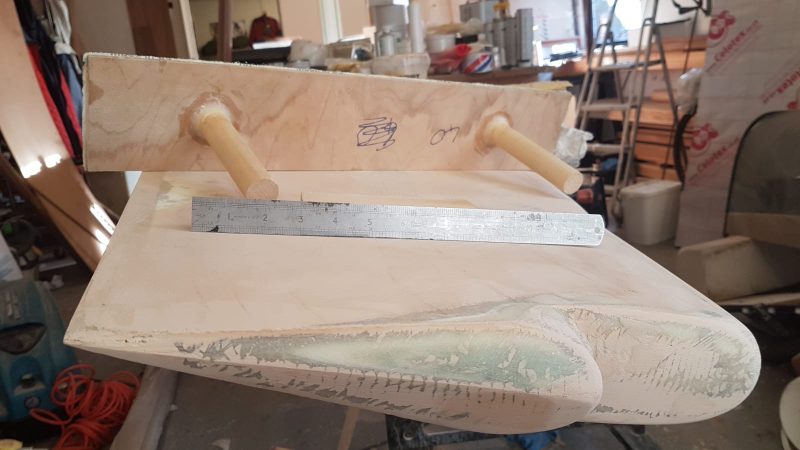
WEST SYSTEM 817 Plastic squeegees, a metal straight edge and the right filler consistency are vital to getting a super hydrodynamic shape.
WEST SYSTEM 105/206 epoxy with 410 Microlight filler added was perfect for this job and also as part of filling and fairing the whole rudder. Fairing is all about applying just the right amount of filler mix.
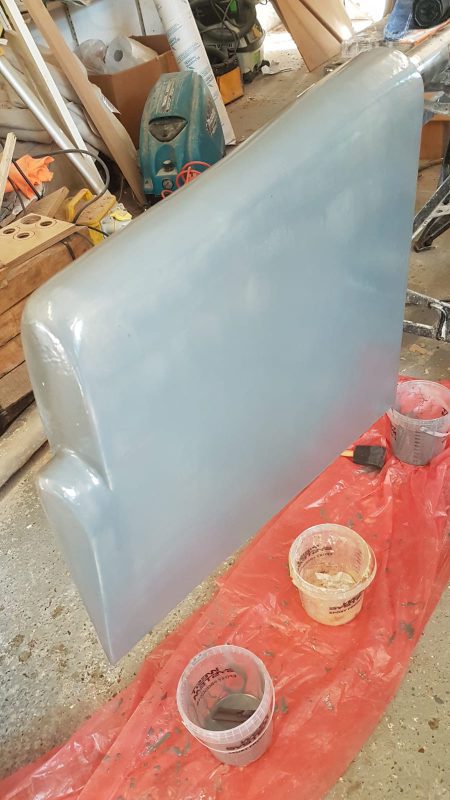
I made several longboards with 40 and 60 grit paper stuck with carpet adhesive. Once fair, I set about sheathing the whole structure with 300g/m2 Biaxial Glass Fabric and WEST SYSTEM 105/205 epoxy. Lightweight yet strong, this provided added reinforcement for the leading edge seam. Whilst the epoxy/glass is still tacky it’s a good time to screed a thin skim of the same epoxy/microlight filler mix over the textured stitching and double bias of the glass fabric. That way the fairing process doesn’t cut away any of the valuable reinforcement.
Finishing
Final coating was completed using WEST SYSTEM 105/205 epoxy as the first coat; followed by three consecutive coats going wet onto tacky of the same epoxy with 422 Barrier Coat Additive added.
All the products mentioned are available from local chandleries. If you’re looking for expert advice for one of your projects, marine or other, get in contact with our technical team via the website. At Wessex Resins and Adhesives, we are more than happy to help.
Naming of parts
Sovereign moisture meter. Essential surveying tool to give an indication of relative moisture within a GRP laminate.
Diamond cutter. An angle grinder with a diamond tipped wheel that cuts through GRP easily but creates a lot of dust. Appropriate PP equipment is essential here. An industrial vacuum held close to the cutting disc can reduce dust.
WEST SYSTEM 105 Resin/206 Slow Hardener. Relatively low bulk exotherm with less chance of original GRP mouldings distorting.
410 Microlight. When mixed at 2.5-3 times volume of filler to mixed epoxy, yields a density of approximately 400kg/m3.
Longboard. A flat and true piece of plywood with two short pieces of broom handle epoxied to the back. Abrasive paper is then glued to the face with carpet adhesive. This is a robust and easy way of ensuring flat and ‘fair’ surfaces. 40 grit makes easy work of removing epoxy and filler. PP equipment is essential here.
G/flex 655 Epoxy. Thixotropic high elongation epoxy adhesive. Easy to mix. Maximum adhesion assured with appropriate preparation to GRP.
PRO-SET Epoxy expanding foam – M1034 Resin/M2037 Hardener. Must be used at 25°C to assure projected expansion of 3-4 times original volume.
300g Biaxial Glass Fabric. Easy wet out, plus it’s light and strong.
422 Barrier Coat Additive. A mineral based filler. When it’s added to mixed epoxy and applied in thin coats, it provides additional moisture exclusion effectiveness.

