Projects: From Plank of Wood to i550 Sport Boat in 3 Minutes Using Epoxy Resin
Ever wondered what goes into making a sport boat using Epoxy Resin? Here’s how WEST SYSTEM® Epoxy inventors Jan and Meade Gougeon and their team of Technical Experts did it.
All in all, it took about 700 hours of work but, we’re guessing you don’t have that kind of time to spare. Instead, take the short-cut. Watch this fun time-lapse video, to see them prepare their boat for the Everglades Challenge using marine epoxy in just 3 minutes.
The need for a new epoxy resin boat
After a steering mishap during the 2010 Everglades Challenge, Meade was already contemplating constructing another boat for the subsequent race. The forthcoming boat needed to be more robust to handle choppy seas, tailorable. It also needed to be comfortable and still meet the race’s natural prerequisites. Meade and Jan began exploring the i550, an 18′ sport boat designed by Chris Beckwith. They decided that with a few modifications, the i550 would be perfect for the race.
Building the boat
The Gougeon Brothers technical team assembled the hull in their workshop with Captain James R. Watson supervising the building process. The i550 sportboat is built with plywood stitch and glue construction. They used ¼” 5-ply Okume plywood and judiciously placed 5 oz carbon fibre. The entire boat was built with WEST SYSTEM® 105 Epoxy Resin® and 207 Special Clear Hardener®.
Preparing the plywood
The first task was to scarf three 4′ × 8′ pieces of the marine plywood together. This was done using the WEST SYSTEM 875 Scarffer™. They constructed a simple jig to enable the proper cut point on the plywood to minimise waste. After cutting the panels, they bonded them together. This was done with a mixture of 105 Epoxy Resin and 207 Special Clear Hardener, thickened with 406 Colloidal Silica filler. Then they lightly sanded the panels with a random orbital sander to clean the scarf joints. This was done prepare the surface for a coating of 105/207 mix.
Coating and cutting the panels
They “flow coated” the surface by applying mixed epoxy with a 10″ drywall knife. This was an efficient, yet effective method to coat three 22′ × 4′ panels with epoxy prior to construction. With the panels coated, they overlaid the Tyvek™ patterns (provided by Watershed Sailboats) on the panels and made reference marks to transfer the pattern shape for accurate cutting. Using a handheld jigsaw, they cut the patterns from the panel, careful to leave the original reference marks intact.
Stitching the panels
It’s always easier to remove extra material later than it is to put it back on. Captain JR Watson built an ingenious jig they used to set a scribe mark around the perimeters of the cut and trimmed panels. From this point, they drilled holes at 8″ intervals to allow for the HDPE zip ties to “stitch” the panels together.
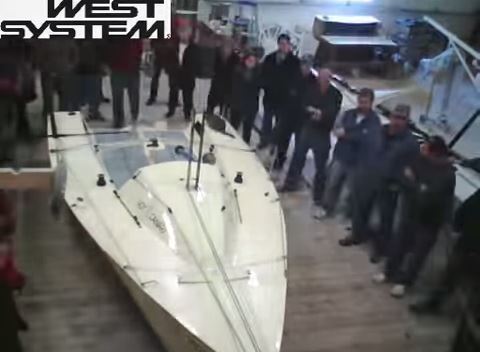
The i550 Hot Canary
Then, using a random orbital sander, they lightly sanded the panels to clean the scarf joints and prepare the surface for a coating of 105/207 mix.