Projects: Building an 18th century gajeta – Part 5
Part 5:
All skin and ribs
Designed on 3D software by a 21st century architect working to 18th century specifications, our wooden Gajeta is ready to receive her cosmetic outer skin. The skilled craftsmen at the Betina Shipyard in Croatia now build up the double-diagonal epoxy-sheathed hull with a modern primer/filler.
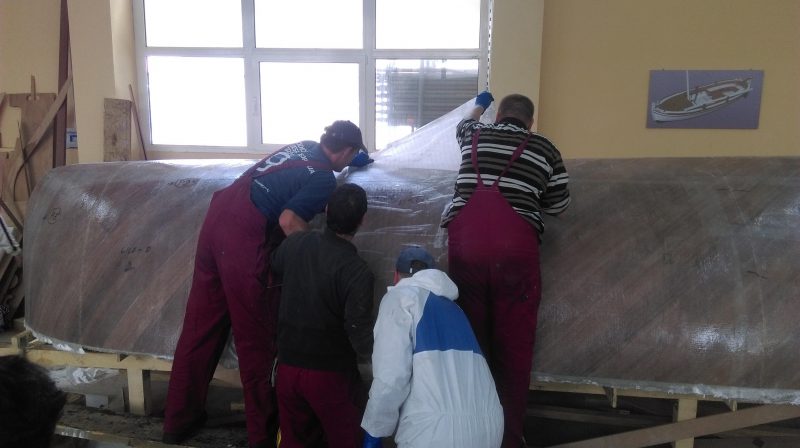
Peel ply was laid over the last of the coats of biaxial cloth and a mix of WEST SYSTEM® Epoxy 105 Resin and 205 Fast Hardener, was rolled through for full saturation. Once the epoxy cured, the ply was literally peeled away, taking the amine blush with it and leaving a pattern embossed in the surface underneath. This makes an excellent ‘key’ and saves a lot of time and effort as there is no more preparation required.
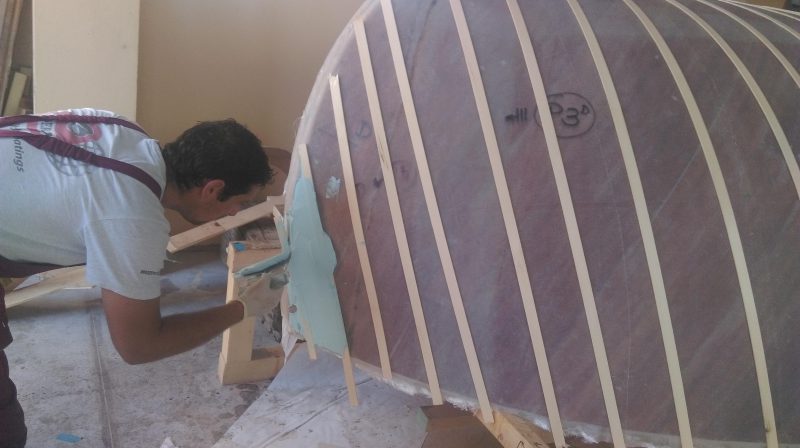
A series of equally spaced 5mm batons are stapled to the hull to act as depth guides. Then a thick coat of high build epoxy primer/filler is trowelled between them, with care taken to keep the thickness as even as possible. This is where the batons prove invaluable as a visual check for depth.
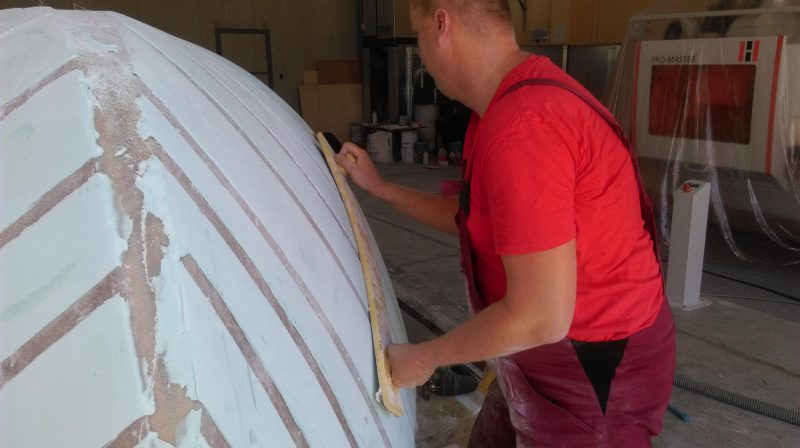
A longboard is used to flat back the surface and take out any imperfections. Longboarding involves attaching a strip of coarse sandpaper (obtainable in rolls several metres in length) to a flexible piece of wood. The wood (usually an offcut of ply) has handles attached and will take the varying shape of the hull as it passes over the surface.
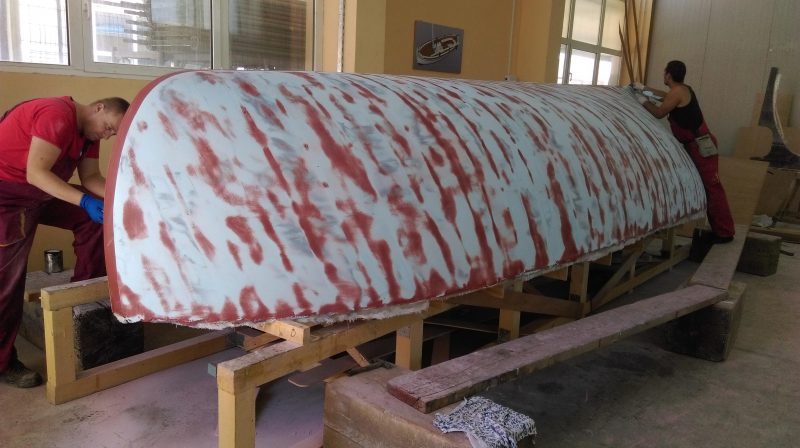
The batons are removed and a second filler of the same density but a different colour (red) is skimmed over the surface, filling the baton voids and also the keel sections. This is also flatted back before a third, very thin layer of the first colour is reapplied. Once longboarded, any high points will be revealed by the red colour showing through.
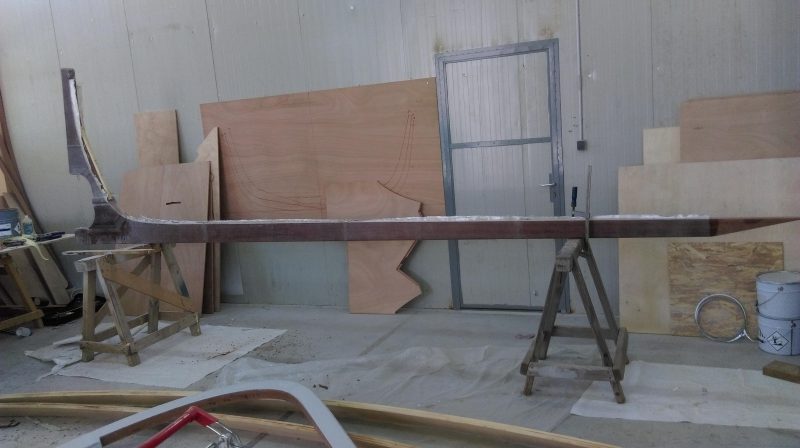
Whilst the fourth (red) layer of filler is being applied to the hull, the mahogany keel sections are epoxied together and coated with biaxial cloth. Along with all the key components the keel was CNC cut in three sections, from a laminated solid mass, with absolute precision.
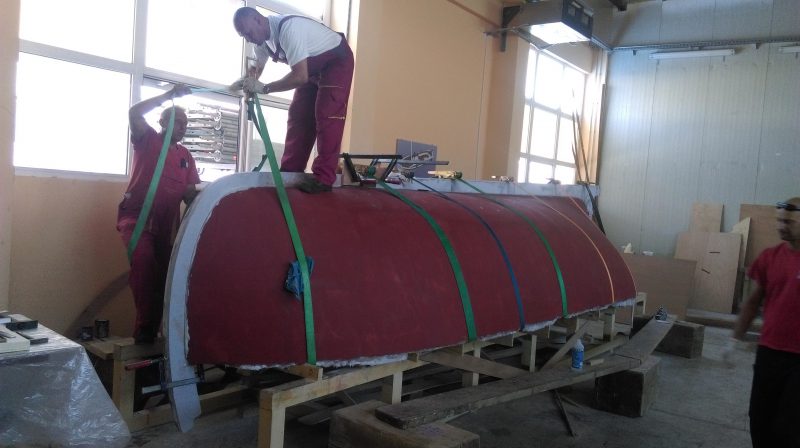
With the final coat of filler/primer cured, the keel assembly is bonded to the hull using thickened WEST SYSTEM 105 Epoxy Resin with 206 Slow Hardener. Cargo ratchet straps were used to hold the heavy keel in place during the cure. When bonding a large piece like this a slower cure allows plenty of time for positioning and final checks.
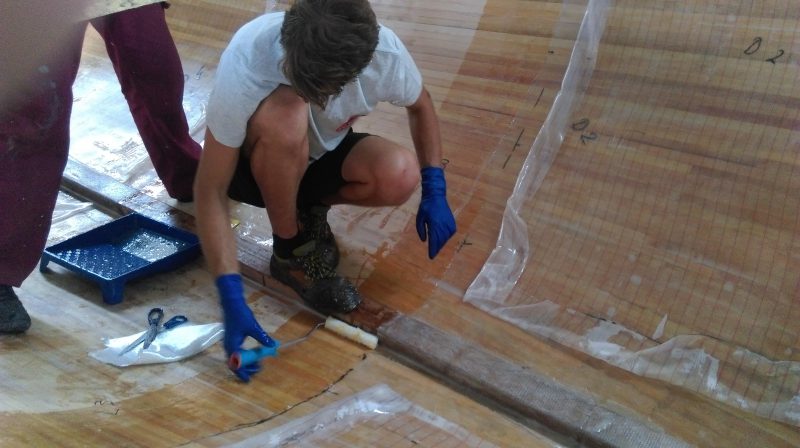
With the keel bonded firmly into place – no need for traditional mild-steel keel bolts – the hull was carefully turned over, making sure it didn’t flex and crack the filler. Then the process of wetting out the inside could begin. WEST SYSTEM 105/205 epoxy was used to coat the bare wood before the first of two layers of mid-weight biaxial cloth were rolled down, followed by peel ply to prepare the final surface.
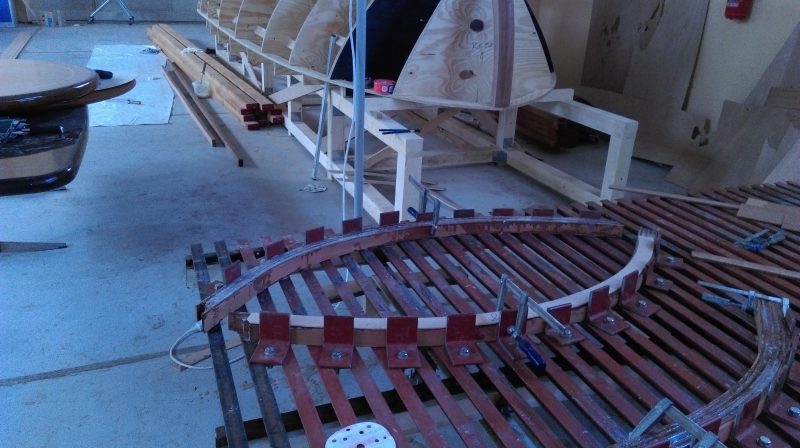
The ribs had been made very early in the project to CAD drawings. The ribs themselves were created from a series of thin strips of mahogany bonded together with thickened epoxy and bent to shape on this adjustable jig.
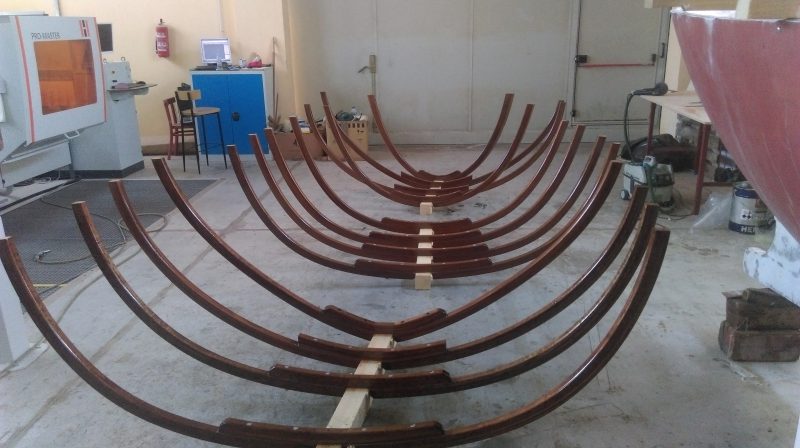
Now complete with a central strut and coated with several layers of epoxy, they were ready to go into the hull at pre-determined points.
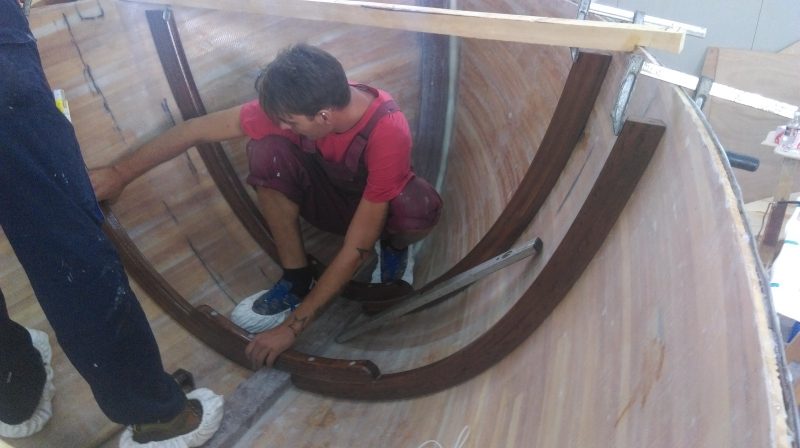
Starting from the bow, one by one each set of ribs was carefully positioned and held with sash clamps at the gunwale. Care was taken to keep the ribs vertical and parallel to each other.
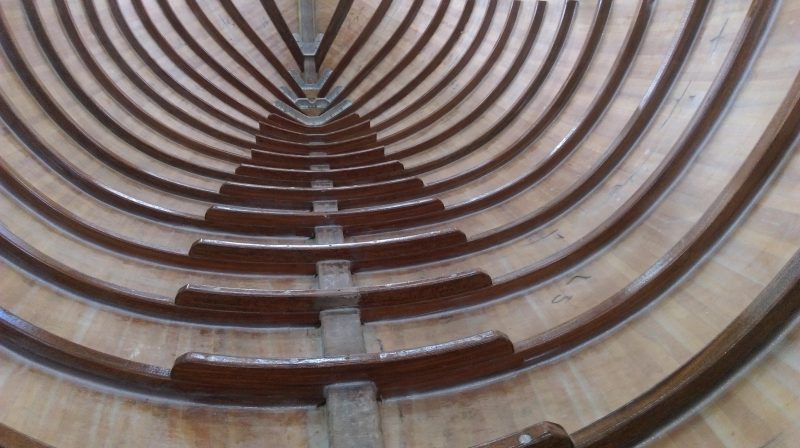
Once the craftsmen were happy with the position each rib was bonded into place with a ‘fillet’ of thickened epoxy on each side. To thicken the mixed epoxy, they used 406 Colloidal Silica, a general structure additive as it gives a pale finish. Note how thin and unobtrusive each white fillet is. Now the hull has the strength to take the rest of the fit-out.
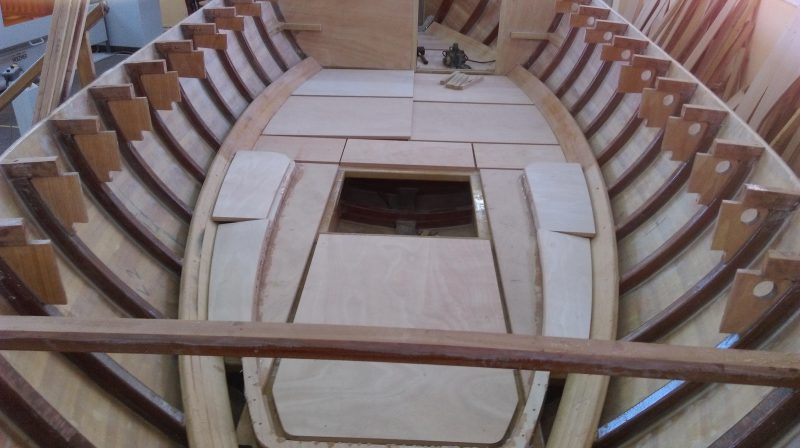
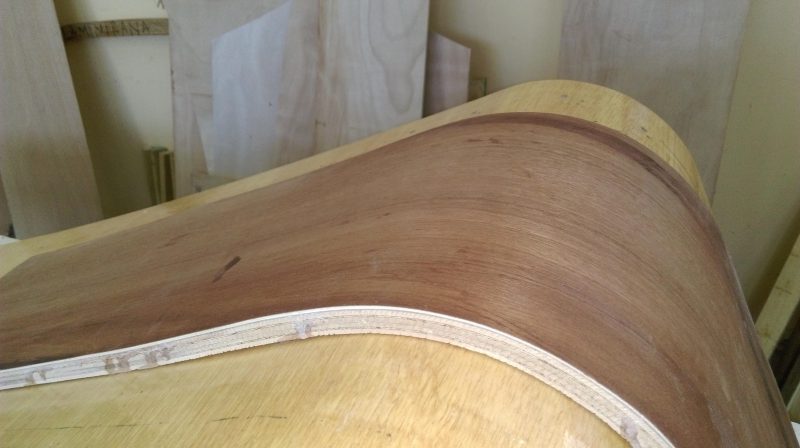
Engine beds, stringers and other internals. The Betina team also demonstrates how to bend thin laminates of plywood into both tight and gentle curves.
