Projects: Building a Stornoway 16 – Part 3
Completing the hull and making a spinnaker chute
Keen to build himself a small sailing dinghy, retired land surveyor Steve Goodchild turned his spare room into a workshop and began to assemble a 16ft Stornoway design using the strip plank method. The idea was that ‘Barnacle’ would be capable of dinghy ‘cruising’, a popular pastime where a small boat can access remote and shallow areas and convert into an overnight camper. Based in Devon, Steve had plenty of creeks, rivers and bays to explore, many only accessible in a shallow draft boat.
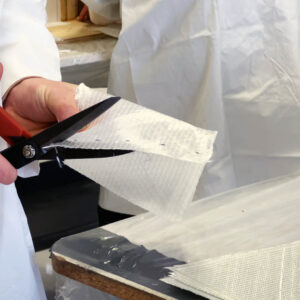
Having attended a WEST SYSTEM® Epoxy course, Steve was confident in using epoxy to assemble the hull using long strips of Red cedar obtained from Stone’s Marine Timber. He had also learnt how to drape glass cloth over the bare wood to create a perfectly watertight outer skin. Now to put it all to the test.
“I had machined 144 timber strips that were 8.5mm thick, 20mm wide and 5500mm long,” Steve says. “Each one had been routed with a cove in one edge and a bead in the other so they would slot seamlessly together. Doing this work myself saved an estimated £1,100 in professional machining costs, enough to invest in some more power tools.”
Steve wanted to avoid nailing the planks to offset chocks set against the frames, as this would leave multiple rows of nail holes visible in the wood. Instead, he decided to glue the entire hull together using thickened epoxy.
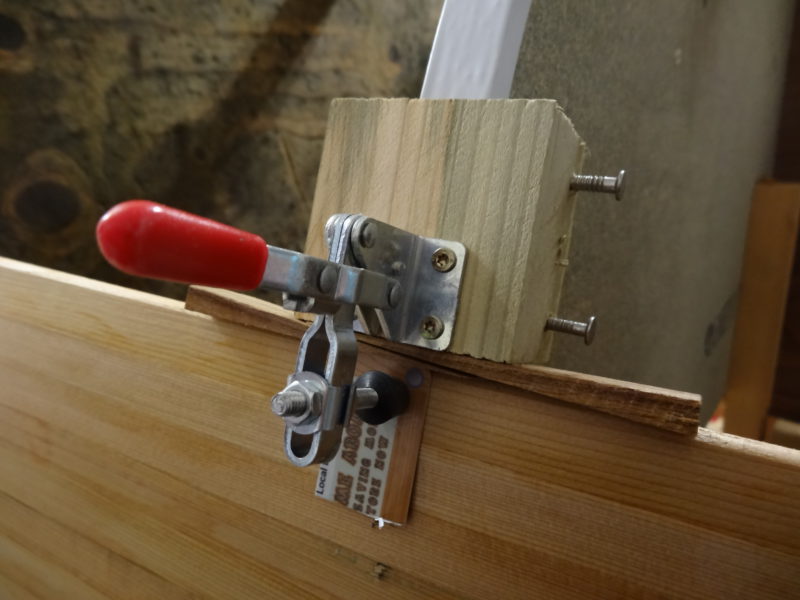
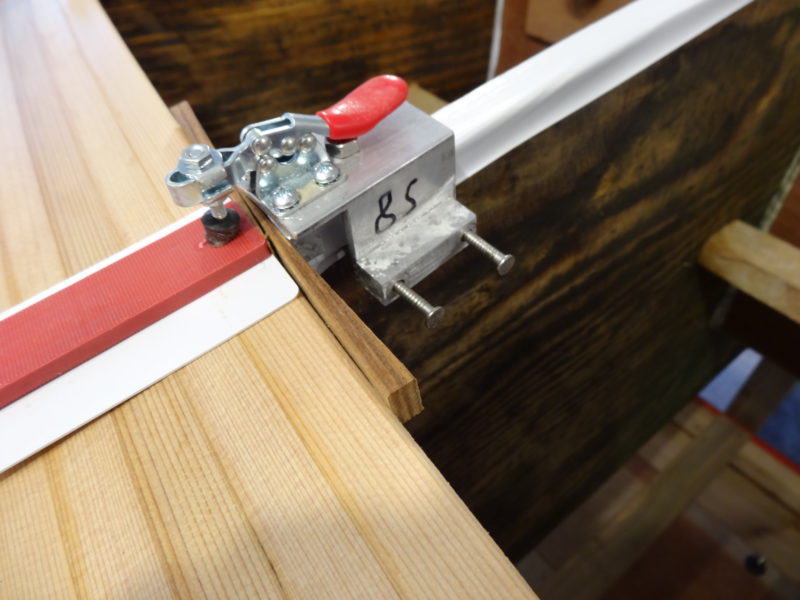
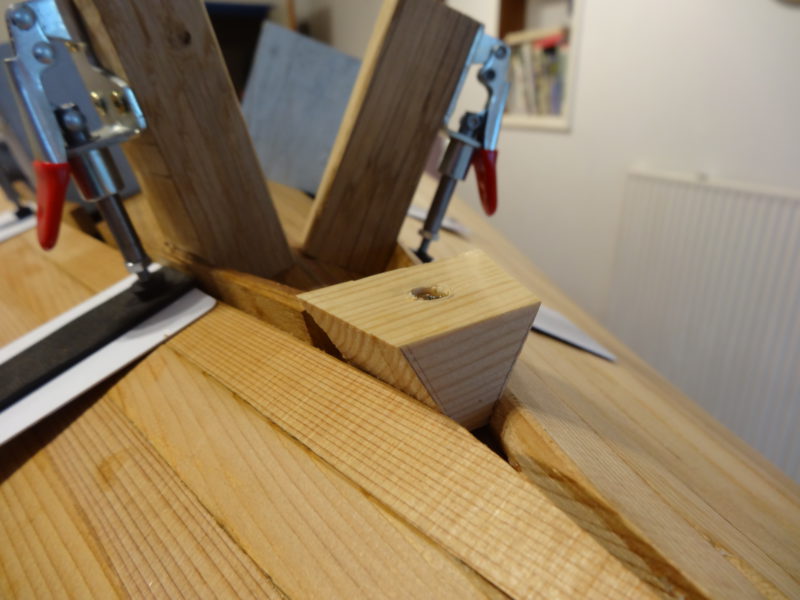
“I imported 30 small toggle clamps directly from Hong Kong for a landed price of just 86 pence each,” he explains. “I machined a length of scrap timber with a central groove slightly wider than the thickness of the formers and cut it into blocks 60mm long. I drilled a pair of holes through each block at right angles to the former, and finally screwed a toggle clamp top each block. The image shows a finished clamp in operation.” Note how the formers are coated with shiny plastic tape to aid release.
But the hull had to start somewhere, and that would require nailing, so Steve began by placing the first strip along the shear line at the deck, which would be covered by protective trims making up the gunwale so the nails would be hidden. This first strip, tightly anchored by nails, would form the basis for the rest to be built upon.
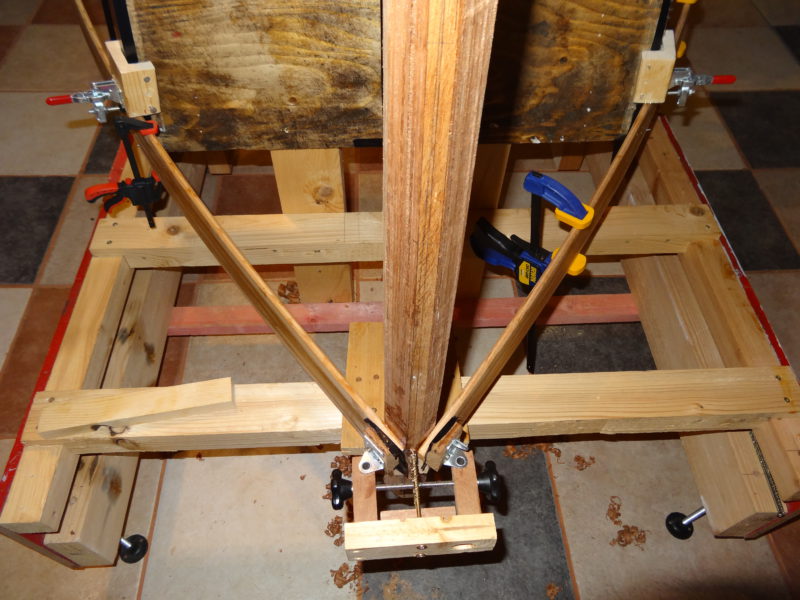
To hold the bow together, Steve made another purpose-built clamp. Tightening the two black clamps drives the two pads (which are free to rotate) against the planks.
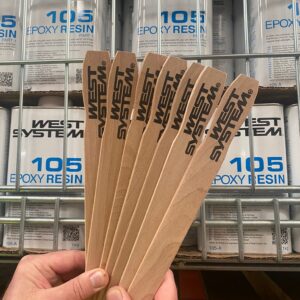
“When the clamps are set up it is a simple matter to spread the epoxy to the convex face of the lower strip and the concave face of the next strip,” Steve says. He was using WEST SYSTEM 105 Epoxy Resin® with 205 Fast Hardener®, the mix thickened with 406 Colloidal Silica Filler to aid the adhesion.
“I then clipped the strip under the blocks for a rough alignment and then flip the toggles down to press the strip against the formers. When the strip is in position, I inserted the pair of wooden wedges between the block and the strip using hand pressure.
“To my delight, I found that the pressure of the wedges pushed out beads of epoxy evenly along the seam,” Steve says.
Steve used a cheap stainless-steel scraper from Lidl to lift the majority of the excess epoxy, followed by a clean-up using small rectangular scouring pads from Poundland. Allowing any lumps of epoxy to harden would have required a long session with a sander later.
The image shows the hull as it nears the keel section, which brought challenges of its own.
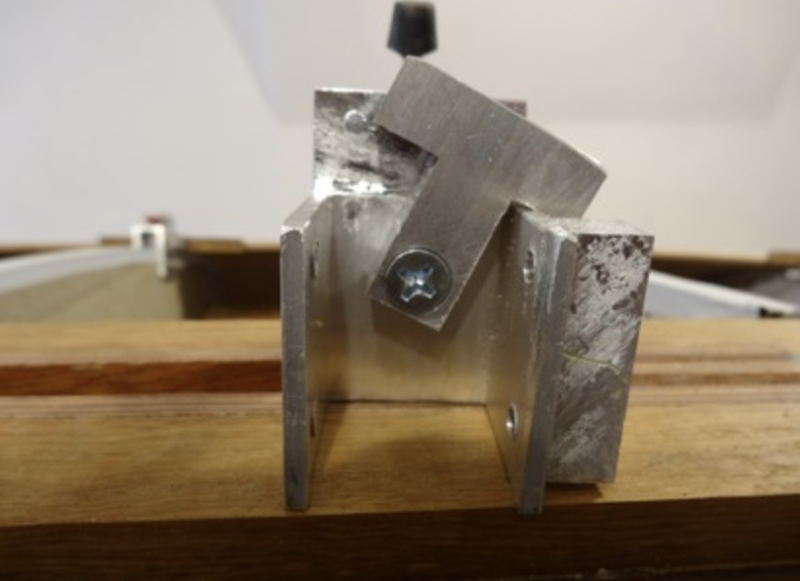
As the angle between the formers and the strips increased towards the keel, Steve modified the design of his clamps using aluminium U section. As you can see in the two images, a small T piece is free to rotate about 30 degrees in either direction to take care of the different strip angles. Meanwhile, a small block of aluminium was epoxied to one side to act as a drill guide.
Clamping the strips to the bow effectively became more of a challenge as the angles changed and became multi-directional.
“As the build progresses, the strips have to bend across the width, and the thickness, and with a twist,” Steve says. “My aluminium clamps become useless when they no longer fit between the next plank and the hog, so I have tried several different methods. One of the more successful is pictured here.”
Despite the challenges, Steve is convinced that it is worth the extra effort, as clamping leaves a superb hull finish completely devoid of any nail or staple marks.
“The wedges push the joints together between the moulds, so there is no need for bungees, clips or tourniquets or any of the other suggestions I have seen for aligning the planks between the formers,” he explains.
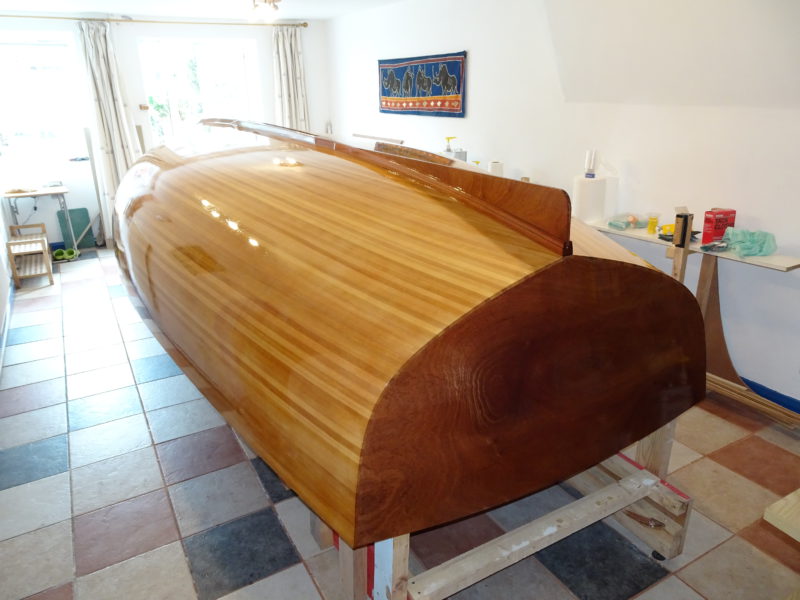
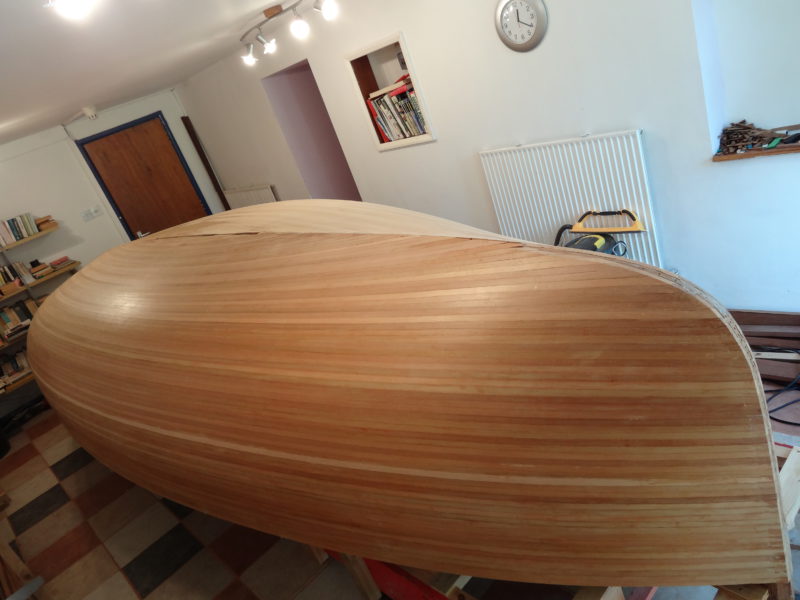
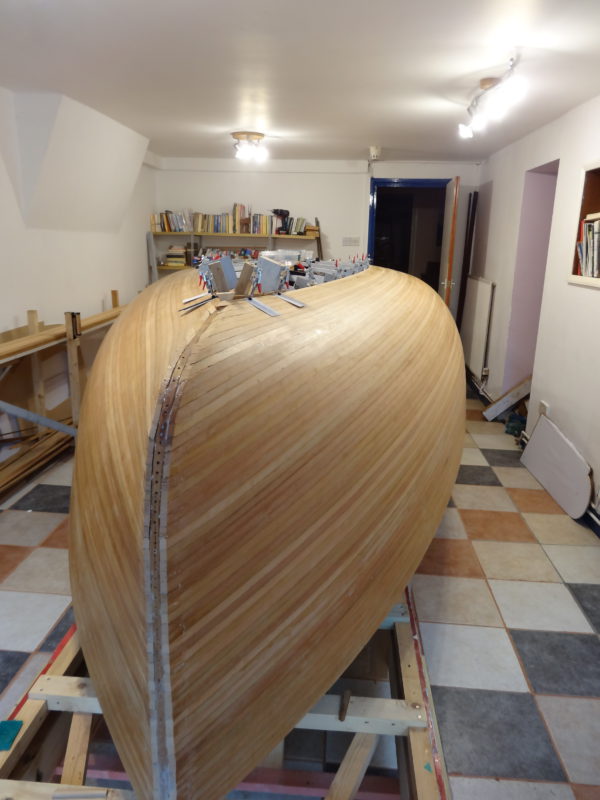
With the hull complete, all that remains now is for it to be sanded flat in preparation for the epoxy sheathing and the fitting of the keel strip. You can see from this image just what a smooth and attractive hull the strip plank method creates once sanded, glassed and given a few coats of UV resistant varnish. This is opposed to the easier – but chunkier – chine method using much wider plywood sheets and more angular formers.
Making the spinnaker chute
One of the fitting-out projects used some of the leftover strip planking and is a remarkable piece of epoxy engineering in itself.
“I still had the spinnaker from a Fireball dinghy I had built back in 1972,” Steve says. “The spinnaker is fed from inside the hull to the halyard via a tube, or chute, that opens up in the foredeck. I couldn’t find a moulded fibreglass chute anywhere so I decided to custom make one for Barnacle. To create the underdeck chute fitting I had to laminate 33 pieces of 12mm ply into a rough shape, with every piece different. I also had to make a tube from the chute to the bulkhead, and for that I used strip planks left over from the hull.”
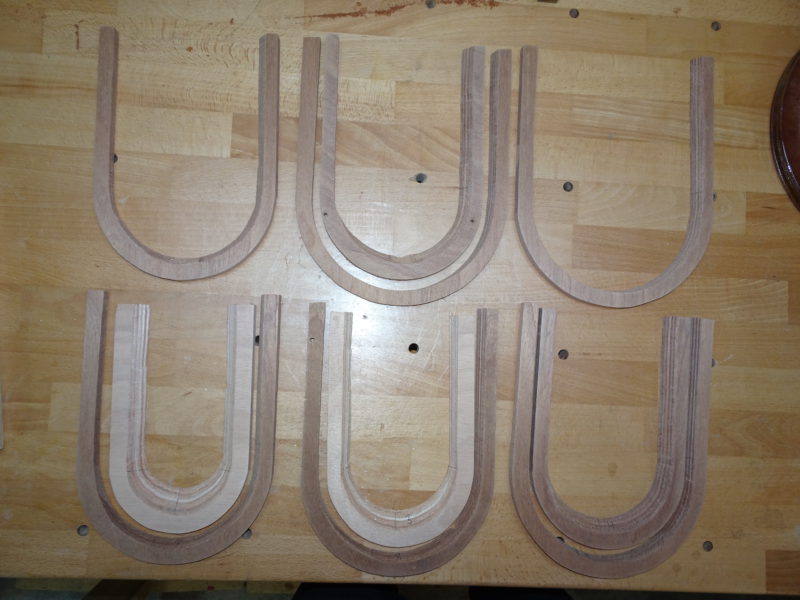
Using a jigsaw, Steve carefully cut each individual piece from 12mm marine plywood.
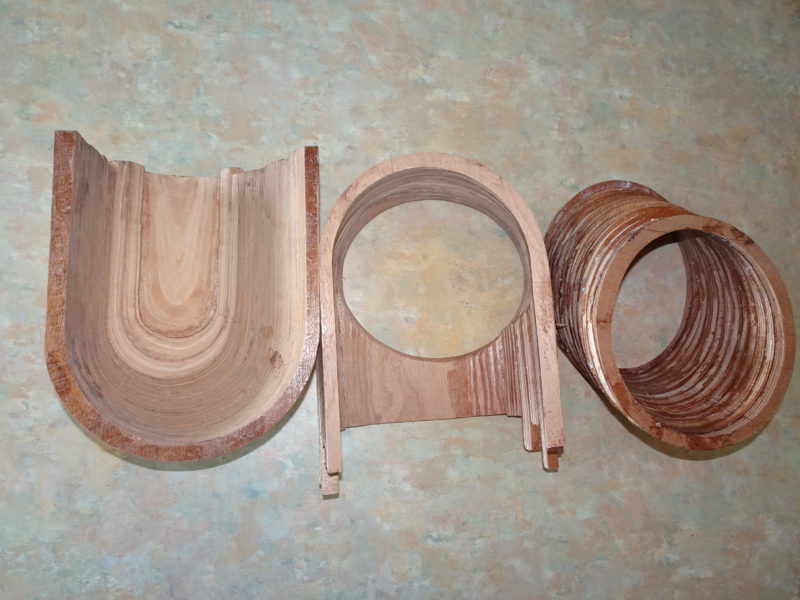
He then began to assemble them using thickened epoxy. Here are some of the components partly built.
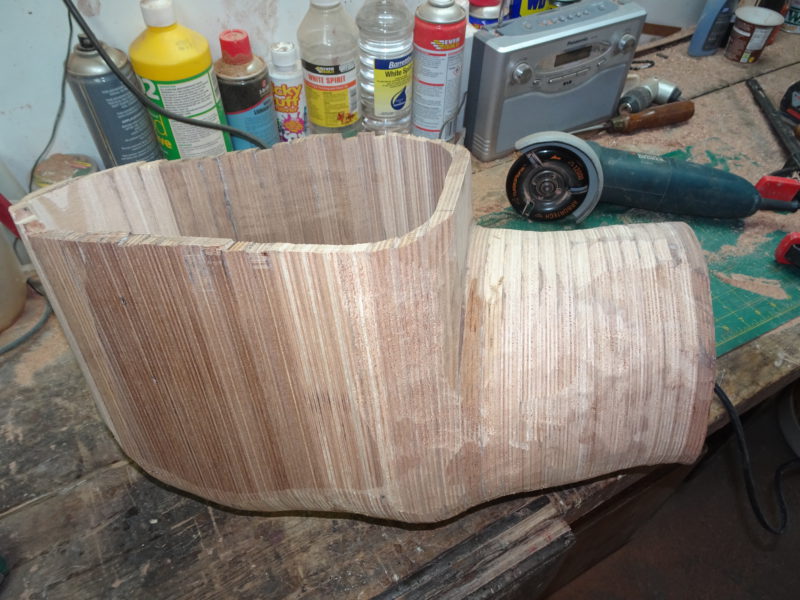
Here is the chute taking shape. The finish is very rough but will soon be machined smooth.
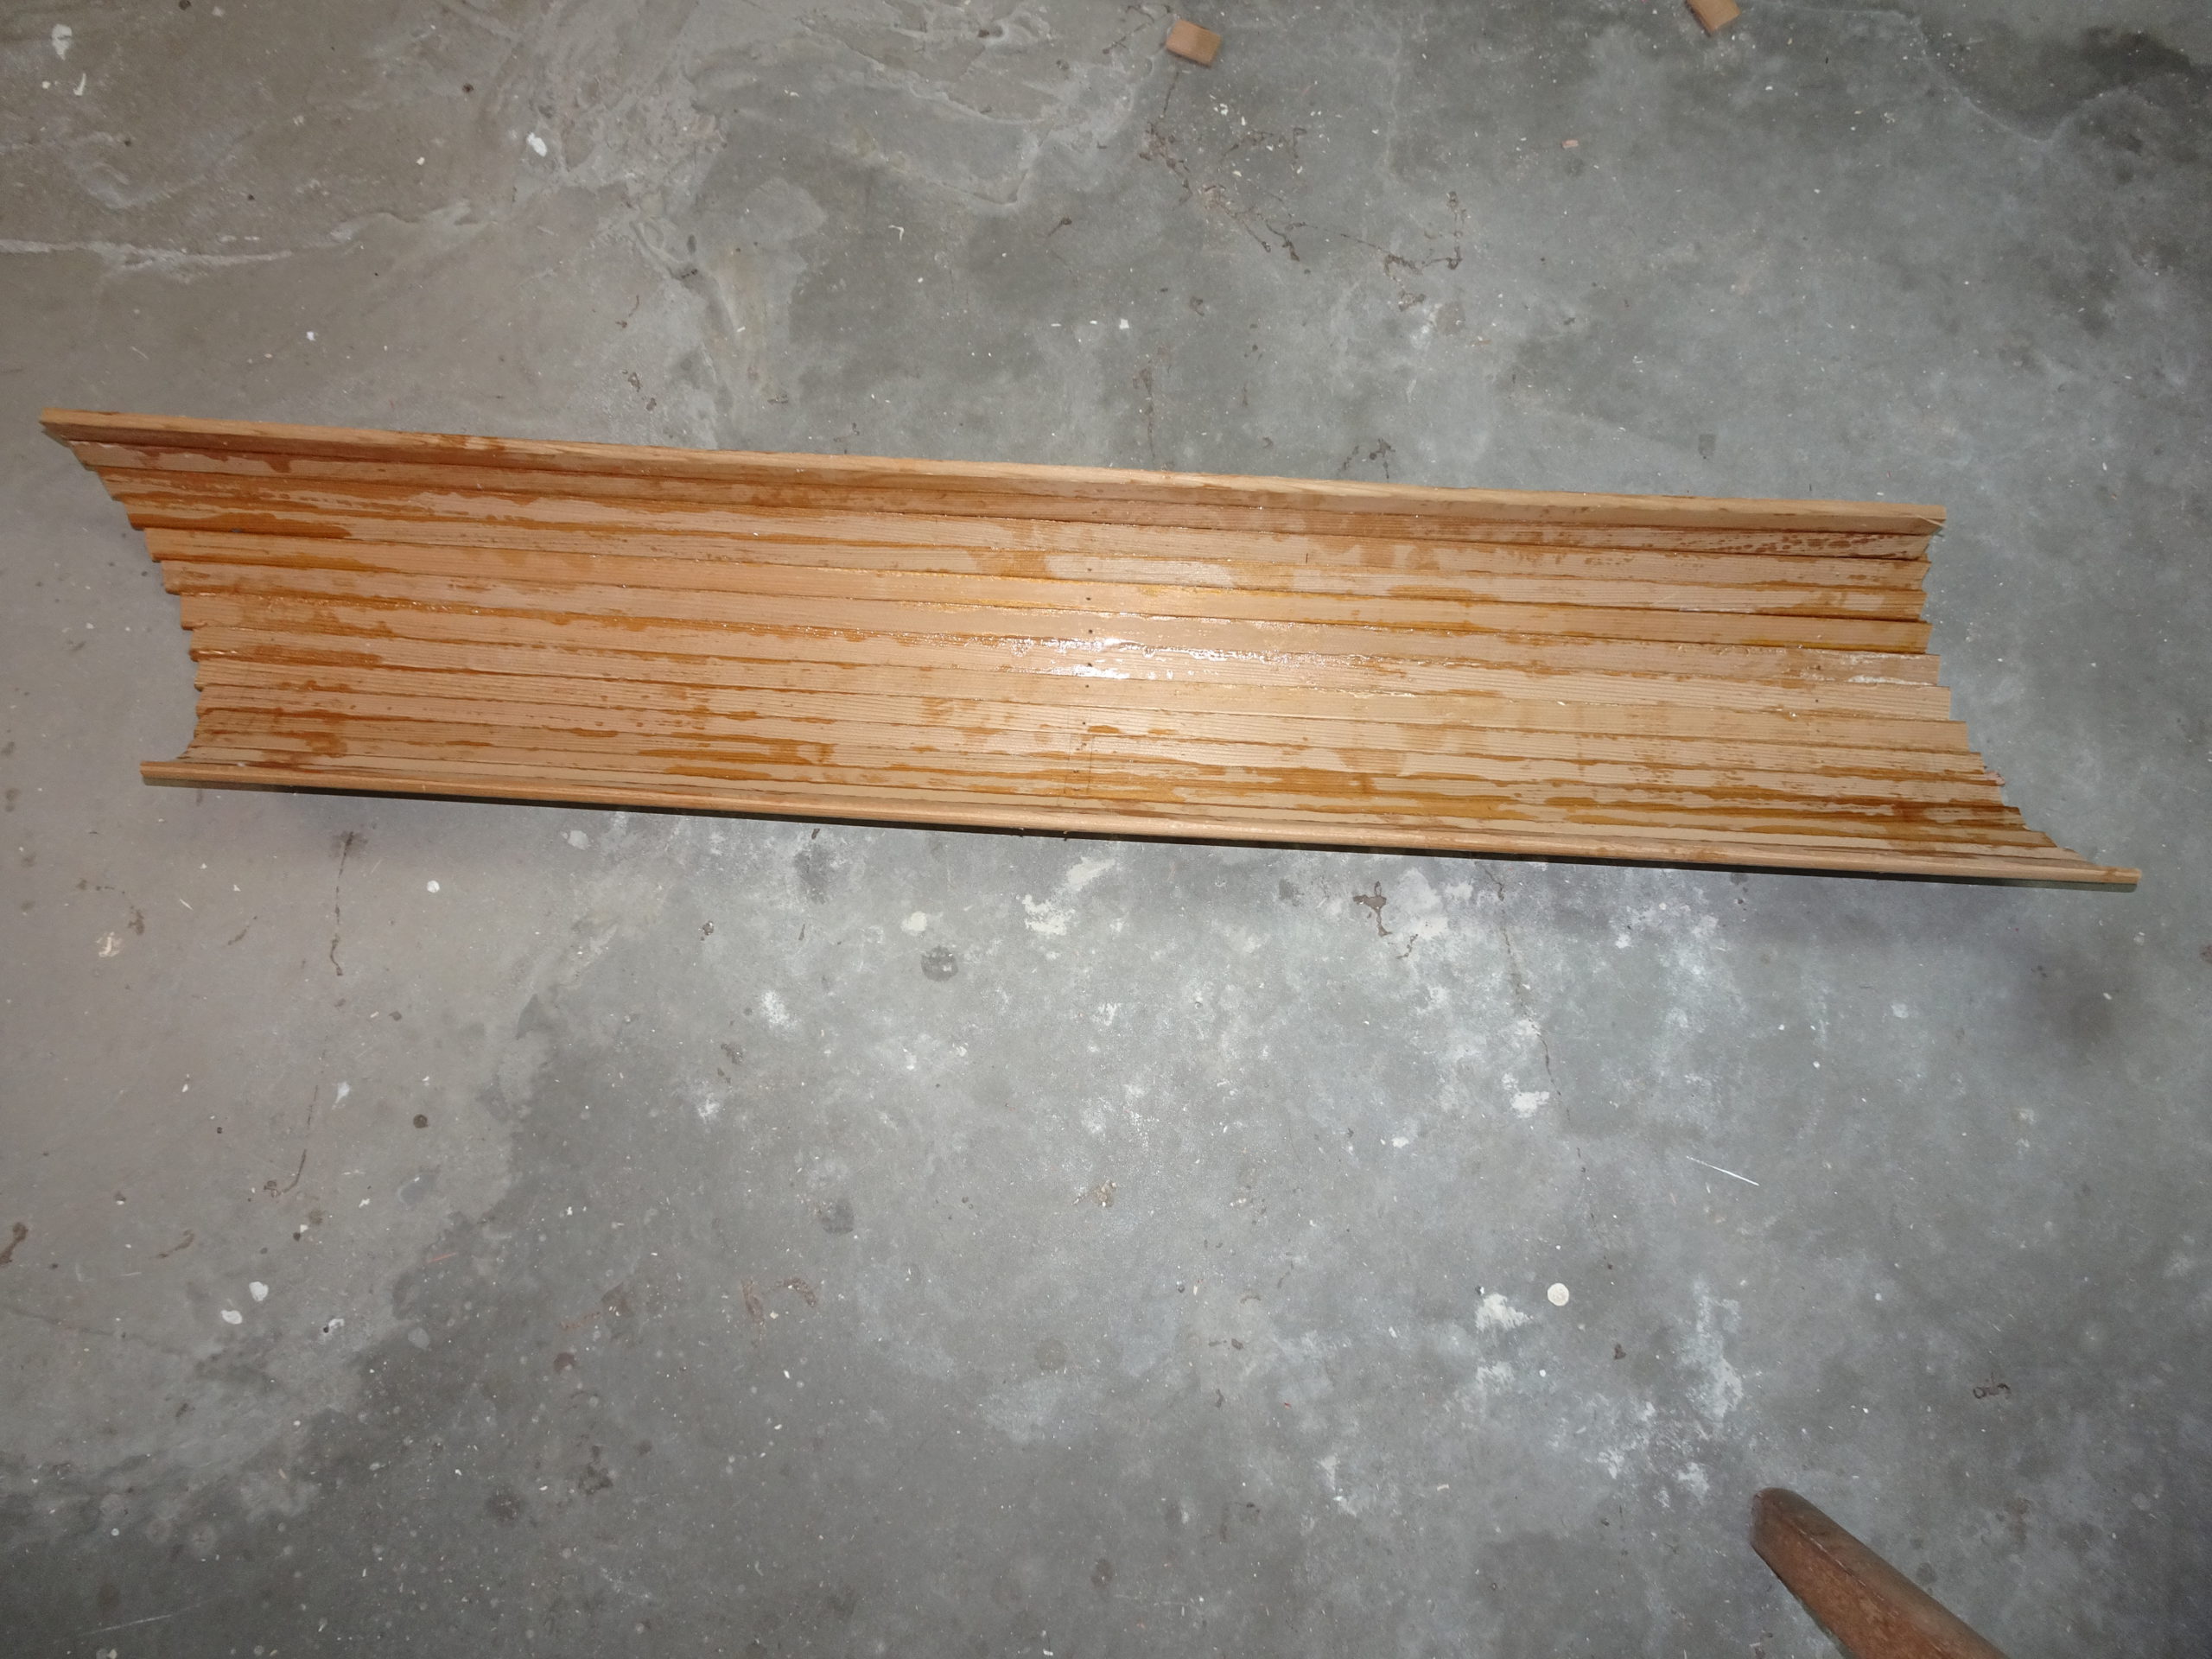
The leftover strips are used to form a tube. Here is one half already completed, and awaiting marrying up with its mirror image, much as Steve built the mast.
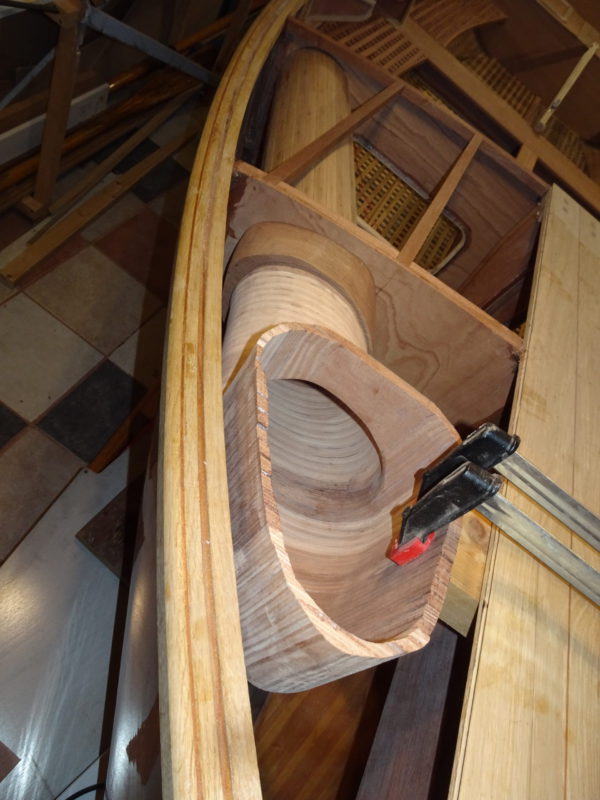
The assembled chute is rough-fitted to the boat, and then removed again to be sanded inside and out before being coated with glass and epoxy.
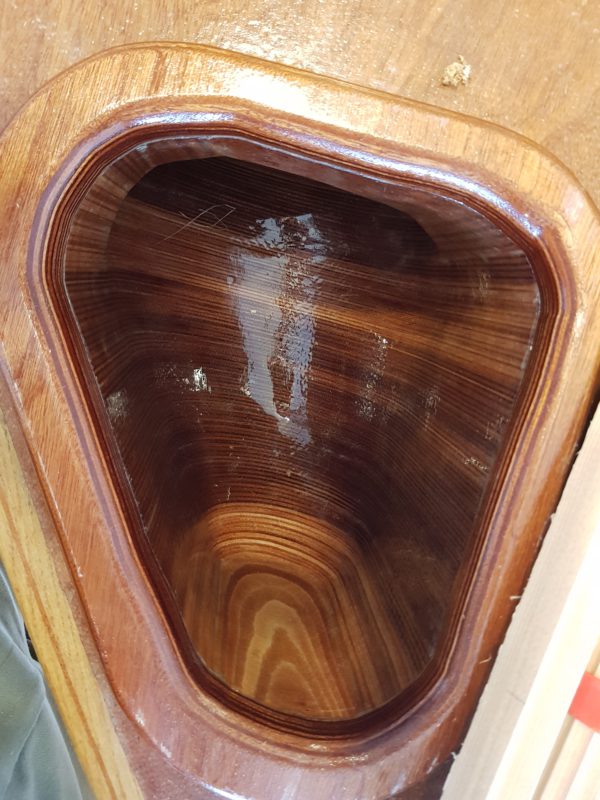
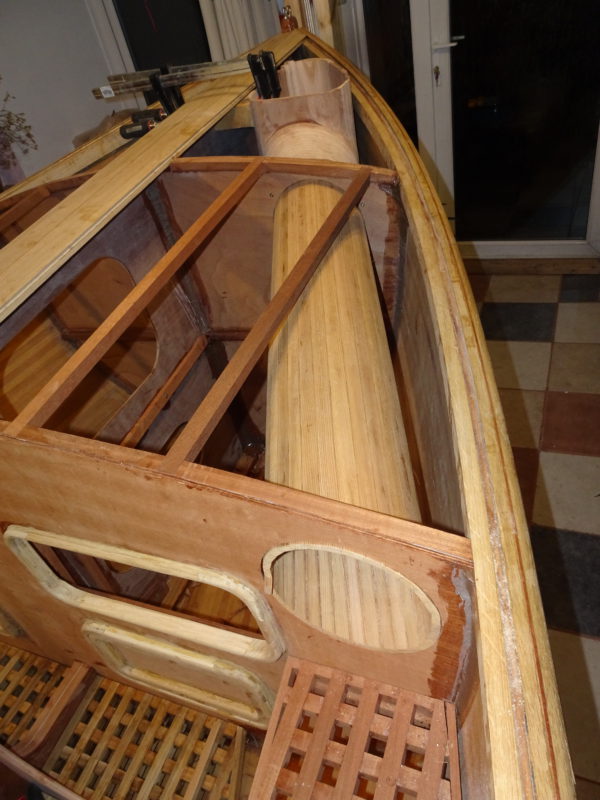
The finished item installed. The varying laminates have given the chute this distinctive – and beautiful – banding design. Steve says he was “delighted to find that one piece of WEST SYSTEM 743 Satin Weave Glass Fabric 280g/m2 cloth lined the inside of the chute completely, without a wrinkle – an amazing testament to the versatility of glass and epoxy, given the very complex shape.”
Our thanks to Steve Goodchild for sharing just a few of the highlights of his remarkable home build with us.
To see the earlier stages of the journey, please read Part 1 and Part 2 on our website.