Boat Building: Restoring a Sailboat
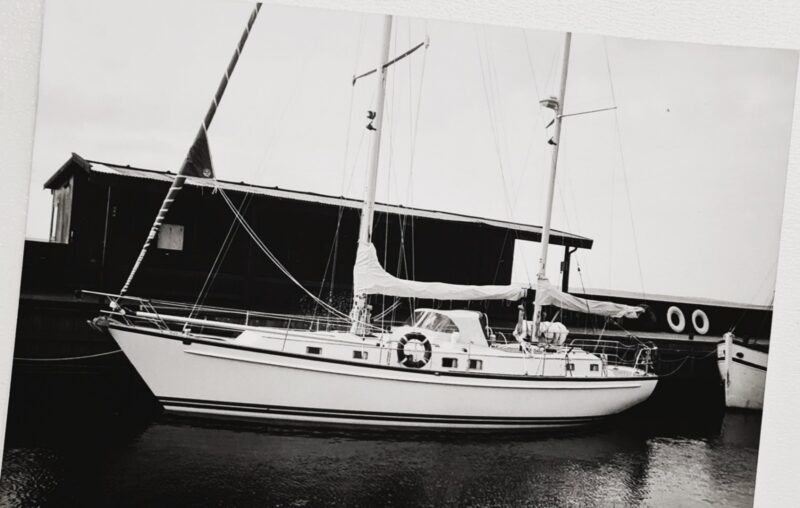
I have been working as an electrician, accumulating over 15 years of valuable experience within the construction industry. Until a few years ago, the notion of delving into boating had never crossed my mind. Initially, my plan involved purchasing a van and converting it for road trips across Europe. However, fate had other plans in store for me. During that time, I met an amazing woman who happened to own a Hallberg-Rassy Rasmus 35 sailboat.
She suggested that I join her in exploring her boat instead of pursuing my van project. Before I knew it, I found myself deeply passionate about this new adventure, while undertaking a comprehensive refit to prepare the boat for full-time living and long-distance cruising.
After a year of sailing, we decided to part ways with the Rasmus. However, our enthusiasm for maritime projects hasn’t diminished. We’ve now initiated an even bigger, more exciting project.
What is the ALLIS ship project?
The new boat has been named Allis, and she’s a Celestial 44 ketch. It’s worth noting that only 8 of the 44 models were ever constructed, making her quite unique. We haven’t come across any others of her kind so far. Interestingly, we’re in contact with the owner of a 48-footer and are currently in the process of exchanging build information.
Fortunately, we possess all the original drawings and documents, which disclose that she was built in Thailand. The boat builder is named Jack Hall, who hails from New Zealand. There’s a suspicion that Jack may have had some involvement with Hans Christian yachts, and it would be fantastic to establish a connection with him.
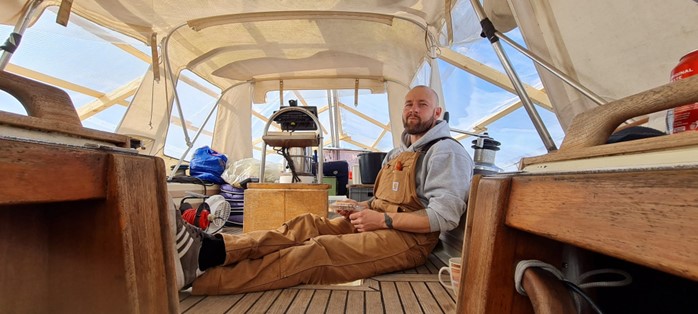
Our goal for this boat is to reside on it for at least two decades, with the intention of circumnavigating the globe. First and foremost, the priority is to restore her to her former glory. This will be a step-by-step process, and we’re beginning with one room at a time. At present, the aft cabin is receiving a comprehensive renovation

What materials and tools did you use for the build, and why did you choose them?
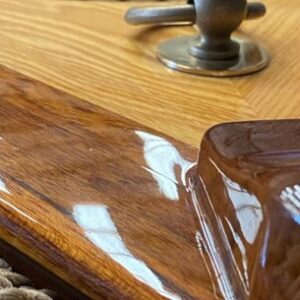
We found it necessary to replace certain support beams, responsible for sustaining the compression post of the mizzen mast. After careful consideration, we have opted to utilise Okoumé plywood for the replacement components. Prior to their installation, all the Okoumé pieces are undergoing treatment with WEST SYSTEM® epoxy. This precautionary measure is being taken to safeguard against potential water damage in the future.
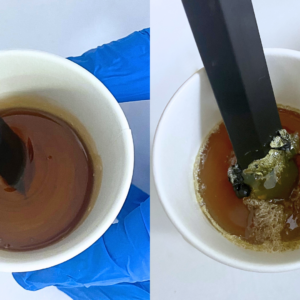
Presently, we are employing the 406 Colloidal Silica Adhesive Filler for affixing various components and for minor gap fillings. It stands as my preferred choice for versatile applications. Additionally, we are utilising the 407 Low-Density Fairing Filler to facilitate convenient sanding and the smoothing of voids and uneven surfaces.
We can effortlessly dispense a few pumps and add filler to get the job done. It doesn’t require much thinking, but it can be beneficial to count out loud, especially if you’re dispensing more than a few pumps, as distractions can lead to uncertainty, like wondering, “Was it 5 or 6 pumps?”

Were there any unexpected challenges or setbacks during the project? If so, how did you overcome them?
When we purchased the boat, we were aware of leaks originating from the deck, hatches, and chainplates. What took us by surprise was the extent of damage to the chainplates, as well as the need to replace the construction for mast support. Nonetheless, we are pleased that we discovered these issues early. Both of us immediately rolled up our sleeves, engaging in a constructive discussion regarding the optimal solution. We are privileged to have good friends within the boat building industry. They consistently provide a variety of solutions, from which we select the one that aligns with our requirements and budget.
Currently, we’ve made the decision to keep the teak deck, but we’re implementing a modification. Our approach involves removing all the screws that secure the teak deck and replacing them with epoxy. Our deck is entirely adhered and secured from beneath using screws. However, after several years, these protruding screws have become visible from the top, which is not ideal.
Our plan is to remove the screws, drill out the holes, and fill them with epoxy, specifically using the Six10® Thickened Epoxy Adhesive. Following this, we’ll cap the holes from the top with small teak bungs and seal the underside with a small fibre patch. It’s undoubtedly a substantial amount of work, but the final outcome will certainly make it all worthwhile.
Do you have any other projects you are working on?
Currently, we’re dedicating our efforts to this single project. Looking into next year, we’re contemplating the construction of a diminutive house to test the waters. Personally, I find working on boats more enjoyable than tending to a garden.
What advice would you give to someone who is just starting out with boat building or a similar DIY project?
When someone starts a project, I’d advise maintaining a steady pace and not getting flustered when facing unforeseen challenges. It’s preferable to confront these issues in the controlled setting of a boatyard rather than out at sea. Before making any definitive decisions, I suggest seeking knowledge and information. There are numerous valuable YouTube channels that address similar challenges and have produced informative videos on the subject. Two notable ones are “Boatworks Today” and “Sail Life,” both of which provide excellent content on boat construction and testing.
To make your life easier, consider employing straightforward systems such as WEST SYSTEM® Epoxy. Additionally, investing in a high-quality dust mask and a vacuum cleaner is essential, as boat work primarily involves a substantial amount of sanding.
Keep in mind that on extensive projects, not every day will be exceptionally productive. It might be more manageable to tackle one section at a time rather than disassembling the entire boat all at once. This approach can help prevent the mental strain of constantly seeing unfinished projects scattered throughout.
Have you subscribed to our FREE monthly newsletter? Sign up here!
Working on a project? Share it with us! Click here…

