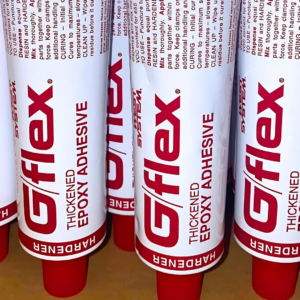
How To: Make a river table with ENTROPY RESINS
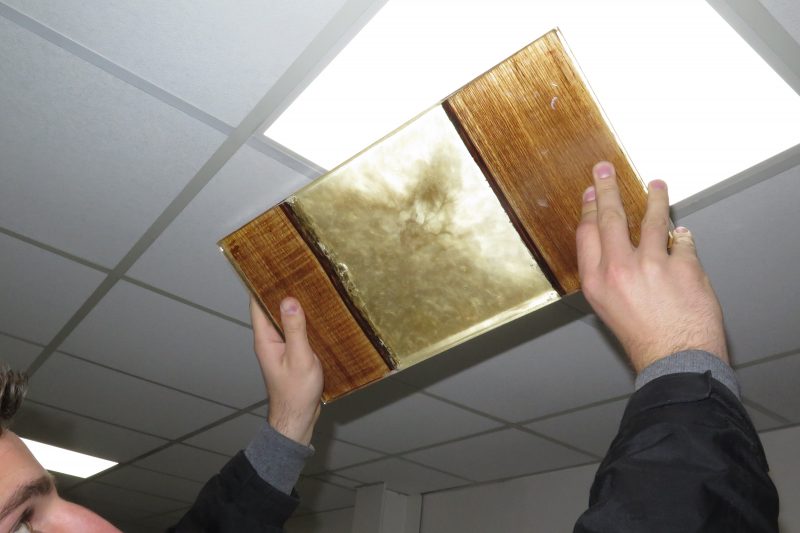
The transparency of ENTROPY RESINS® CCR clear casting epoxy makes it ideal for the creation of a ‘river table,’ a furniture design that mimics a stream flowing between two ‘banks’ of wood.
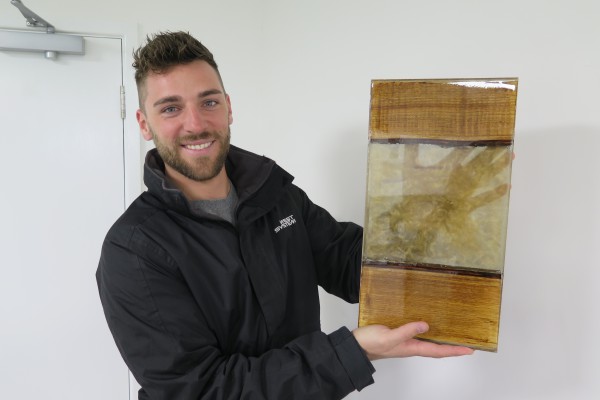
Sam Oliver holds up a test section of a ‘River Table’ made using ENTROPY RESINS CCR Clear Casting Epoxy. The epoxy mimics the transparency of a stream and protects the timber each side by encasing it in epoxy.
River tables (sometimes also called water tables) have become a sought-after piece of furniture as they combine traditional timber with clear cast resin to create a striking centrepiece.
The team at Wessex Resins and Adhesives experimented with bio-based ENTROPY RESINS epoxy to create an authentic-looking ‘river’ that sits between the two banks of natural timber. The concept can be modified to produce ‘puddles’ in oak or other hardwoods. Epoxy resin lends itself perfectly to this task. It’s something natural glass could never achieve due to the temperatures involved in melting and pouring.
However, as Technical Advisor Hamish Cook advises, care still needs to be taken with the epoxy pour to avoid exothermic reactions which could discolour the end result.
The process
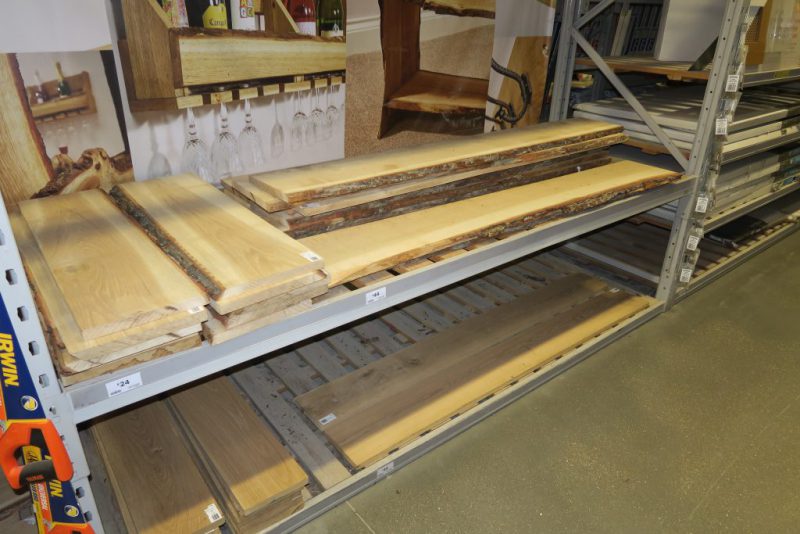
The raw materials are surprisingly easy to source. DIY superstores stock a range of planed natural timber (complete with bark) that can be used as the banks of the river table.
ENTROPY RESINS CCR epoxy is available directly from Wessex Resins and Adhesives, with either a slow or fast hardener, depending on the temperatures the project will be cast at. Around 12 litres was needed for the table seen in this sequence.
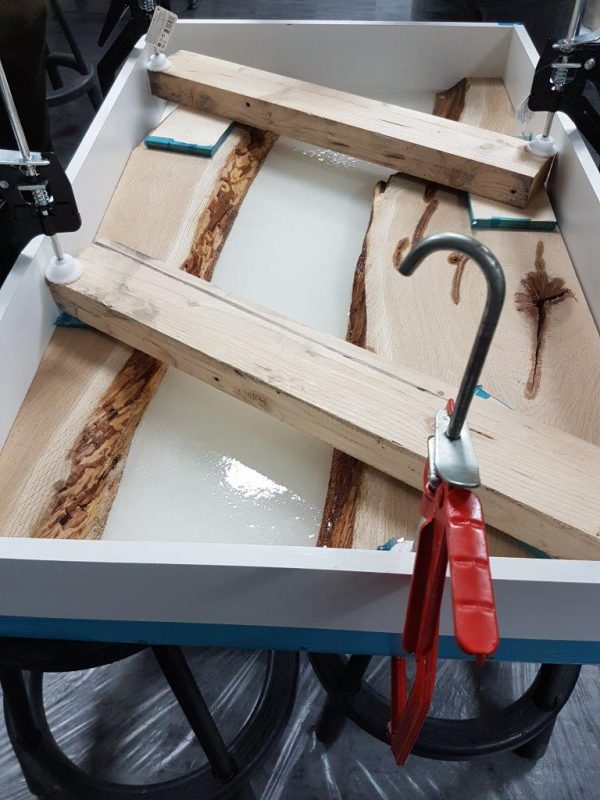
After the dimensions of the table were calculated the timber was trimmed to shape and a box made to encase it. Ordinary melamine shelfing was used for this mould as the surface is impervious to epoxy or moisture and takes a release wax well.
The team also sealed the corners with silicone to prevent any leakage.
Note how the timber is being held flat by the clamps. The knots and voids have been pre-filled with ENTROPY RESINS epoxy to stabilise the edges. This image shows the first layer of epoxy being poured.
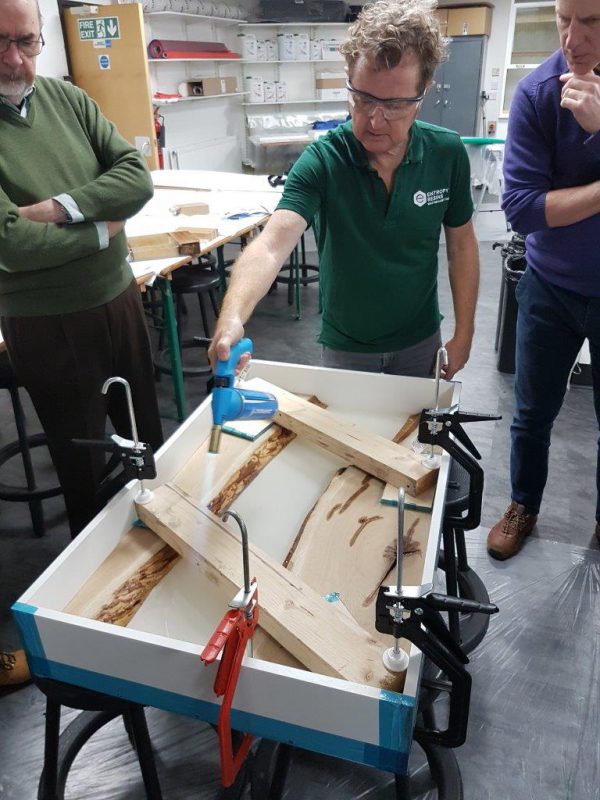
David Johnson uses a blowtorch at a safe distance to warm the surface of the freshly poured epoxy and tease out any air bubbles.
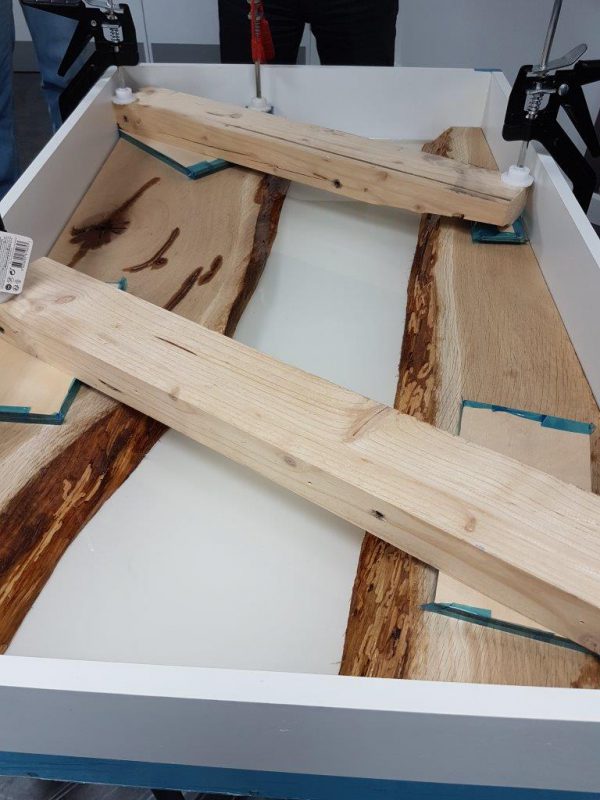
Halfway to the top, the layers merge seamlessly. The epoxy has sunk into the surface of the bark.
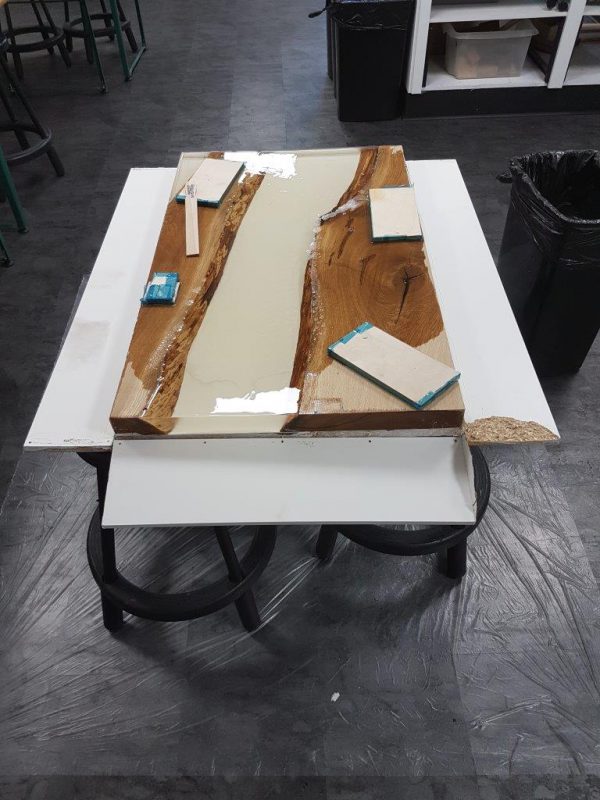
Breaching the banks. The penultimate pour tops the ‘banks’ of the table and spreads out over the wood.
The table is looking good. Three coats of a clear-gloss, two-pack UV varnish are used for long-term protection from spills and sunshine.
Finishing was undertaken by a professional joiner to create this stand-alone centrepiece.
Hamish’s tips: Pouring ENTROPY RESINS Clear Casting Epoxy
“We advise people to be careful with the quantities they pour at one time. Mixing any epoxy resin with its hardener causes an ‘exothermic’ reaction. The two chemicals generate heat as they react. This can be quite helpful as it speeds up the cure. However too much heat can make the epoxy turn yellow or bubble up. A greater surface area helps to dissipate heat which is why we recommend pouring mixed epoxy into a roller tray to keep it workable for longer.
“For example, if you’re pouring a 5-litre mix into a 1m2 container at room temperature, it will settle to a depth of 5mm and only produce a small amount of heat. However, pour the same 5 litres into a mould half the size (50cm x 50cm), the depth would be 1cm and the internal temperature would reach perhaps 30-40°C.
“Pouring a 5-litre mix into half the area again (25cm x 25cm) means the layer would be 8cm deep and could easily exotherm to temperatures reaching 150°C. These are all rough estimates but help to show why a lot of shallow layers make far more sense than a few very deep ones. Essentially, care has to be taken when making a river table to ensure each layer is not too deep.”
Other factors:
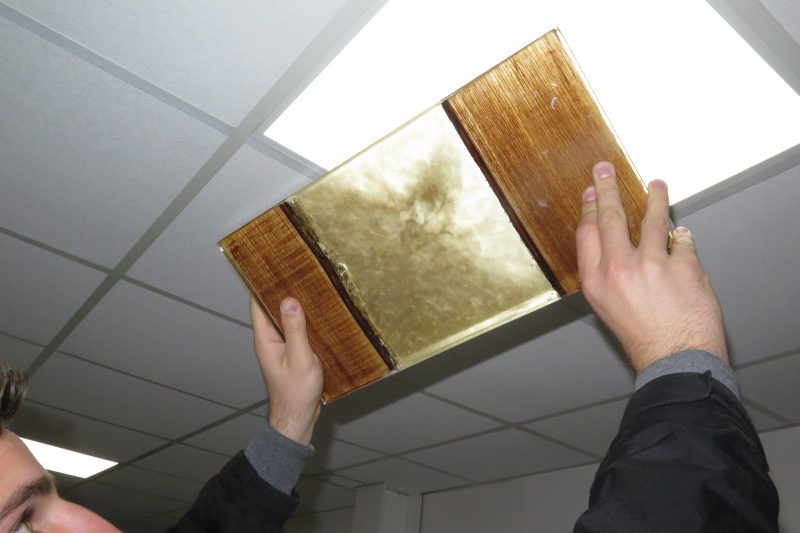
A wide range of effects can be added to the ENTROPY RESINS epoxy. This could be the mimicking of weed, or the insertion of shells or silver fish. Any additions need to be inert and chemically stable – real weed or fish are likely to decompose, even if trapped in epoxy! Here a cloudy effect has been introduced as part of the test panel experiment.
Ambient temperature: If you are pouring epoxy in a hot room, say above 30°C, this could encourage an exothermic reaction even in a shallow layer, which would ruin the job.
Mould properties: We made our mould out of melamine-coated chipboard, which is an excellent material for one-off moulds. However, other options are plywood coated with release wax or two-pack paint. It’s important to understand the compatibility of the mould material with the resin system.
Heat gun: It is also important to know how the hot air gun or blow torch will assist in removing air bubbles. Experimentation is needed here, especially with the quantities you expect to pour in each session.
Yellowing: Epoxy will darken or go yellow if it becomes too warm during the curing process. Also, if the mould material is porous and has not been sealed properly (e.g. plywood) the heat from the exotherm could cause the air inside the mould material to heat up and outgas. This will add a lot of extra air bubbles to the epoxy which may not escape before a full cure.
Post-pour protection: ENTROPY RESINS Clear Casting epoxy has UV stabilisers included but no epoxy can be 100% resistant to ultra violet radiation. If exposed to sunlight, direct or indirect, the epoxy will discolour over time. It must be protected. Two-pack varnishes with UV inhibitors will preserve the clarity and help to bring out the true beauty of the adjoining wood.


