How To: How to apply release agent to an epoxy moulding tool
Planning on using a moulding tool to make an epoxy composite part? You’ll want to ensure the part releases cleanly from the moulding tool. Plus, of course, the finish on your moulded part must be flawless. Our resident technical expert David Johnson walks you through the process.
The simple way to achieve both of these things is to apply a release agent to the moulding tool. This will ensure that the surface of both the tool and the finished part are smooth and that the moulded part comes away easily.
“The best kinds of release agents are natural waxes that have been designed specifically for the job.”
What kind of release agent should I use?
The best kind of release agents are natural waxes that have been designed specifically for the job.
Whatever you do, avoid using solvent-based agents containing silicon, such as cheap furniture waxes. The silicon can cause your first gelcoat to split and ‘fish eye’ (technically known as ‘reticulation’). This will obviously ruin the finish of your moulded part.
I always say the best kind of natural wax release agent smells like an E-Type Jaguar showroom! You’ll have to visit one to find out.
How do I apply the release agent?
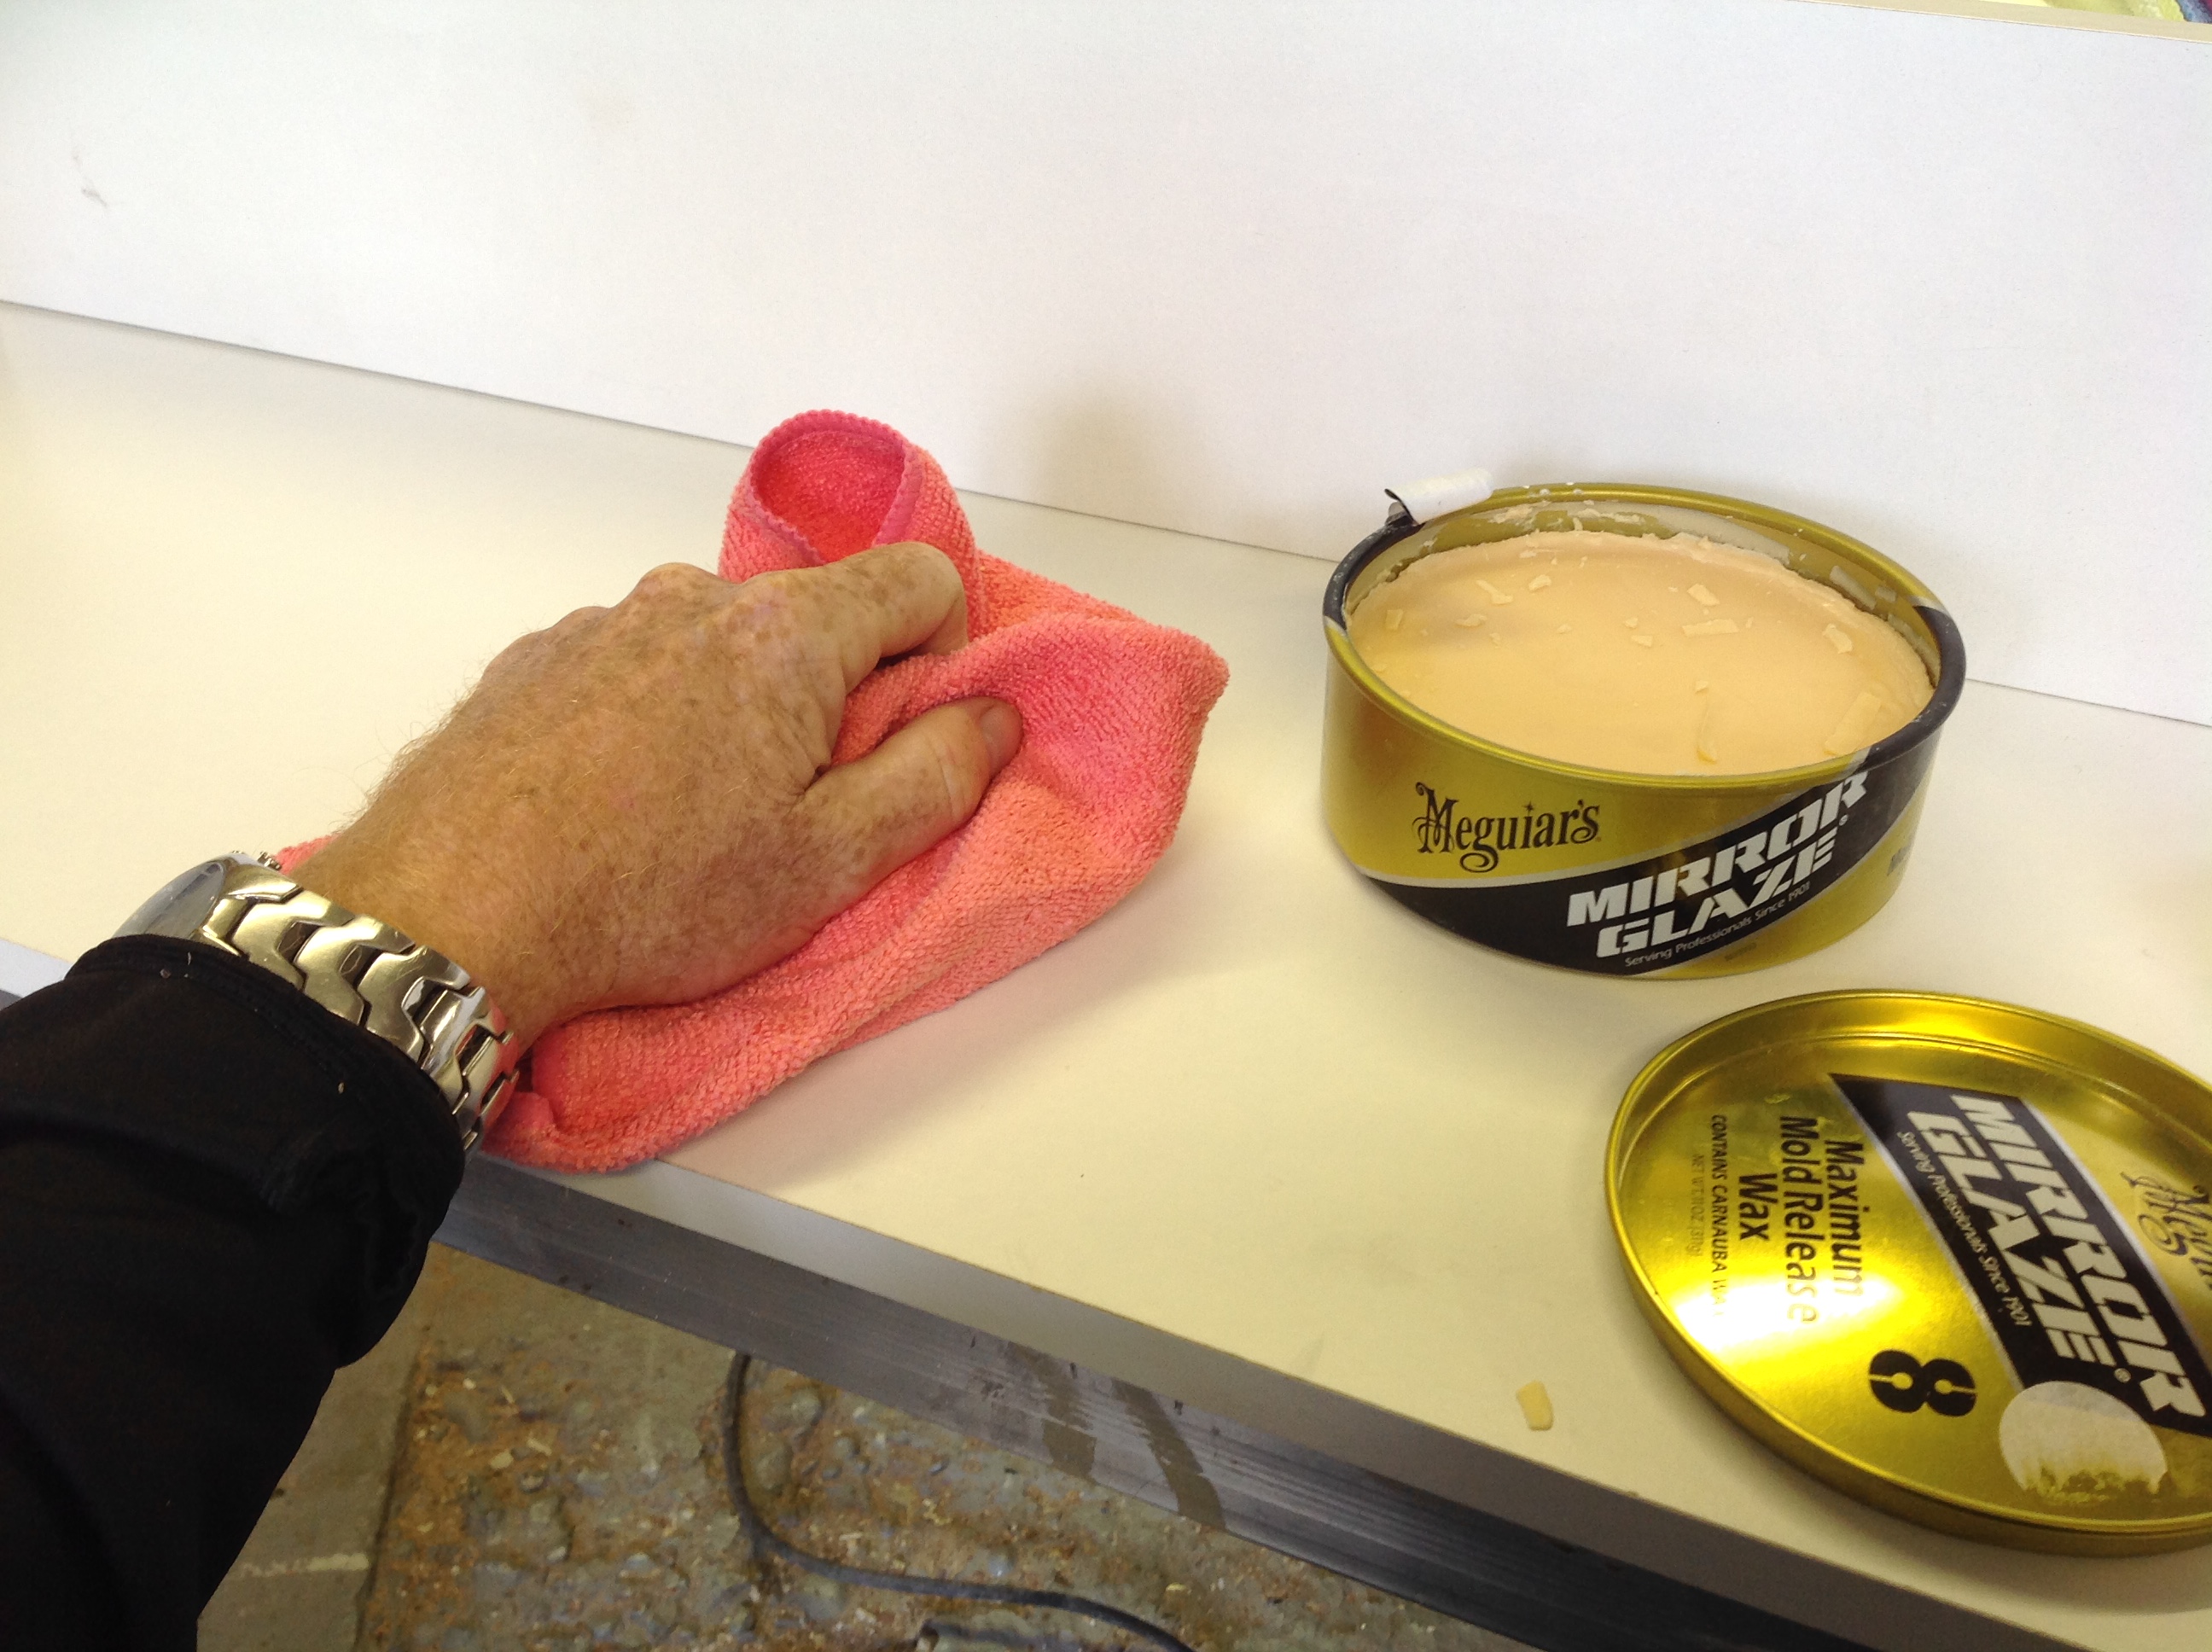
We find that if you use a clean sponge, you can apply the release agent to the moulding tool nice and thinly. Then, once the wax has set a little, you can remove the excess with a clean, lint-free microfibre cloth before burnishing and sealing it with yet another clean, lint-free cloth.
Make sure you use a proper lint-free cloth
The kind of cloths that come packaged as ‘lint-free’ – the kind that you get on a large roll for waxing your car, say – aren’t really lint-free at all. When you cut them, they fray all over the place and the static build-up on the moulding tool attracts the fibres.
We find something like a microfibre cloth is best for applying release agents. Some DIY stores sell them in big multi-coloured rolls and they’re fantastic. Totally lint-free, synthetic, really soft and you can wash them to use again.
Always burnish by hand
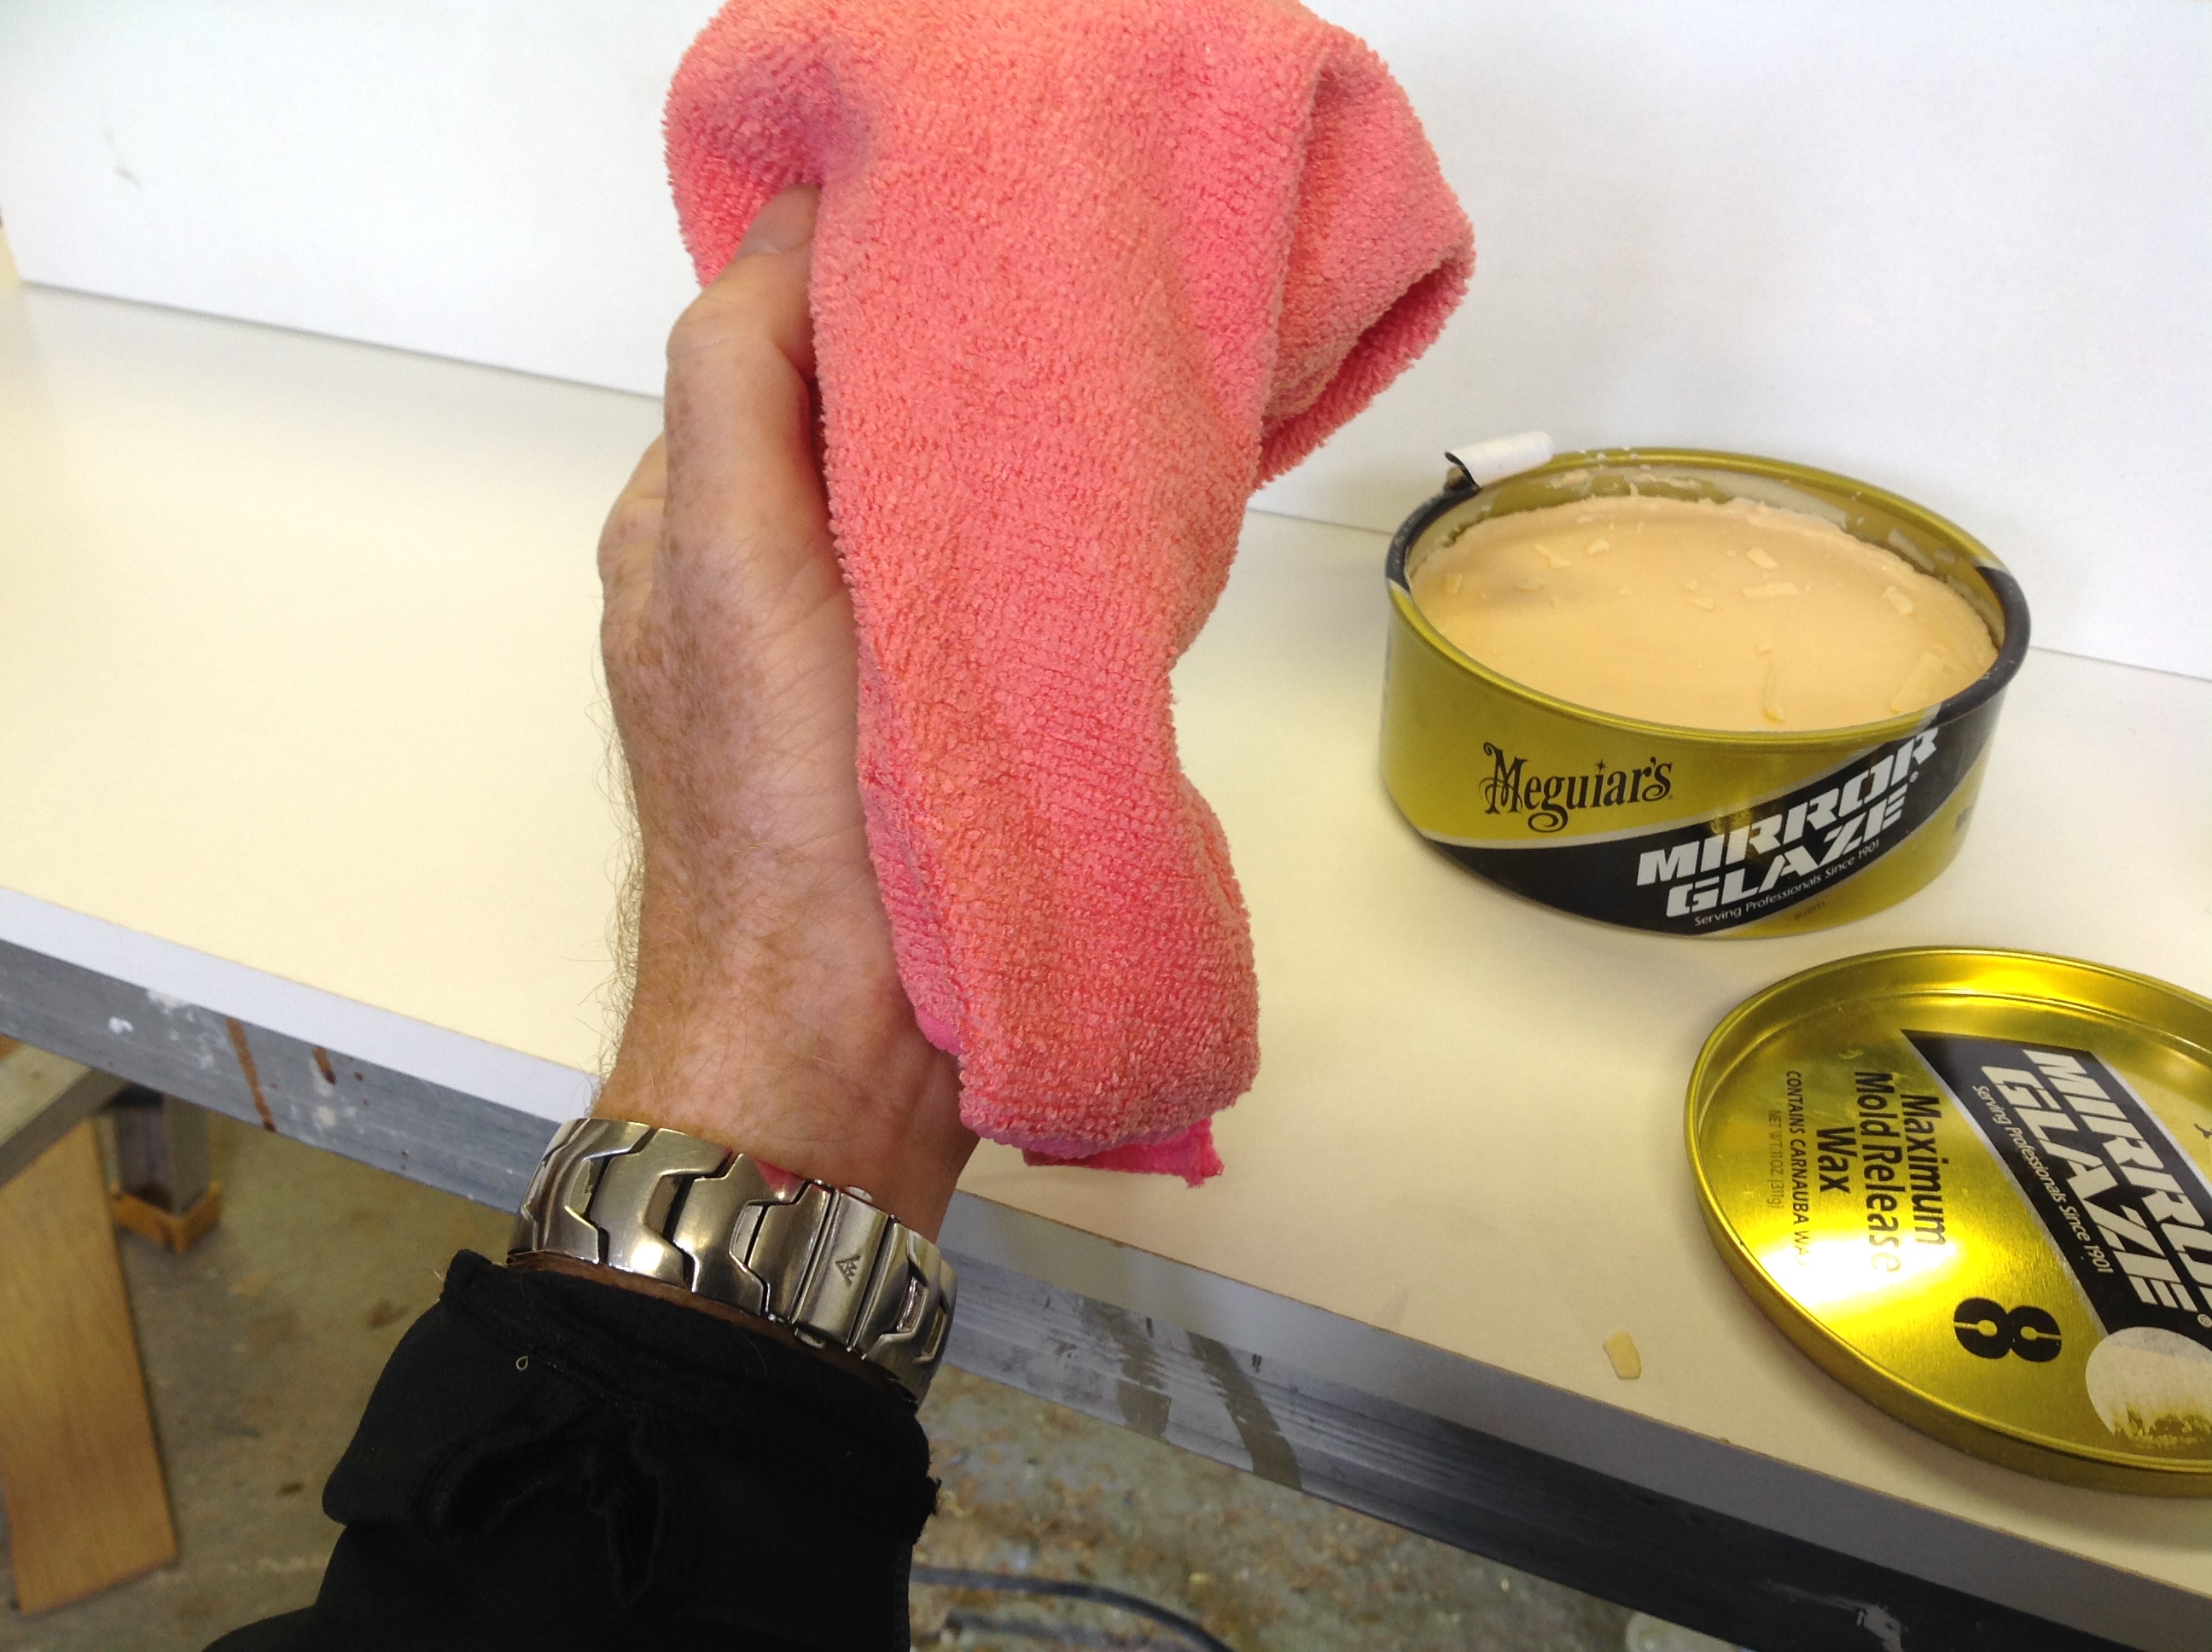
If your moulding tool has a very large surface area, there is a real temptation to burnish the wax by machine. However – and sorry to be the bearer of bad tidings – it’s important that you always burnish the wax by hand. A machine can be too aggressive and may actually burn the wax away, meaning your moulded part won’t release properly.
When burnishing, make sure you are always rotating the cloth so that the area you’re using is as clean as possible. This will give you the best finish.
Avoid wearing jewellery
It may not sound particularly important but avoid wearing rings or watches whenever you’re working with wax. These can scratch the surface of the moulding tool and remove the wax.
Our thanks to David Johnson for his technical expertise.
Got blisters in the gelcoat of your fibreglass boat? All is not lost – find out how to repair them.