Woodworking: Making a bottle-top bar using Entropy Resins Clear Casting Epoxy
Looking for a great home project?
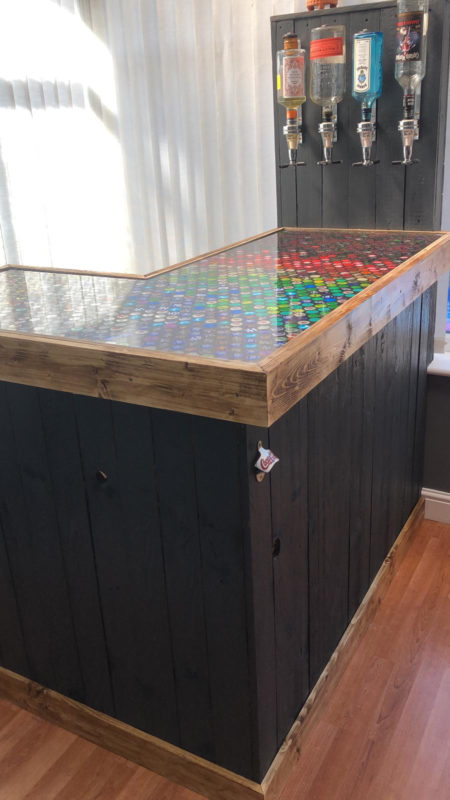
If you’ve ever fancied a bar in your house, check out this beauty built by Paul Luffman.
He’s been collecting bottle tops since last summer (and bought some additional ones) with this exact purpose in mind after being inspired by other makers’ viral videos.
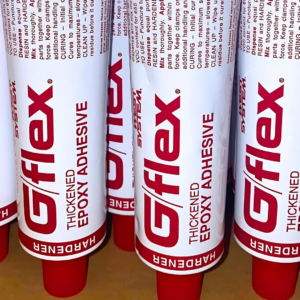
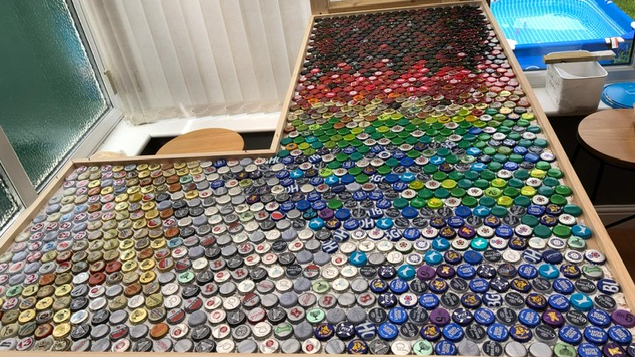
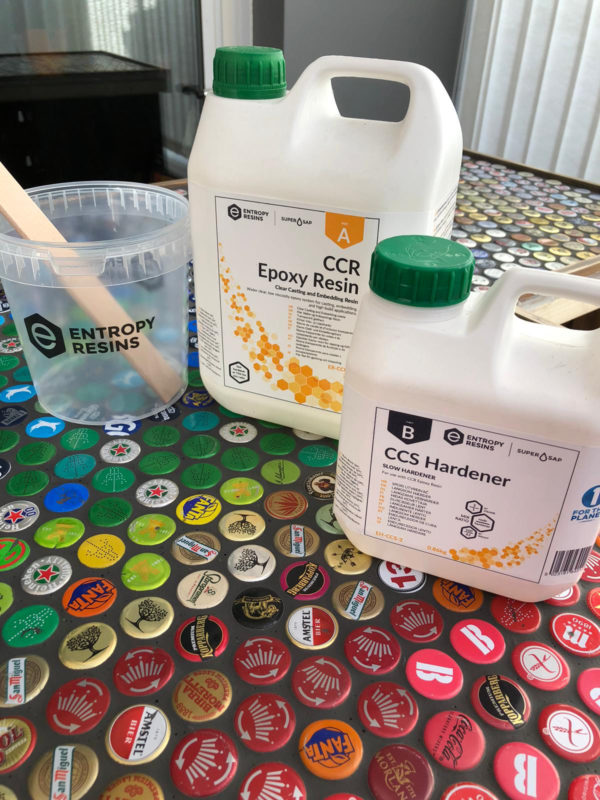
Made using Entropy Resins® CCR Resin with CCS Slow Hardener, Paul’s starting point was to bond the bottle tops to the ply surface below before pouring and covering them in the clear casting epoxy. The bottle tops were bonded to the ply using WEST SYSTEM® G/5 Adhesive – G/5 Adhesive is a great, rapid curing adhesive, perfect for securing miscellaneous items.
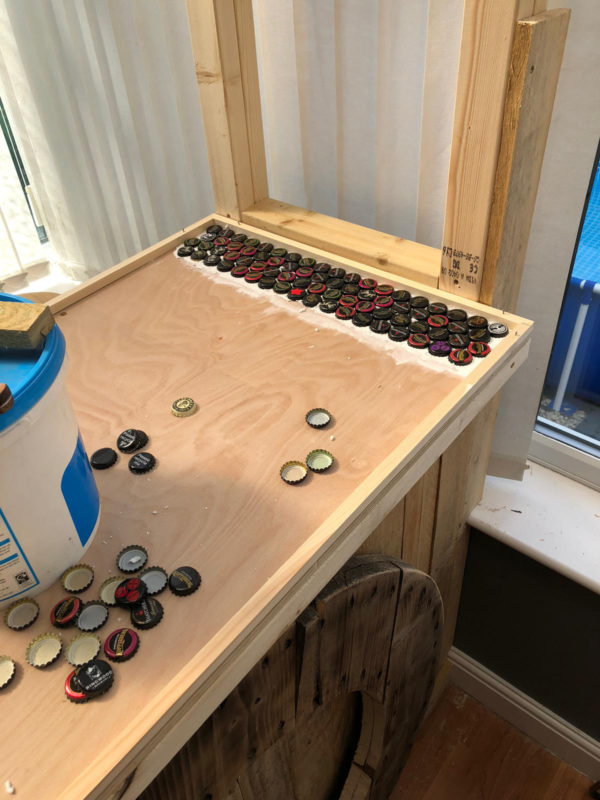
The tops were secured in place – 10-15 minutes to be safe – and then Paul grouted around the bottle tops. After a couple of days, Paul started mixing Entropy Resins CCR with CCS Slow Hardener.
Paul offers a few tips to achieving a great finish:
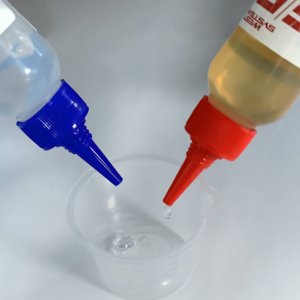
- Make sure the mix ratio is correct. CCR Resin with CCS Slow Hardener has a ratio by weight of 100:43. For this bar top approx. 6Kg of mixed epoxy was used.
- Use small buckets to ensure thorough mixing. Here only 6Kg of epoxy was needed, but on bigger pours, mixes split into 5kg buckets are ideal.
- Always make sure the epoxy is mixed thoroughly and for at least three minutes.
- Let the air bubbles escape – some get introduced during the mixing phase. Leaving the four buckets to stand for 30 minutes allows this process to happen.
- Once all the mixed epoxy is poured, use a propane torch or heat gun at regular intervals, say every 45 minutes, to pop the surface bubbles. The torch was passed four times in three hours which worked well.
It takes time to cure, so be patient. This was left for four days at room temperature. Bars like this will need sanding, wet and dry, and then polishing to achieve a perfect finish.