Projects: Building a 9’ Stornoway Rowing Boat by Leon Spender
This project was a “bucket list” idea that I have wanted to make real for some years. I am a fit 76 year old and despite difficulties along the way, the task has been engaging and worthwhile. I am a competent woodworker but I have never previously built a boat.
Before I outline some aspects of the job, I would like to acknowledge the help given to me firstly by Paul Fisher to select the design that met my requirements, to Hamish Cook for guidance on type and quantities of epoxy etc. and to Eddy Fulford of SML Paints for advice on the selection of the most suitable paints to use. Following this initial advice each chap was also extremely helpful with rapid responses to my questions during the build. I couldn’t have achieved a sturdy little traditional row boat without their support.
The stitch and tape construction depends on the use of epoxy resin to hold the boat together. The kit of epoxy products that I bought was first class and the information booklet well presented, although I wish I could have attended a beginners training course but that was not available during the time of my build.
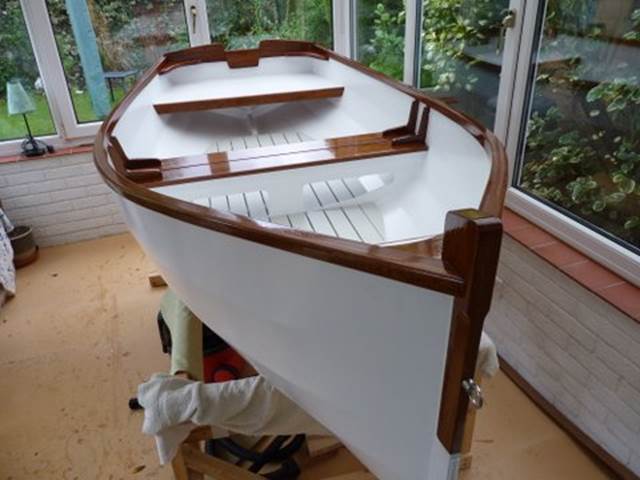
I started in March 2017 and finished about six months later in November. I had hoped to only take half that time. I have a small garage with plenty of woodworking kit but no space for a boat. To provide a temporary boat shed, I dumped the old furniture from our conservatory and set up in here for the build. At 11’ x 9’ the space was cramped for a 9’ boat. (I should explain that this arrangement was only possible with a promise to my wife to buy new conservatory furniture at completion!)
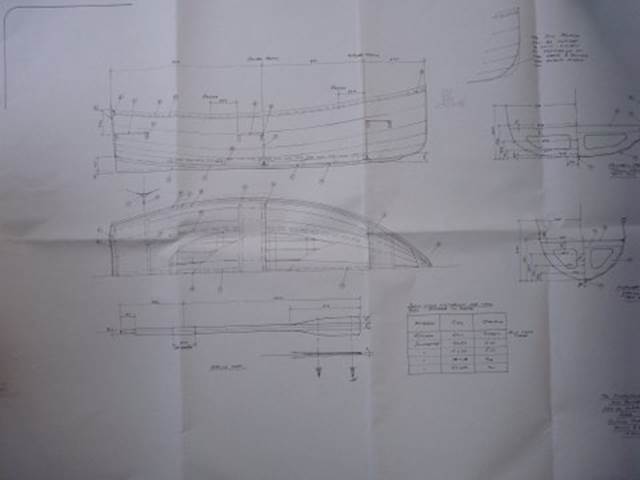
First task was to draw the pattern of lines on each plywood sheet (I used Robbins Timber’s 6mm Elite Marine ply- bought from Totton Timber, Southampton) and then set out all the dozens of measurements to provide the outline of each plank. Selway Fisher’s measurements are exactly accurate and the planks lock together tightly.
My old knees would not allow me to scramble around on the floor to assemble the hull, so I built a simple framework from CLS stud timber 22” high, 60” long and 38” wide. The cross pieces toward the stern needed to be 50” to take the beam of the upturned boat. This framework not only made working more comfortable but was also very helpful to provide reference points. (I initially set-up two folding workbenches but found them to be too high for comfort.)
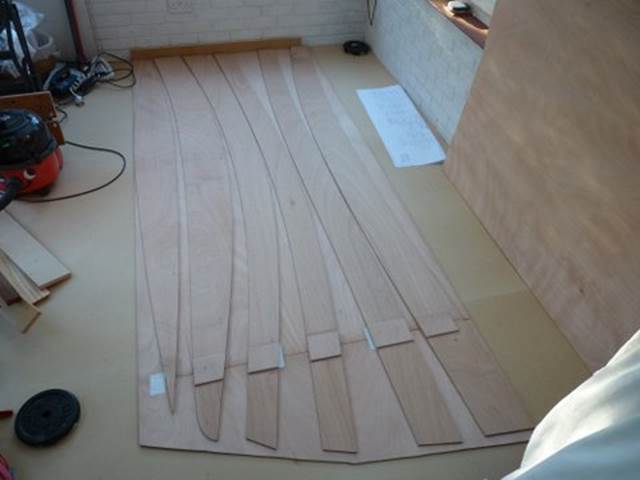
I used copper wire (cut from old power cable) to pull the hull together, which was an easy operation except for the bow, where some planks had to twist through nearly 90 degrees right at the point where I had glued 15” extensions to each plank. The ply and the glued joints stood up to the extreme tension and did not fail. I fitted a bow stem which I think made the task a little easier but the bow section was demanding.
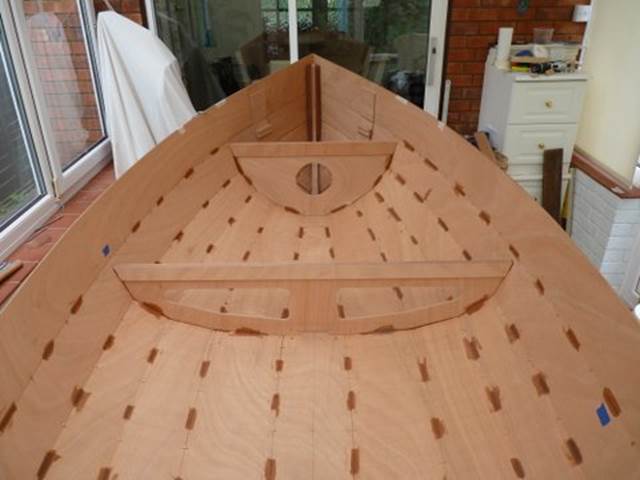
Next task was to make my first mix of epoxy to “spot weld” the planks together between the ties. The 5:1 mix is easily managed with the supply system that is provided. I did a strength test with a couple of scrap pieces of ply and I was astonished at the strength of a filleted joint, let alone the the joint is reinforced with fibre glass tape. I used 2” tape for the inside chines and full width cloth for the outside of the hull. I had plenty of epoxy and I layered coat after coat on the inside and outside of the boat. I set shaped teak cross-pieces to provide supports for the pine floor. These cross-pieces were all epoxy filleted in place; I filleted every right angle butt joint, which adds great rigidity to the hull.
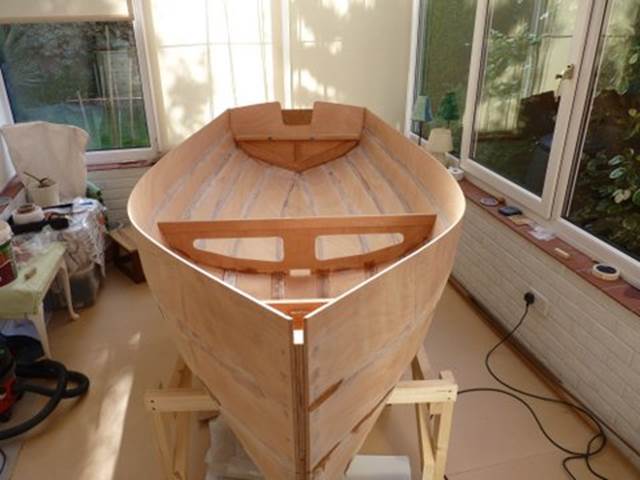
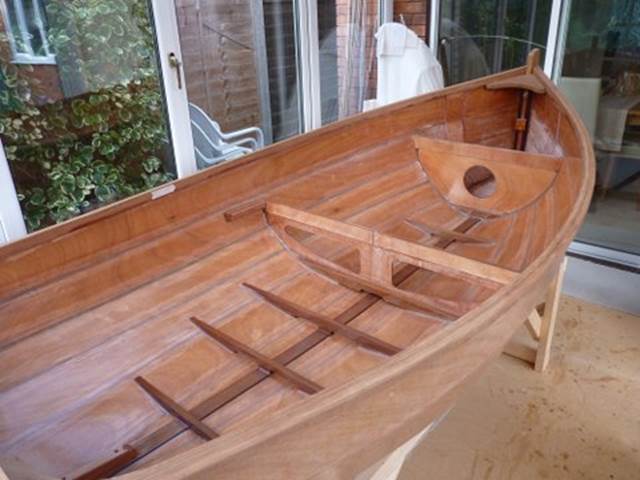
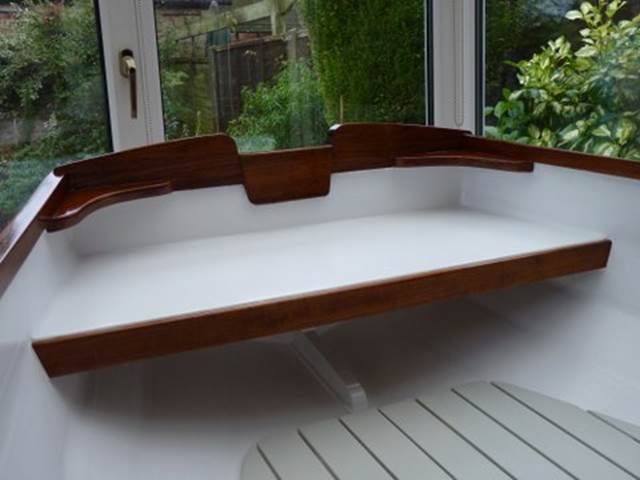
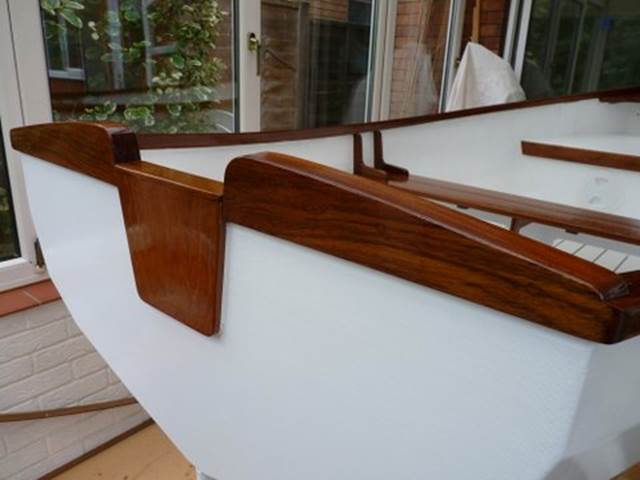
I had a few long lengths of iroko in stock and a board of teak (ex college science lab). I used the iroko for the gunwales and chose to glue 6mm laminates together rather than steaming. This enabled me to fit an inlay to hide the ply edges. I used teak for strengthening the transom to take a small outboard engine and more hardwood for the centre seat and various knees. The use of these hardwoods improved the look of the boat but also adds to the weight.
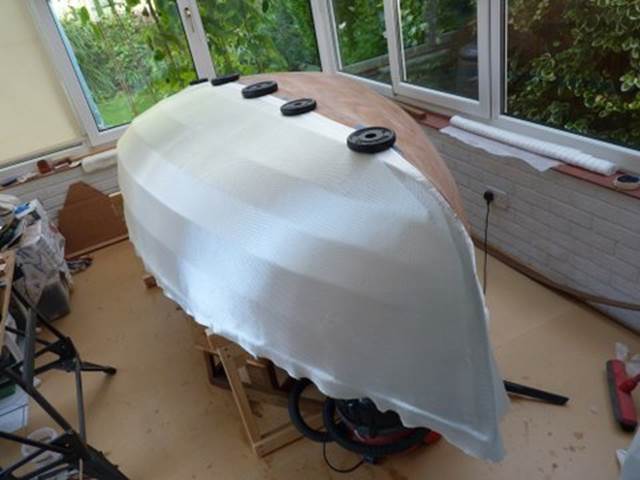
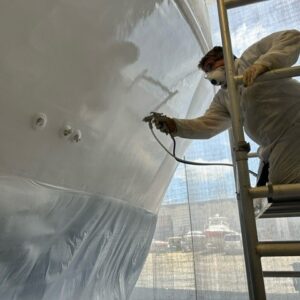
I had bought Jotun Penguard HB twin pack for the primer undercoat. To mix the paint it is essential to have metric scales to accurately measure the quantities. I soon became confident with the procedure and the three coats went on easily and dried quickly to a tough finish. The one pack of Pioner was also easy too apply and it is not too white or too shiny. With the umpteen coats of paint and epoxy I am confident that my little plywood boat will not leak.
For full details of how to build a stitch and tape boat you will need to buy Paul Fisher’s book on the subject. I mostly enjoyed the experience, although there were moments when the ingenuity required for problem solving did fog my old brain but I got there in the end. I now have an even greater admiration for professional boat builders.
Launch date has been put off until April for the better weather. I shall keep it in the water for six months of the year on the pontoon for tenders at MDL’s Shamrock Quay Marina, this setting provides a start to lots of interesting corners in Southampton Water and the Itchen river.
Will I row the Stornoway and keep fit as I have promised myself, or will I rely on the engine to potter me about?
