Projects: How to build a mouse boat with epoxy and Oarsome Chance
Back to basics
Wessex Resins and Adhesives is a proud sponsor of the charity Oarsome Chance, where disadvantaged and school-excluded young adults learn how to build and repair boats and use them on the water. Instructor Nick Hart describes the making of a ‘Mouse Boat’.
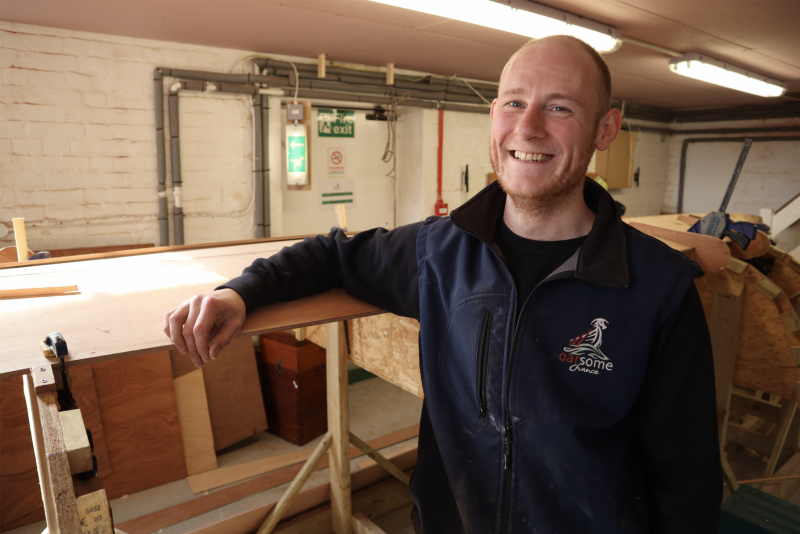
Nick Hart has a passion for building boats and passes his enthusiasm on to those who join the Oarsome Chance programme. When not instructing, he spends his time building the charity’s fleet of own-design rowing skiffs, one of which is taking shape behind him.
The Mouse Boat
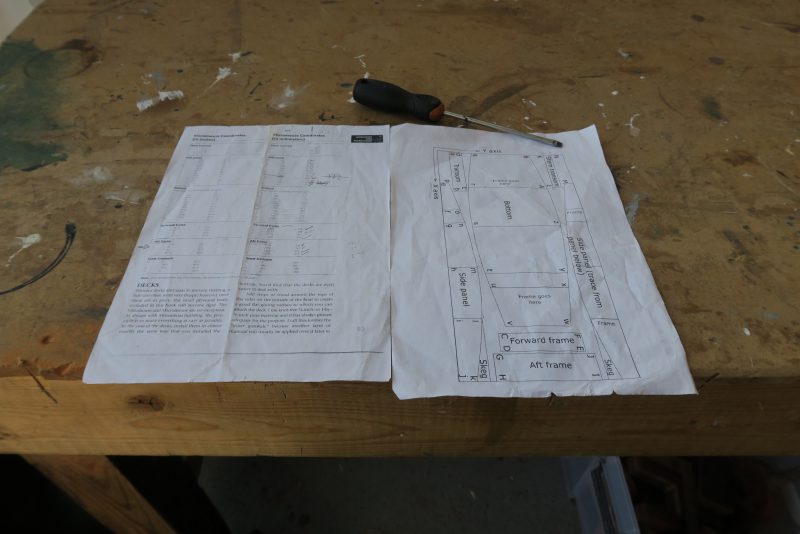
The Mouse Boat can be made from just one sheet of plywood. The image shows the plans with the measurements given in both imperial and metric.
“It is amazing how many basic skills people can learn from this project,” Nick explains. “They have to measure accurately, mark-up, draw both straight and curved lines, make calculations and follow instructions. We are there to help them but the students do the bulk of the work themselves. Some have never handled any type of hand tool before, nor had the need to draw or measure anything.”
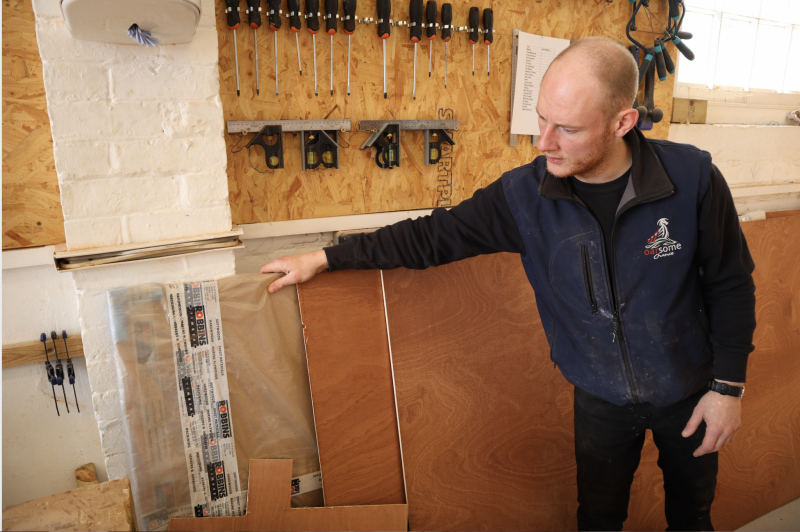
The raw materials are supplied by Robbins Timber and Wessex Resins and Adhesives. Here is one of the single sheets of 2m x 1.5m 10mm ply that will make up one complete Mouse Boat. Additional pine battens are used to create reinforcements and cross beams within the hull itself.
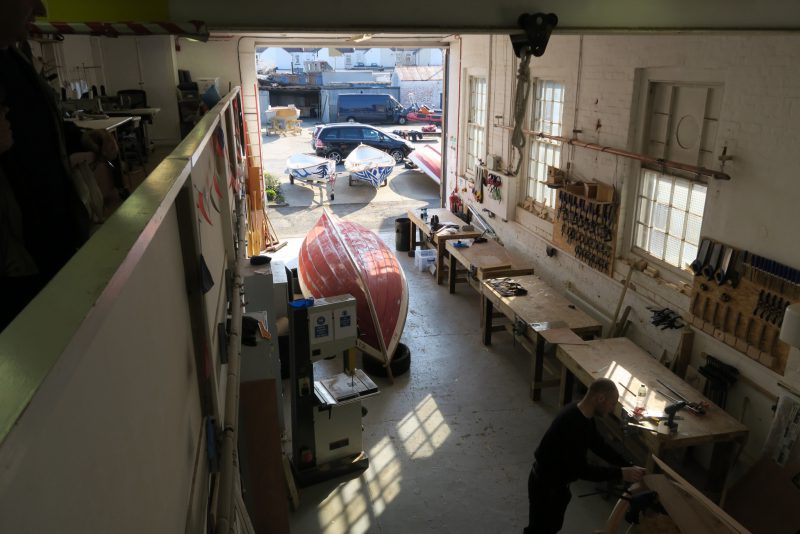
The workshop is well equipped with workbenches and a wide selection of tools, all neatly stored on highly visible pegboards. Although electric bandsaws and table saws are available, the instructors actively encourage the use of hand tools and assist the students to make accurate cuts in a variety of timbers.
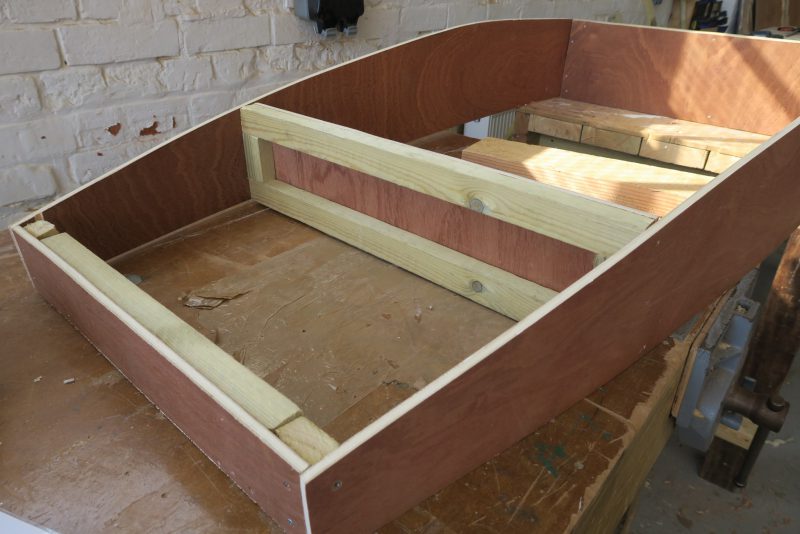
The Mouse Boat has a curved bottom. Students achieve this by deflecting a wooden measuring batten in the middle to get the right amount of curve. They then draw along the batten and later cut the line, smoothing imperfections with a hand plane. This boat is half completed and is being seen from the underside. The pine battens have been cut and glued into place with a mix of WEST SYSTEM 105 Epoxy Resin and 205 Fast Hardener, held with screws as it cures.
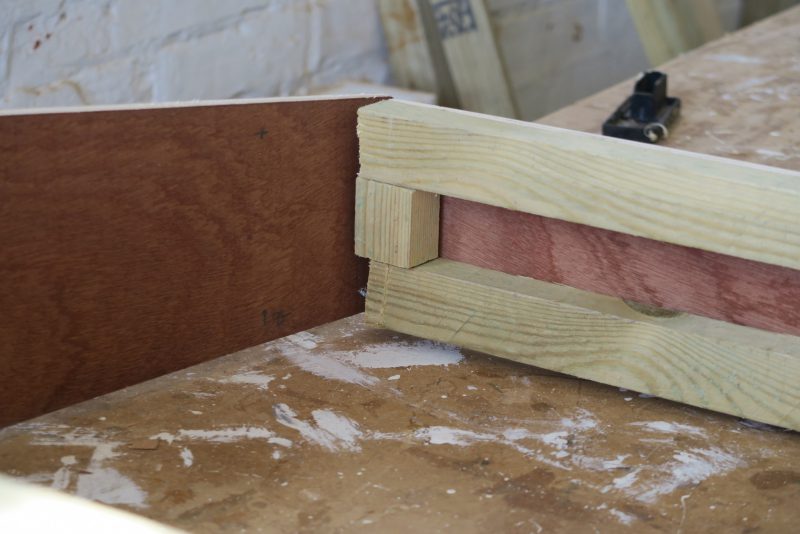
The instructors don’t expect a perfect finish, just a functional one. This close up shows a detail of the battens cut and assembled by an 11-year-old student.
“We teach the kids from the outset how to use WEST SYSTEM® epoxy,” Nick says. “They learn about ratios, how to decant and how to mix. We emphasise the safety element and always insist they wear masks and gloves when doing practical jobs.”
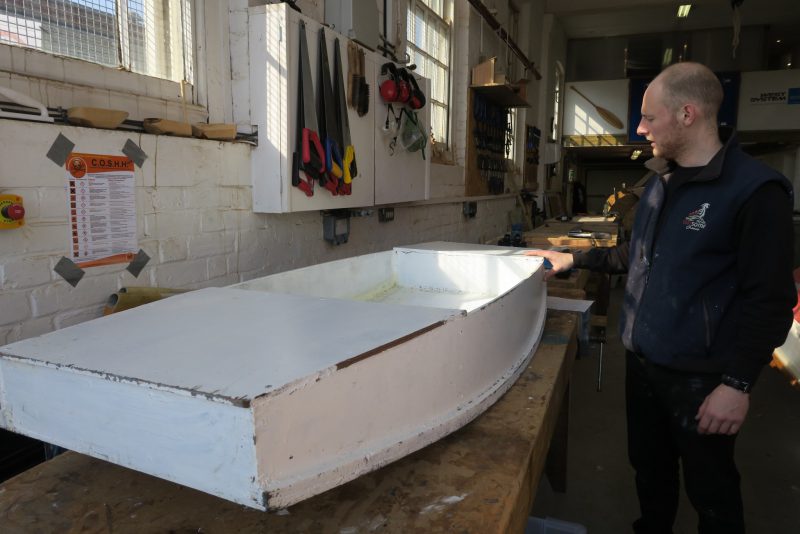
A finished boat. The seams are filled with thickened epoxy and reinforcement tape is used along the lower hull joins.
“Sometimes we will coat the wood with epoxy – sometimes we’ll just paint it. The aim is for the student to build their boat from scratch into something they can use. It gives them great pride to actually launch and paddle something they have made with their own hands, although watertight integrity isn’t always 100%. But then sinking is part of the learning curve too. They discover where they went wrong and we’re always there to rescue them.”
Other projects
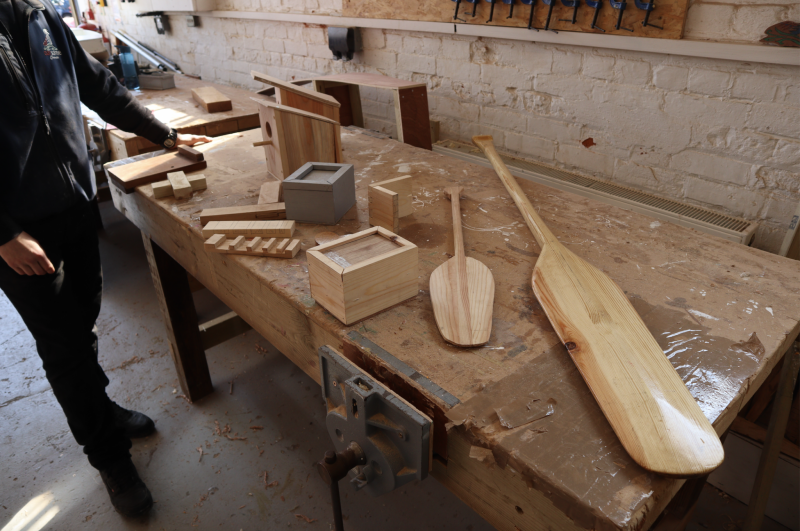
The students are taught some basic techniques that can be used for other tasks. Here is a selection of the items they make using a variety of basic joinery techniques, including butt and dovetail joints. The objects range from a wooden heart made from a single square of pine to a complex bird box.
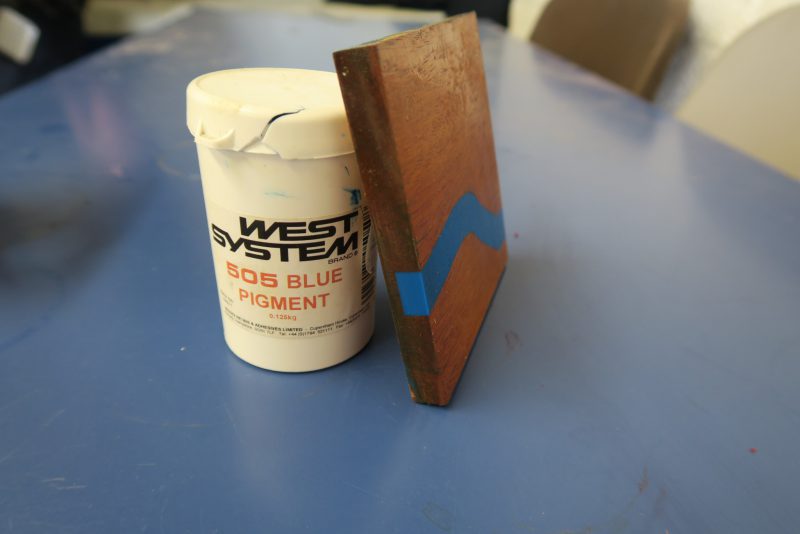
Seeing what tools can achieve can often fire the imagination. Here one student has experimented with WEST SYSTEM 505 Blue Pigment to make a coaster. He has routed out a channel, filled it with pigmented WEST SYSTEM epoxy and then sanded and coated the result. This first coat of WEST SYSTEM epoxy will be sanded back and built up before being finished in a gloss varnish.
More advanced work
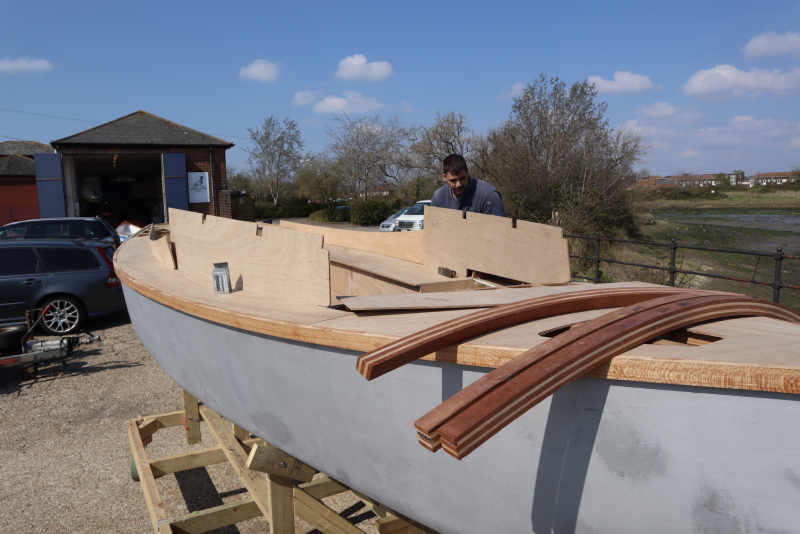
Out in the yard, the part-completed Secret 20 kit boat donated by Practical Boat Owner magazine is taking shape. The older and more skilled students get to work on her in readiness for displaying the boat at the Southampton Boat Show in September 2019. Note the laminated battens that will be used to support the cabin roof. Volunteer instructor and professional shipwright Jesse Doyleis seen working on the cabin.
