How To: Dead wood? Bring out the gloss!
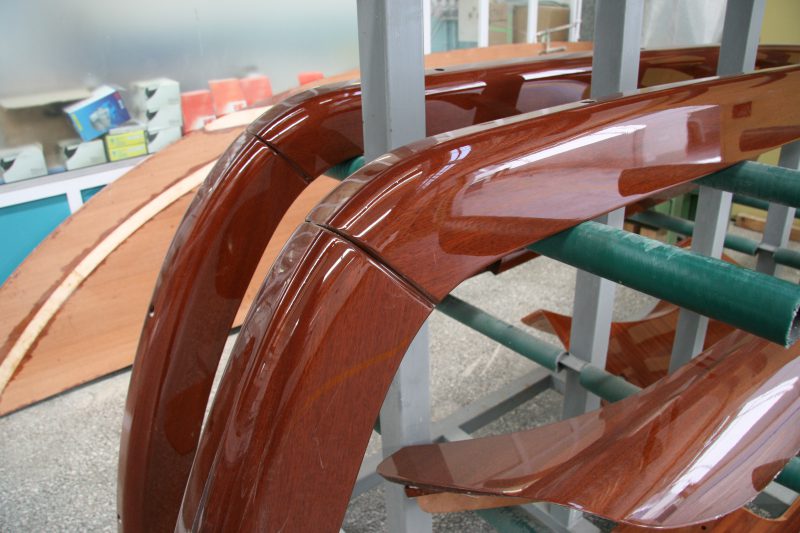
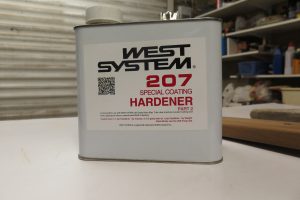
The summer months are a good time to restore weathered wooden fittings and trims. The long evenings allow them to be stripped, prepared and primed with WEST SYSTEM 105 Epoxy Resin with 207 Special Coating Hardener for a rich, deep gloss.
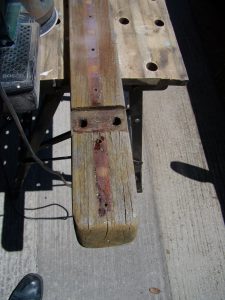
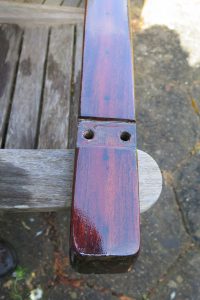
Before and after:
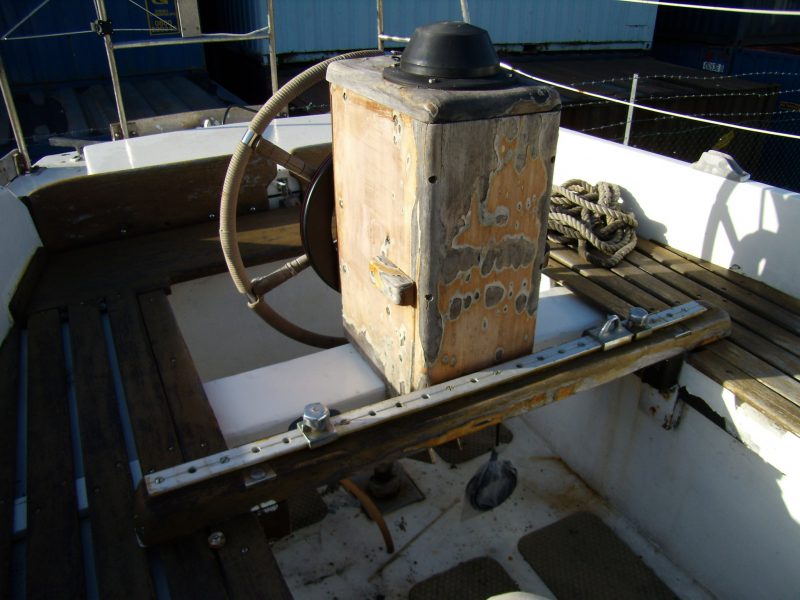
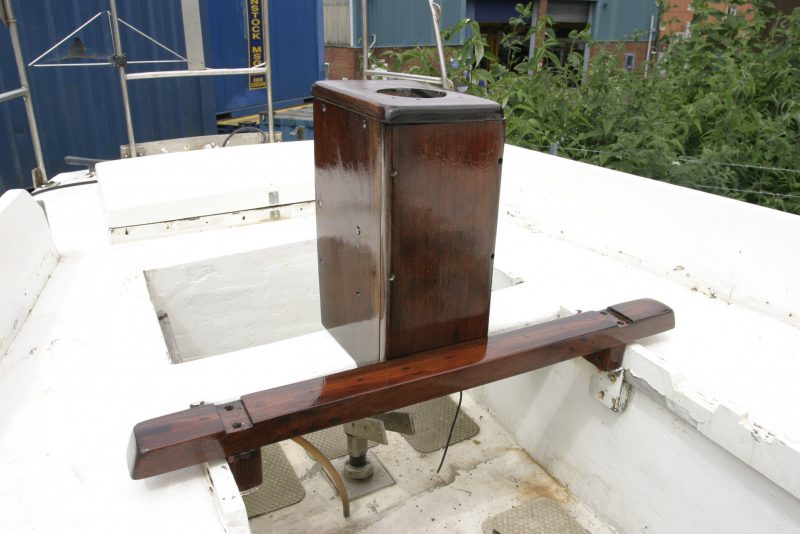
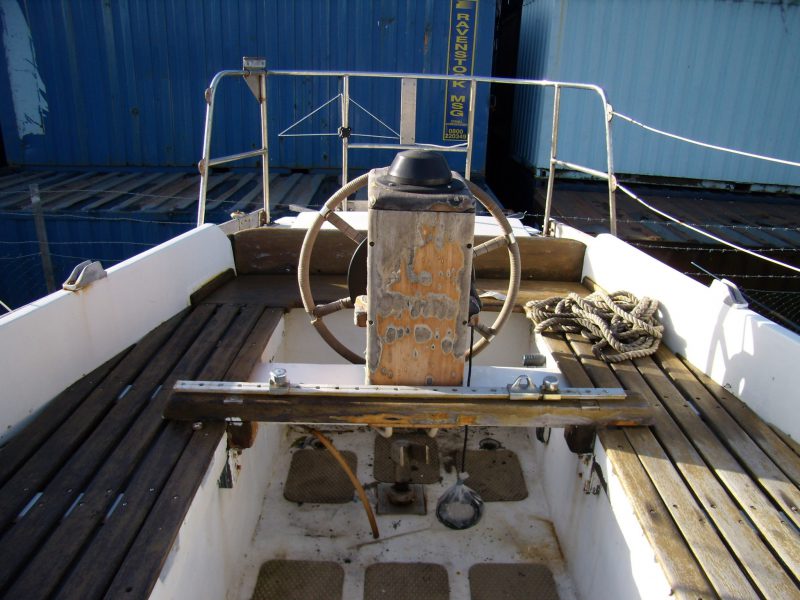
This 50-year-old wooden pedestal and travel horse assembly was stripped back to bare wood, stabilised with epoxy and then varnished with a two-pack UV stable varnish.
WEST SYSTEM epoxy is regularly used as a base coat on yachts to really bring out the deep golden hues of tropical hardwoods. The activated resin sinks partially into the surface to seal it tight against weathering and to form a platform on which to build up several coats of varnish. Ultra violet inhibiters in the varnish protect the epoxy base layer and the two work together to form a tough and attractive finish.
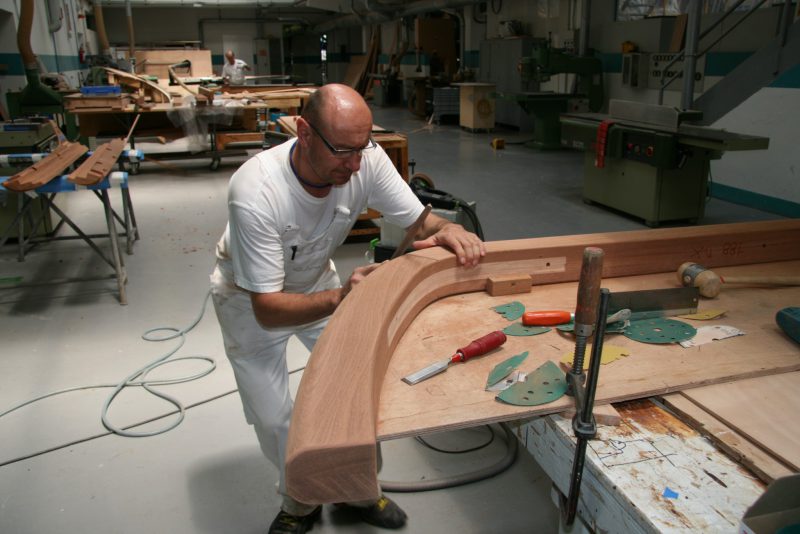
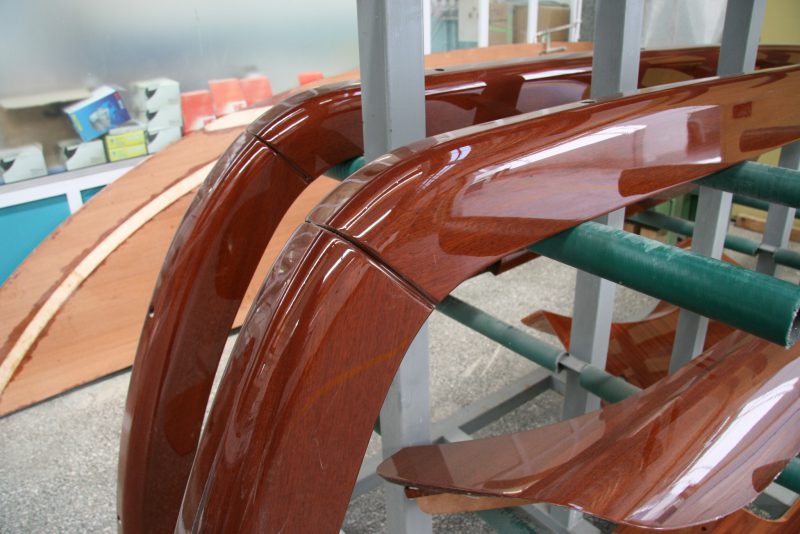
Italian boat builders Riva build up no less than 16 coats of varnish on their decorative wooden trims and add ‘flexing’ grooves to allow the wood to move slightly without breaking the seal.
Epoxy can also be mixed with sawdust from the wood itself to create a great colour-matched gap filler and adhesive. This allows you to make almost invisible repairs, especially on old wood that is still sound enough to be restored. However, the sawdust must be clean and dry.
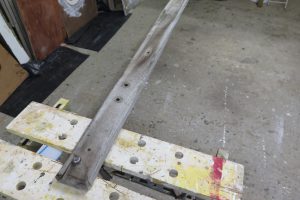
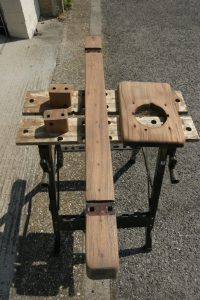
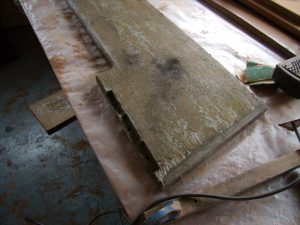
As a typical example, my elderly yacht had several areas where mahogany had been used for seats, toe-rails, handrails, a sheet horse and pedestal cladding. The wood was original to the 50-year-old boat and due to an historic lack of maintenance was badly weathered. In some cases it had also split open at the end of the grain and other pieces were full of redundant screw holes. Essentially, it was a mess.
With the wood carefully detached from the boat, I would have been forgiven for dumping it all in the nearest skip. However, the quote for a new set of toe rails alone (in Iroko) was upwards of £500 and the price for sawn mahogany for the seats brought tears to my eyes, so I decided to salvage what I could. I knew that under the weathering there was some rich, golden-grained timber to be found.
CLEANING THE WOOD
If there is still some varnish attached to the wood, this will need to be stripped off, either by using a special varnish stripper and scraper or by abrading with coarse sandpaper. Avoid using a hot air gun as this could scorch the wood.
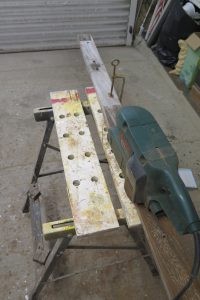
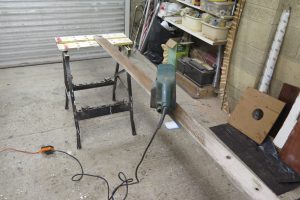
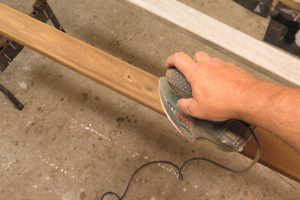
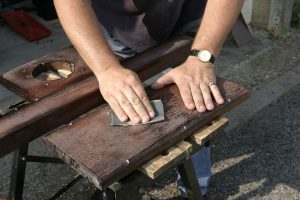
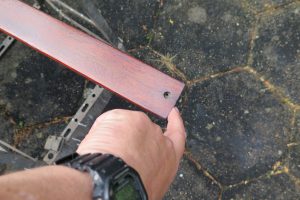
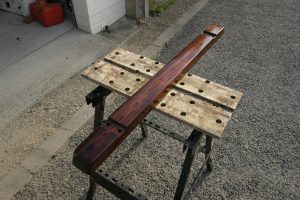
The first job is to remove the grey and sun-bleached exterior. Fortunately, mahogany is quite a close-grained wood that not only makes it very strong but also prevents weathering from going very deep. I clamped the various pieces to a workbench and used a belt sander on the long sections, running coarse (80) grit paper along the grain. For smaller pieces and awkward angles, I used orbital and detail sanders.
You only need to apply fairly light pressure, making sure the belt sander stays level with the wood so as to avoid any gouges. These machines are quite powerful, so make quick work of the weathering. As suspected, that lovely golden wood was just waiting to be rediscovered. This 5-metre length only took about half an hour of enjoyable work to clean up.
Where there was some staining around the screw holes, and a few splits at the extremities, I concentrated the detail sander here with a slightly lighter grit (120) so as to eliminate the swirling scratch marks you can get if the paper is too coarse.
FILLING HOLES AND SPLITS
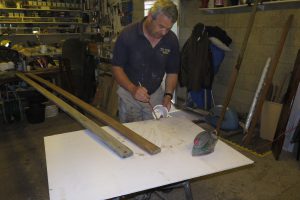
Once I was down to ‘virgin’ wood, I swept the workbench clear and then sanded again, this time collecting the sawdust. I would use this clean and uncontaminated sawdust with WEST SYSTEM epoxy to fill in the holes and splits. This primer coat is needed on damaged wood, as it would stabilise the splits and seal them against any moisture ingress. Thanks to using the wood’s own material, the repairs would pretty much vanish.
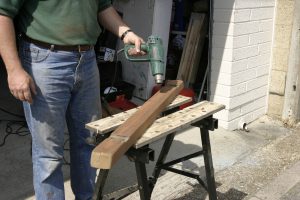
With the wood freshly sanded, and the stains eliminated, it was time to prepare the holes. First I used a hot air gun to heat the wood and drive out any moisture that may be lingering in the voids. The residual heat also has the effect of drawing the epoxy into the grain.
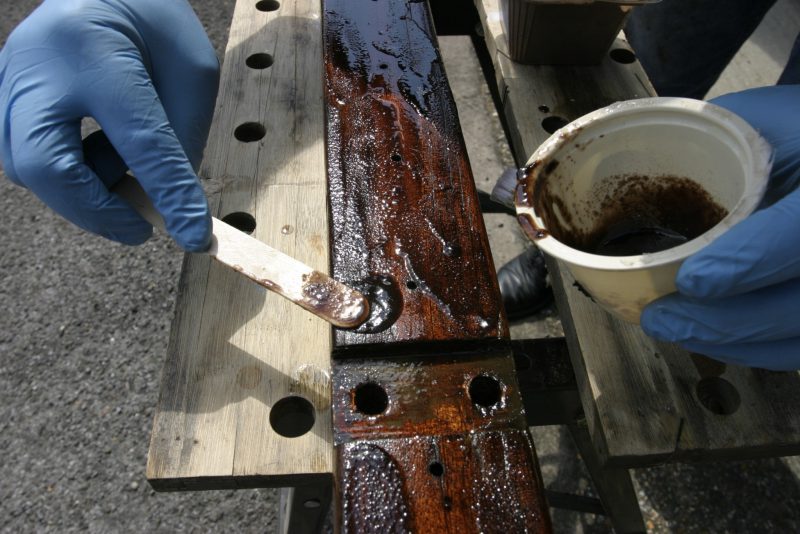
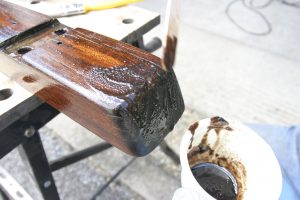
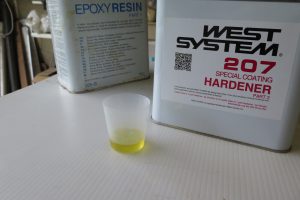
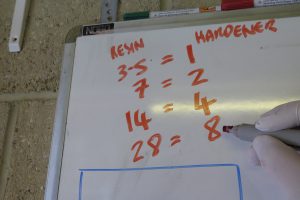
I then sealed up the underside with some electrical tape (easy to remove later as it doesn’t stick to the epoxy) and then measured and mixed up WEST SYSTEM 105 Epoxy Resin with 207 Special Coating Hardener in the 3.5:1 weight ratio. This was painted into the largest splits and holes to help seal up the fibres and create a stronger bond.
TOP TIP:
Only mixing enough material to use in a curing window of around half an hour, especially if the ambient temperature is quite warm (in my case, 20-25°C). Also, try to use a mixing pot with a wide base so you can spread the material out. It heats up and cures quicker if bunched.
With the inside of the holes and splits primed with epoxy resin, I covered the entire area with a first coat to allow it to sink into remaining cracks. If you want to develop a deep, rich shine, you must use the 207 hardener from the outset. This special hardener works equally well with all WEST SYSTEM additives – it just has a more transparent formulation.
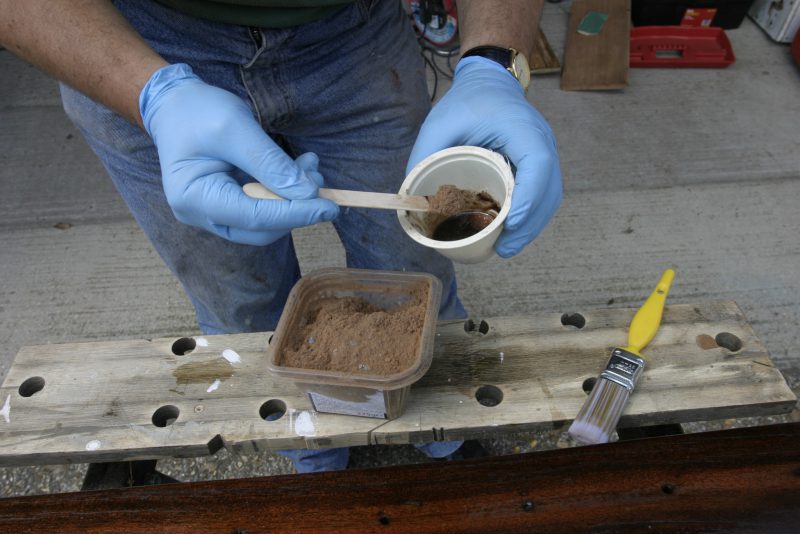
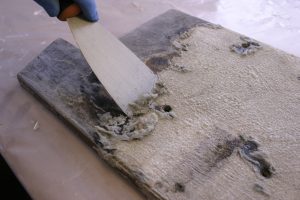
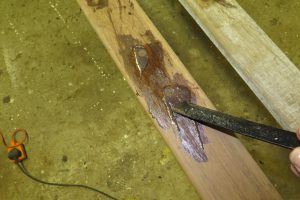
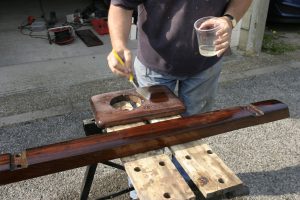
With the remaining mix, I added in the sawdust and made a paste with the consistency of peanut butter. This I pushed into the holes using a spatula, smoothing the surface as much as possible to minimise the sanding needed later. It was left to cure.
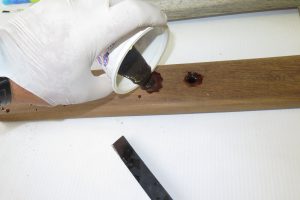
For the old screw holes, I mixed 105/207 epoxy with sawdust, but aimed for a thinner mix that would pour into the holes. You may notice the colour of this filler is a bit dark, and a good way to lighten it is to add some 405 Filleting Blend.
On smaller holes, you may get an air lock that prevents the epoxy from reaching the bottom. The trick is to tease the mix into the edge of the hole with a spatula so it runs down the side of the hole and displaces the air as it goes. You may need to top up the filler as it can settle.
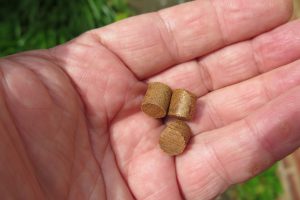
You can also fill holes with pre-cut teak plugs like these, available from any good chandler. You can drill out the holes to the right diameter and insert the plugs with a dab of epoxy adhesive or wood glue. Orientate the grain, and then cut off any excess with a sharp chisel so the plug lies flush with the wood. Another alternative is coloured wood filler from any DIY store.
TOP TIP
Using a counter sinker to open up the top of the holes – especially the smaller ones – will make filling them a little easier, and give a better result.
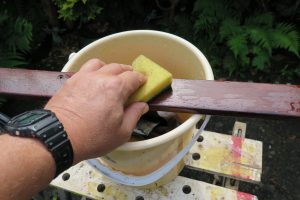
With the splits and holes filled and stabilised and the filler hardened off, I washed off the amine blush (a thin condensation-like film) with fresh water, wiped it down with a dry cloth and gave the wood one more sand. I used a coarser grit to flat back the cured filler and then a finer sand to take out the last of the scratches. Finally, I wiped the surface down with a damp cloth (a decorator’s Tak Rag is equally efficient) to pick up any last bits of dust. Now we’re ready to apply the rest of the coats.
COATING WITH EPOXY
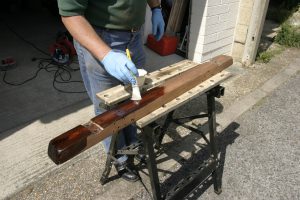
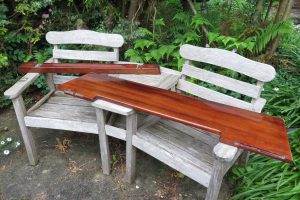
Properly prepared and coated hardwood can look stunning, especially if it has an ornate grain. WEST SYSTEM 105 Epoxy Resin with 207 Special Coating Hardener makes an ideal base for the application of multiple layers of ultra-violet (UV) resistant varnish. These are two pieces coated with epoxy and just one coat of varnish (so far) – see how they compare to the weathered teak furniture they are on, which was their original colour too!
NOTE: Despite the 207 hardener having a built-in UV inhibiter this by itself will not be enough to guarantee a long-term coating without protective layers of UV filtering varnish. As such, it is best to complete the varnishing before the wood is exposed to direct sunlight.
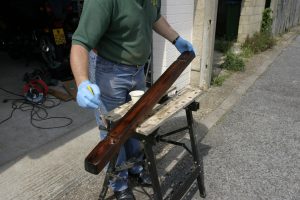
With the wood laid out on a workbench and bin liners underneath, I used a hose to dampen down the immediate area. This would stop dust from being kicked up and contaminating the wet epoxy. I also made sure we weren’t due any rain showers. With a supply of trays and rollers to hand, I mixed the first batch of WEST SYSTEM 105 resin with the 207 hardener.
NOTE:
The mixing ratio is different to the fast hardener you may be familiar with. The 207 Special Coating Hardener has a resin to hardener mix ratio of 3.5:1 by weight or 3:1 by volume, so you will need the correct dispensing pump. Alternatively, use a calibrated mixing cup and some basic maths to ensure precise ratios. After using WEST SYSTEM epoxy for a while you get very good at knowing how much epoxy you will need for each job. If in doubt, just mix small batches until you get a feel for the coverage. This will avoid wastage.
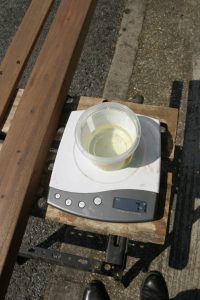
The hardener can be measured out by volume or weight, so you can use a set of digital scales too. After using WEST SYSTEM epoxy for a while you get very good at knowing how much epoxy you will need for each job. If in doubt, just mix small batches until you get a feel for the coverage. This will avoid wastage.
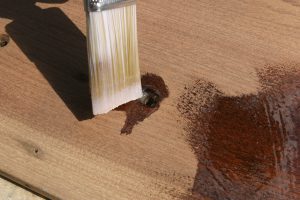
The mix was decanted into a clean roller tray and then a foam roller was used to lay down the first coat, ensuring an even coverage. On smaller pieces I used a brush. You can ‘tip-off’ a rolled surface with a brush, or a piece of foam roller, to even up the surface and remove the slightly matt effect left by the roller’s pattern.
With a pot life of between 20-30 minutes, I used the ‘Hamish Sellotape Test’ to determine if the part-cured surface was ready for recoating. You simply touch a non-decorative part of the wood so as not to leave a fingerprint (I used the end grain) to determine if the surface feels like the back of a piece of Sellotape i.e.: just sticky enough to accept the next coat).
To determine when the part cured coated surface is ready to accept another coat, I used the ‘Hamish Sellotape Test’. You simply touch a non-decorative part of the wood so as not to leave a visible fingerprint (I used the end grain). If the surface feels like the back of a piece of Sellotape, it will just be sticky enough to accept the next coat. Too dry, and it will need abrading.
TOP TIP:
If time is a bit tight, you can lay down a single coat, allow it to fully cure and come back to do the next one another day. This will mean extra work, as you will have to wash off the amine blush from the surface of the epoxy, then leave the coating to dry before lightly abrading the surface to create a key for recoating. This is why it is best to lay all three coats down in one session if possible, so the amine migrates from layer to layer with no intervention required.
With all three coats completed and fully cured, the surface is given a rinse down with fresh water and light wipe with a kitchen scourer to remove the amine blush. It is then sanded with 180 grit paper as a preparation for the varnish.
FINISHING TOUCHES
The type of varnish being applied is down to personal choice. The epoxy is stable, so won’t react with any of them. Two pack varnishes are expensive, but remarkable strong. However, they shouldn’t really be used on areas where there will be a lot of flexing or movement. Instead, they are very good for static, high-wear areas, so I would use International’s Perfection Plus on the travel horse and pedestal.
For my toerails, which would flex over their long length with wave and foot impact, I would use single pack polyurethane yacht varnish with good UV resistant qualities. The varnish is thinned with high-grade solvent recommended by the paint manufacturer. International Paints for example supply their own for single pack varnishes called Thinners No1. Don’t be tempted to use cheap white spirit from your DIY superstore. An independent paint distributor supplying the superyacht industry once told me that these budget formulations are often ‘full of rubbish.’
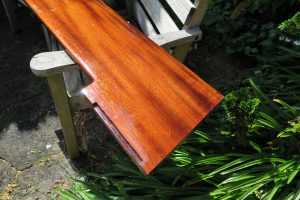
Before and after
This is the end result of an epoxy/varnish restoration. Hard to believe that these pieces of wood were so badly weathered and split that they nearly ended up in the skip. A simple combination of WEST SYSTEM 105/207 epoxy, some mechanically assisted elbow grease and a good quality varnish can bring badly weathered wood back from the dead and make it look like new again!
TOP TIP:
Despite all those UV inhibitors, the ultimate way to protect your varnish long term, especially if your yacht resides in the Med or Tropics, is to cover the exposed wood with impenetrable covers, such as the ones seen here. They are relatively easy to make, especially for small boats, and will pay back over the years by minimising maintenance.
About 207 Special Coating Hardener:
Apart from providing an extremely clear finish in coating applications, WEST SYSTEM 207 Special Coating Hardener also delivers excellent adhesion for bonding properties.
It contains an ultraviolet inhibiter to protect the 105/207 mix against sunlight but the cured epoxy surface will still need additional UV filtering varnish for long- term protection.
Mix ratio: 3.5: 1 by weight (Note – differs from the usual 5:1 ratio)
Pot life at 25°C: 20-30 minutes.
Cure to solid at 21°C: 9 to 12 hours
Cure to maximum strength at 21°C: 5 to 7 days.
Minimum recommended temperature: 16°C

