Trade Secrets: Tricks of the Trade
Seasonal hints and tips from the professionals
Even though the winter is loosing its grip, we still have frosty mornings but there’s no need to stop those DIY epoxy projects at the boatyard – just make allowances for the lower temperatures and seasonal damp conditions.
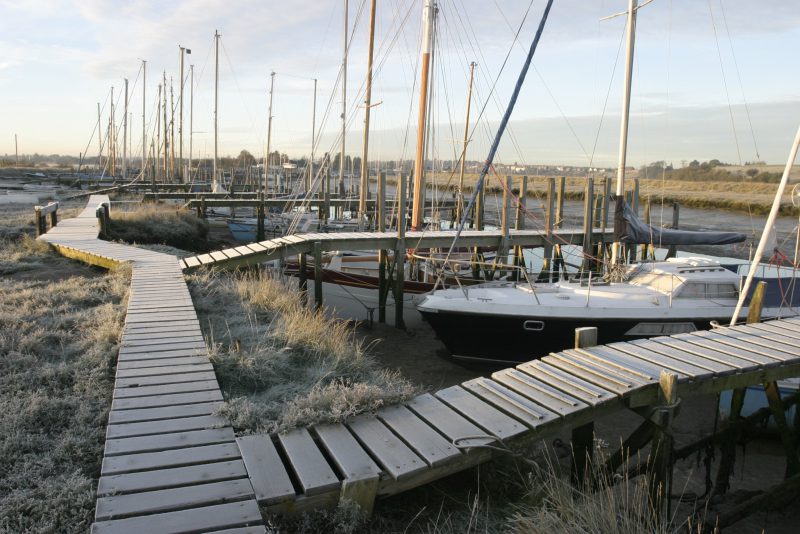
Frost on the ground! Your epoxy should be safely stored above 10ºC before this happens.
Keep your resin and hardener warm
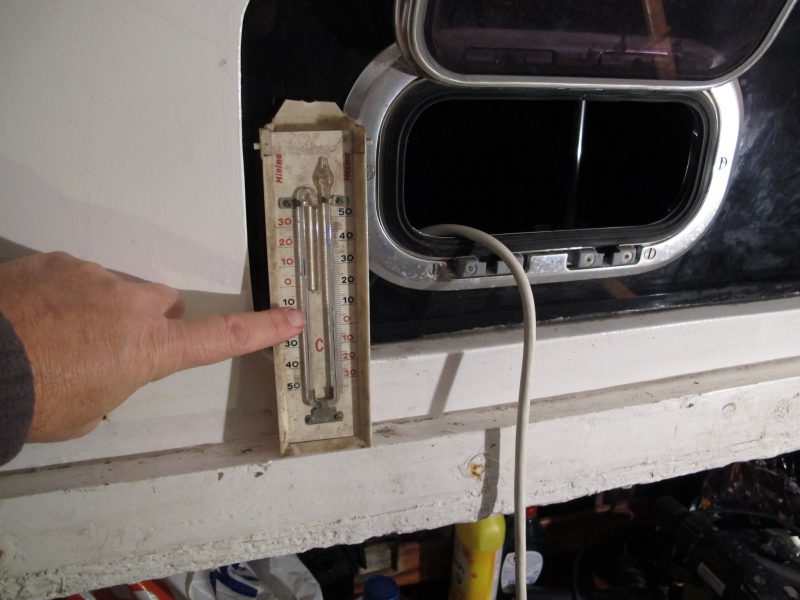
A simple thermometer on the boat is a handy guide to the limits of the temperature window for epoxy storage. Some smart phones now have a temperature sensor.
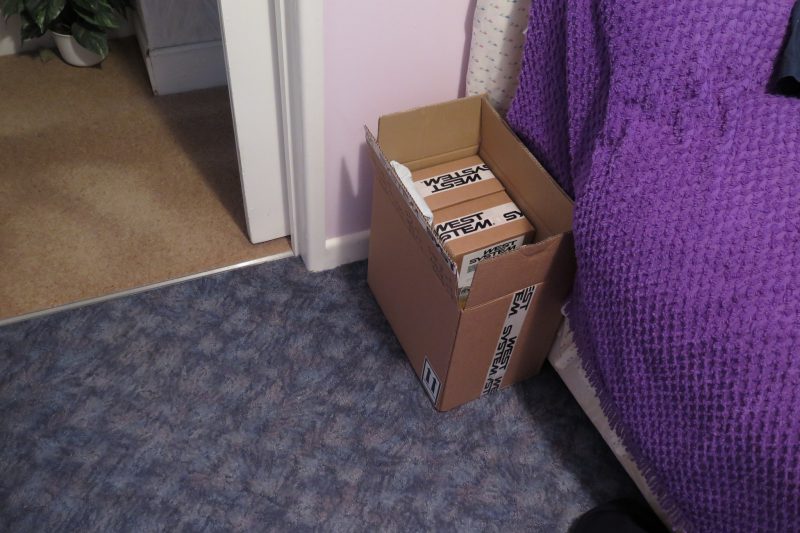
Bring your epoxy indoors, even if it has to sit in the bedroom for a while.
Epoxy resin and hardener is very susceptible to cold and should not be stored below 10ºC. For best results, aim to keep it at around 18-22ºC (room temperature). This amount of warmth makes the resin and hardener very fluid and easy to pump, pour and mix. As the temperature drops, so the resin thickens and the cure time extends. Epoxy shouldn’t be used below around 5ºC unless you can warm up both the resin and hardener as well as the job it’s going onto.
Make yourself a ‘hot box.’
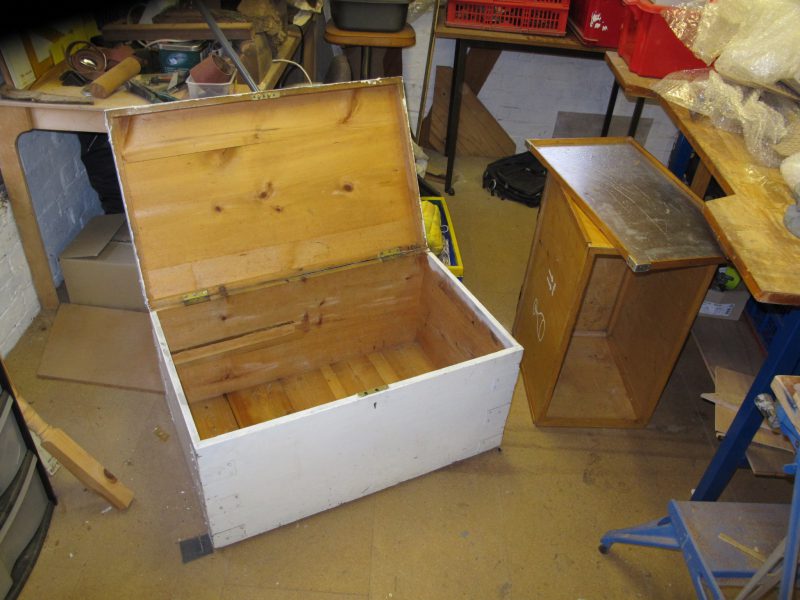
Old trunks and packing cases like this…
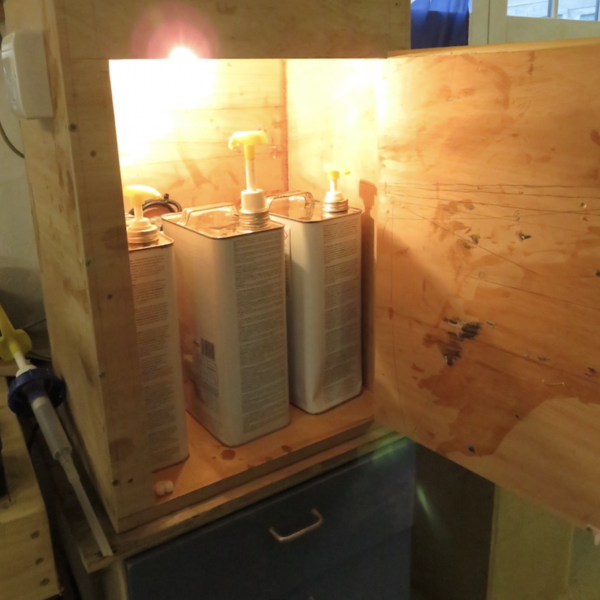
…can easily be made into a ‘hot box’ by adding a bulb and a thermostat. David Grey made this one for his motorboat project.
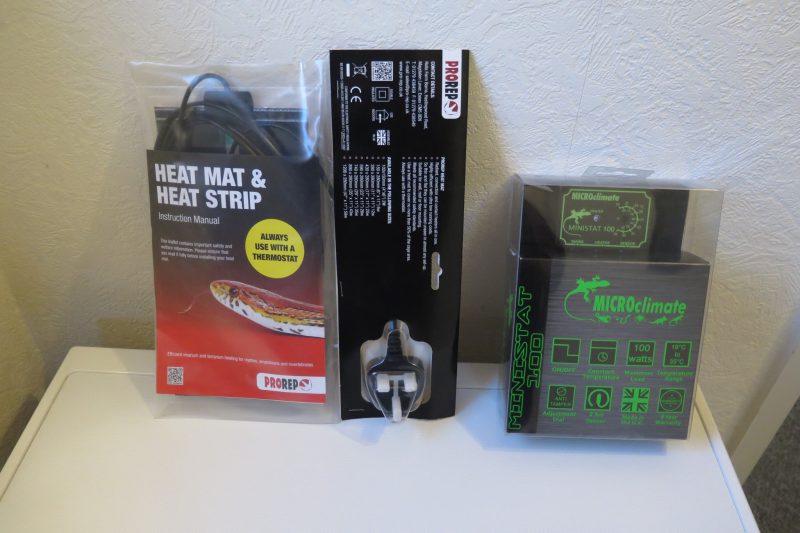
A heating mat intended for a reptile cage is available from pet stores and works very well in a hot box. They must be used with a thermostat, which is usually available at the point of sale. This 12Watt mat cost around £16 and the thermostat was £27.
Professional applicators and DIY enthusiasts will invariably make themselves a hot box (and in big volume yards, a ‘hot room’). These are easy to create with DIY tools and consist of an insulated wooden box, chest or cupboard fitted with shelves and heated by a 40-60 Watt filament bulb connected to a thermostat. Mike Falcon (see Grey Falcon restoration feature here) suggests that a heating mat for a reptile cage is equally efficient.
Old wooden packing cases can all be converted into a hot box with minimal effort but just make sure they have a door. For energy savings, line the inside of the box with some silver-backed radiator insulation.
Bring your epoxy indoors
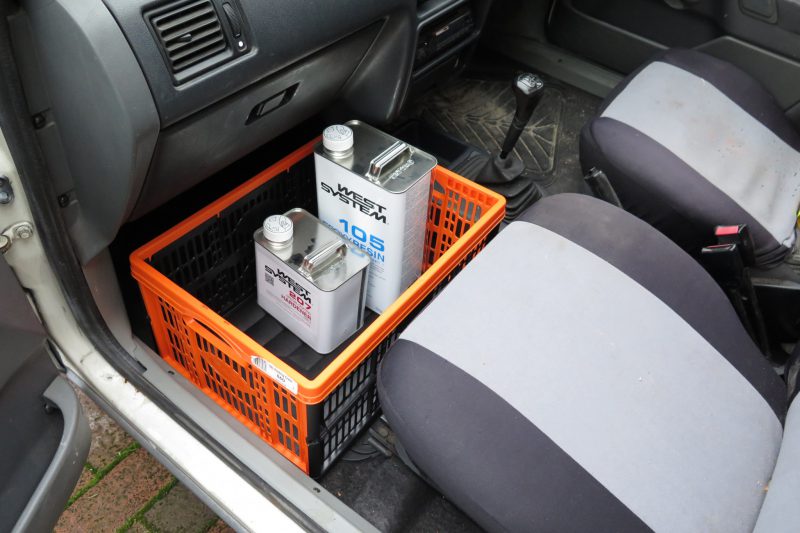
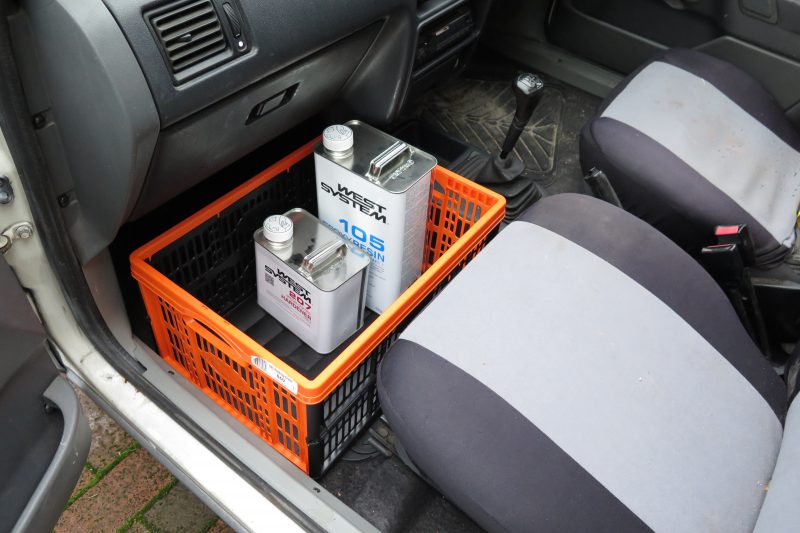
When driving to the boat, keep the epoxy warm by stowing it in the floor well near a heating duct rather than in the boot.
If you haven’t yet made yourself a hot box, then bring the epoxy indoors and store it in a utility space or an under stairs cupboard for the winter. When driving to the boat, the epoxy can be positioned in a crate near a heating outlet in the floor-well to keep it warm.
Avoid crystallisation
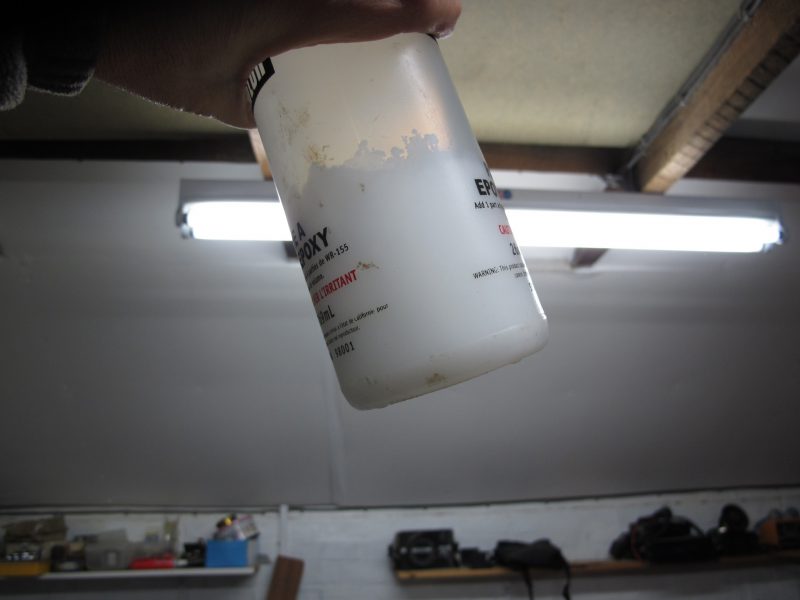
A bad case of long-term crystallisation, seen here in another brand of epoxy resin that was stored in freezing conditions. The white crystals at the bottom of the bottle should dissolve away once subjected to heat and stirring.
If the frosts have crept up on you, then you might find that the resin you have left in the boat or unheated workshop has crystallised. This isn’t a major problem, as it can be returned to a liquid state by sitting the container in a basin of hot water. Take the lid off to allow for expansion and make sure that no water can get into the resin container as you stir the contents with a long, clean stick. The warmth will dissolve the crystals, with no harm being done to the epoxy chemistry. After the crystals have disappeared, put the top back on and invert the container to clear the last remaining crystals from the neck. Keep the resin and hardener in a warm place after that and they should be fine.
The Ikea-style curing oven

Temperature is critical when boat building in places like Finland. To save energy and ensure a perfect cure they have a flat-pack curing oven for the hull, seen here prior to assembly. Note the thick sandwich of rock wool insulation in the panels.
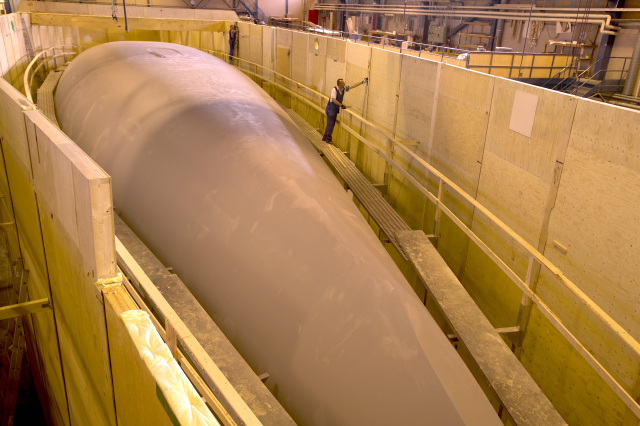
The panels are assembled around the hull within the main construction hall, reducing the amount of air that has to be heated. A roof will be placed on this giant hot box before electric bar heaters are used to bring it up to a pre-determined temperature. Fans circulate the warm air and eliminate temperature gradients.
Warm air on plywood
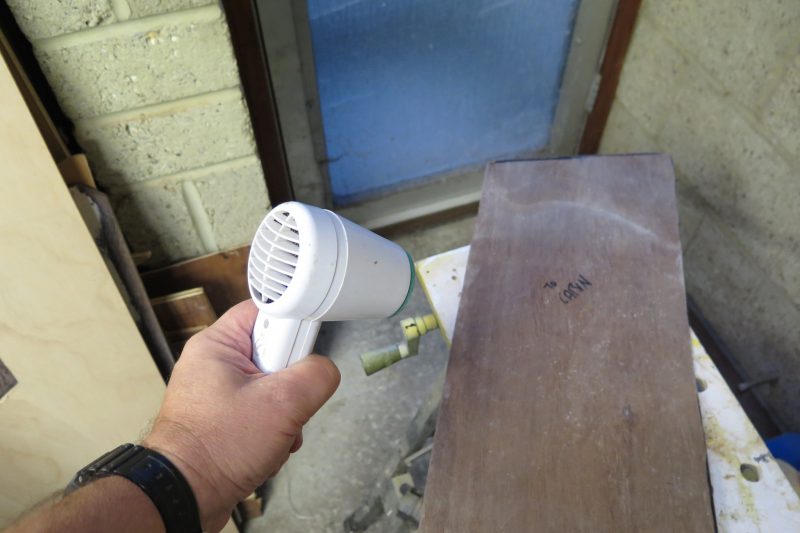
Even an ordinary hairdryer can help drive away moisture and allow the plywood to draw epoxy into the fibres as they cool again.
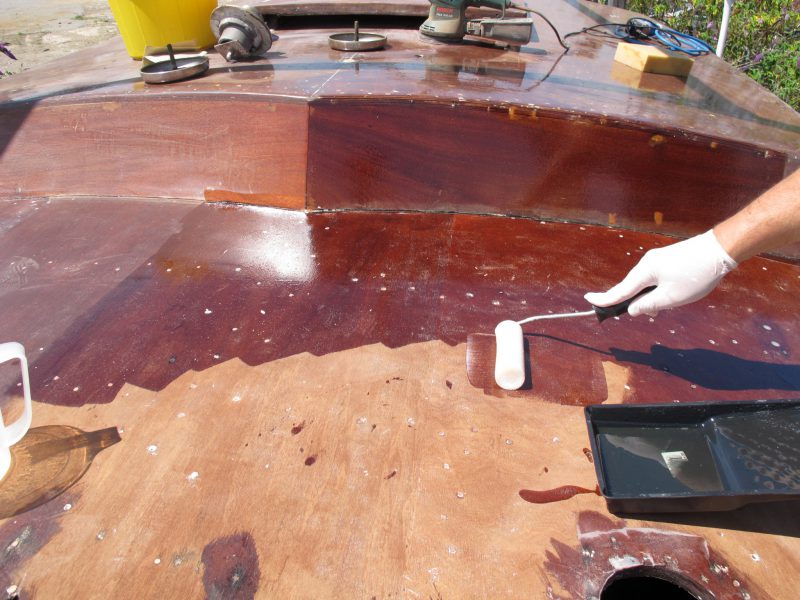
This cabin top is being coated in bright sunshine and you may be able to spot the hundreds of out-gassing air bubbles being formed. The applicator will have to flat these back later. Better to have chosen a cloudy day, or used some shade.
If applying a coat of epoxy to a plywood sheet on a cold day, gently warm the surface with an electric blowgun or hair dryer before applying the first layer of epoxy. This has several benefits. Firstly, it displaces any surface moisture. Secondly, the warm surface and equally warm epoxy will reduce the cure time and ensure mixed epoxy resin remains easy to work. Thirdly and perhaps most important of all, as the plywood cools again it will literally suck the resin into the porous structure, aiding the impregnation of the fibres.
However, the reverse is also true. Don’t apply epoxy if the plywood is likely to heat up from direct sunlight on a bright winters day, as the air trapped in the fibres will outgas, causing your layer to be covered with tiny air bubbles.
Dehumidify the boat
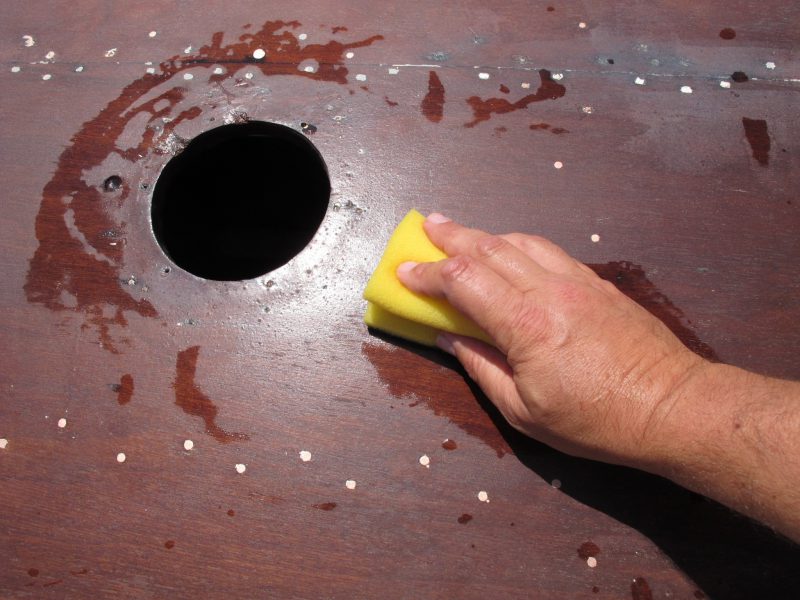
Amine blush is encouraged by damp, cold conditions but is easily washed away with warm water.
If working inside a boat during the winter, use a dehumidifier, or at least have some heat going. This will help to remove some of the moisture from the air and reduce the formation of amine blush, especially if you have to leave each coat to cure between other jobs.
Amine blush is a by-product of the curing process and is encouraged by damp air. Amine blush looks like a layer of condensation on the cured glossy surface but is easily washed away with warm water and a soft scourer.
Boat builders tend to use oil-filled bar heaters on board as they give a good, consistent warmth. They are also safe to work around and to leave on for long periods and are relatively efficient when compared with other types of electric heating.
Incidentally, marinas in Europe (and especially in the UK) are not allowed to charge excessively for the power you use, as these tariffs are regulated. However, some will insist you buy or rent a metered cable so they can accurately bill your account. (Cable price £80-£120).
Remove peel ply at the last minute

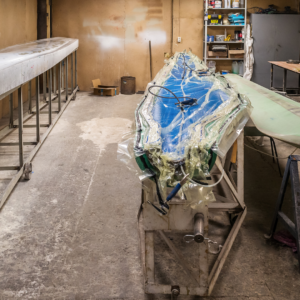
Peel ply on each side of the bow of a professional composite hull. This ply will be literally peeled away to reveal a surface with patterned indentations that make an ideal ‘key’ for subsequent application of epoxy or primers.
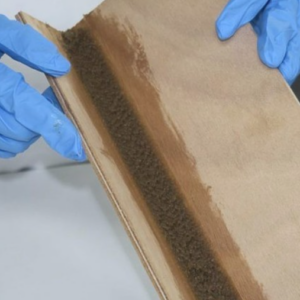
Peel ply is a tightly woven synthetic fabric that is applied to a freshly coated surface and is literally bonded into place as the epoxy cures. As the peel ply is made from slippery nylon, epoxy can only form a weak bond with it. This makes the material easy to peel away (hence the name) once the epoxy has cured. The result is a rough epoxy surface free from amine blush, ideal for the application of primers or fillers with no need for further sanding. Peel ply is a great time saver and is widely used on the last coat of epoxy before the primer stage.
However, in a tip from Compass Tenders, the makers of high-class runabouts for superyachts, the trick is to only peel as soon as you are ready to prime or paint and not a moment later.
“Once the ply is removed, the underlying coat is exposed to the elements and can pick up dust, contaminants and other airborne pollutants very quickly, however clean you think the workplace may be,” a craftsman told us. “As such, we leave the ply on to the very last minute, as it forms a natural protective barrier. We only take it off the moment we are ready for the next phase. This helps keep the exposed substrate in peak condition.”
In fact, despite using peel ply, Compass Tenders still sand the ply peeled epoxy surface to guarantee 100% adhesion, using the peel ply as an aid to the sanding process rather than as a direct replacement. To many, this additional sanding may seem unnecessary but then some of the bespoke designs from Compass Tenders can sell for upwards of £1 million apiece (www.compasstenders.co.uk) so perfection is the name of the game.

