Trade Secrets: Filling and fairing with marine epoxy
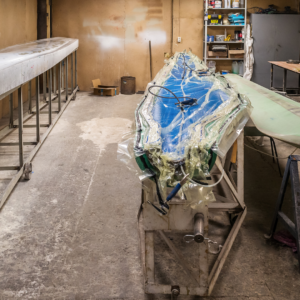
Whatever your boat is made of it’s likely that, at some point, you’ve had to fill and fair damaged areas. Conducting a marine epoxy boat repair, as opposed to using other types of resin systems, creates a strong bond that is water resistant and easy to sand.
Filling and fairing with marine epoxy is widely used throughout the marine industry and since WEST SYSTEM epoxy is extremely versatile it can be applied to a wide range of materials, from wood to GRP to metal. Simply follow the six simple steps below to find out how to restore your surfaces to their original strength.
1. Clean and sand
Before surfaces are filled and faired, they must be completely clean, dry and abraded with a coarse-grit paper.
2. Identify high and low areas
Identify the low spots in the surface, either by eye or using a batten between high spots.
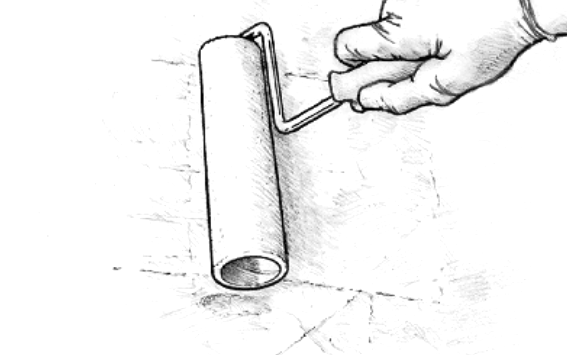
3. Prime
‘Wet out’ the surface to be faired with a mix of WEST SYSTEM epoxy and allow to tack.
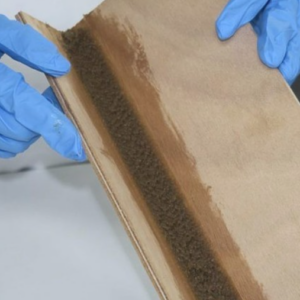
4. Mix the fairing compound
Mix WEST SYSTEM 105 Epoxy Resin with WEST SYSTEM 205 Fast Hardener® thoroughly. Add WEST SYSTEM 407 Low-Density Filler, mixed and stirred until a non-sagging ‘peanut-butter’ consistency is produced. To achieve this, mix slightly more than twice the volume of filler to the volume of mixed epoxy.

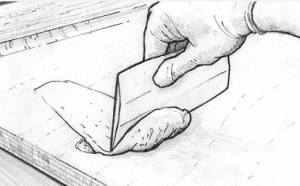
5. Apply the filler mix
The mix should be trowelled on with a plastic spreader. Low areas should be filled to just above the ‘fair’ level. Using two plastic squeegees or spreaders, in the same way a plasterer uses two tools to apply and remove material, will give you good smooth results.
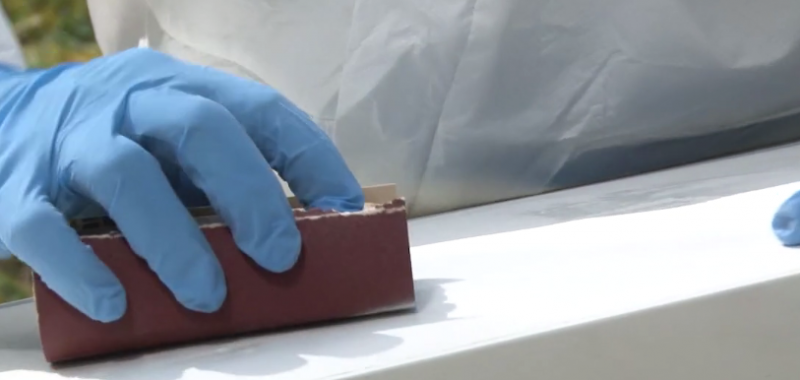
6. Sand back new high areas
Once the filling mix has cured, high areas should be sanded down to the ‘fair’ level.
These basic techniques should allow you to keep your surfaces smooth and durable all year round.
To find out more about undertaking a marine epoxy boat repair and the techniques used in this Trade Secret, why not have a look at some of our how-to videos?