How To: What are the Seven Easy Steps to Fixing a Roof Box?
Can You Fix a Broken Roof Box?
Technical expert Hamish Cook is always ready to answer your questions about epoxy. This month, we received a question about how to repair a broken roof box. Here, Hamish shares his expertise to help you fix and save money.
What Causes a Roof Box to Break?
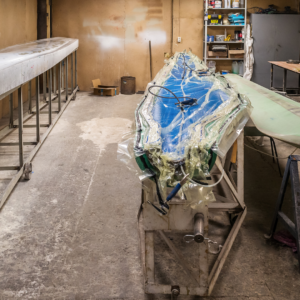
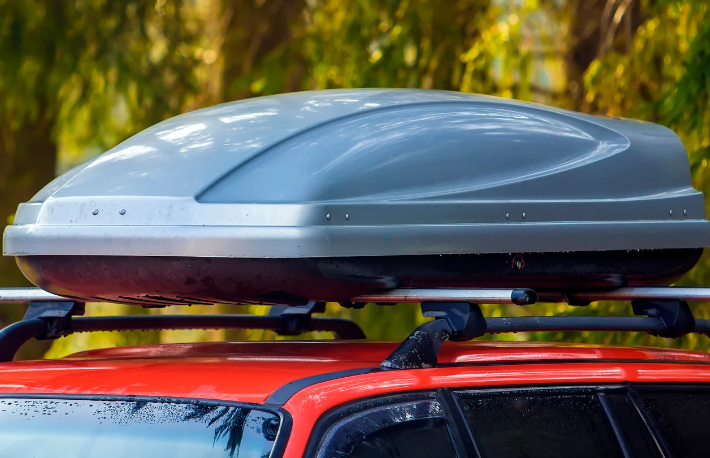
We recently heard from someone who had cracked the lid of their roof box near the hinges. They had tried to fit an item larger than usual into the box, resulting in the crack.
Roof boxes can be pricey, ranging from £100 to over £200. It’s reassuring to know that you can make an ultra-strong repair for around £20 – with the help of some epoxy resin.
What Materials Are Needed to Repair a Roof Box?
We recommend using the WEST SYSTEM® G/flex® Epoxy range, along with some fibreglass cloth. G/flex is perfect for roof boxes, as it forms structural bonds that absorb the stresses of expansion, contraction, shock, and vibration.
G/flex is available in two viscosities: 650 Epoxy, a versatile, easily modified liquid epoxy; and 655 Epoxy Adhesive, a conveniently pre-thickened epoxy. Various handy kits are also available to suit different uses and projects.
How to Prepare the Broken Area for Repair?
Working on the inside of the box, start by sanding the area around the break. The coarser the grit of the sandpaper (around 80 grit should do it), the better the adhesion to the epoxy.
Wipe the area clean using alcohol wipes. A clean surface is crucial as it will ensure a strong bond.
Quickly pass the flame of a propane torch across the surface. Allow the flame to touch the surface, but keep it moving – about 30 to 40 cm per second. No obvious change takes place, but the flame oxidises the surface and dramatically improves adhesion with adhesives and coatings applied over it.
Why Should You Warm Up the Resin, Hardener, and Repair Area?
Heating the resin and hardener before mixing them will lower the epoxy’s viscosity, allowing it to penetrate deeper into cracks. Also, gently heat the area to be repaired with a heat gun. Even a hairdryer will do it! Do not overheat or you may cause further damage.
How to Mix Your Epoxy?
Mix a small batch of WEST SYSTEM G/flex epoxy, ensuring you mix it thoroughly. G/flex is very user-friendly, as it just needs a simple 1:1 ratio by volume of resin and hardener. It has a pot life of 45 minutes, so you’ll have plenty of time to make the repair carefully.
Position the roof box so that gravity will pull epoxy into the crack. Then work the epoxy into the crack with a mixing stick or a small brush, or inject the epoxy using a syringe. Use a fine blade or stick to push the epoxy as far into the crack as possible. Wait a few minutes for it to soak into the surface and then clamp the crack closed. Allow it to cure for 7-10 hours before removing the clamps and sanding away any excess epoxy.
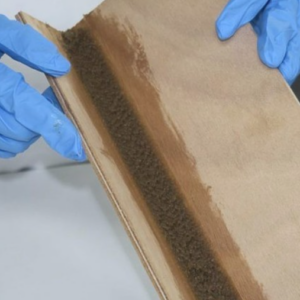
How to Add Extra Strength to the Repair?
For extra strength, thicken G/flex epoxy and use it as a filler, filling in any holes or chips. It’s also a good idea to apply some lightweight fibreglass fabric over the top for extra reinforcement. To do this, cut several sections of cloth, ensuring it extends at least 5cm over the crack all around. Then clean the roof box surface as above and mix the epoxy. Coat the fixed area of the roof box with G/flex 650 Epoxy and lay the fibreglass fabric in position on the wet adhesive, spreading it with a plastic spreader. Use the spreader to smooth and remove excess epoxy/bubbles. Then repeat the process with additional layers. Leave it to cure for another 7-10 hours. If you like, varnish or paint it to finish.
For more information on the full WEST SYSTEM G/flex range, visit our website.

Have you subscribed to our FREE monthly newsletter? Sign up here!
Working on a project? Share it with us! Click here…