Projects: Breaking the record – Hydroplane Part 2
After a long period of sanding, profiling and cleaning up, David and the team were able to cut, bend, shape and add the outer upper frames to the hull. “I’m a strong believer in that it’s all in the preparation,” explains David. The outer frames were secured using screws and WEST SYSTEM epoxy.
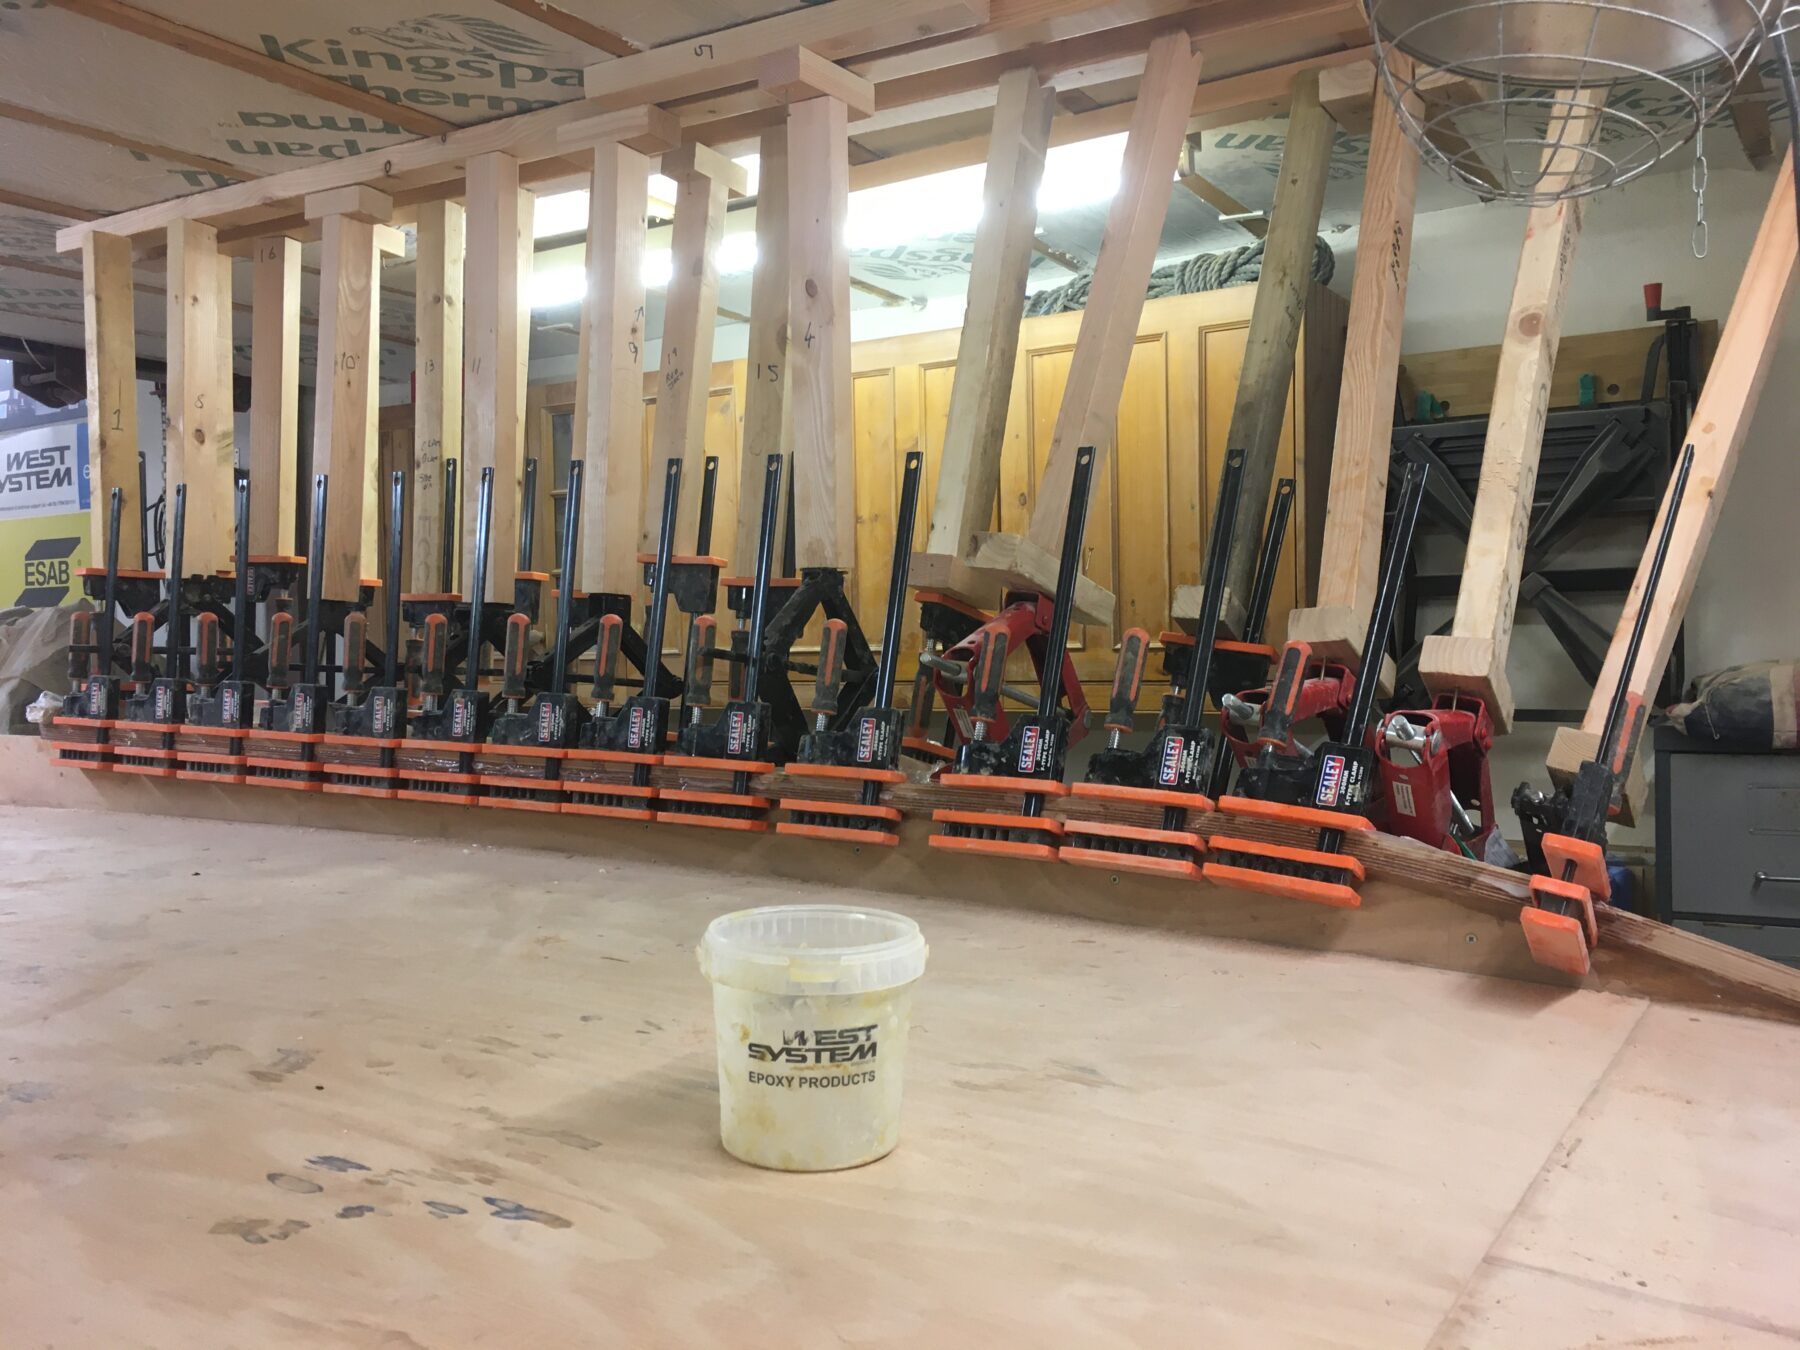
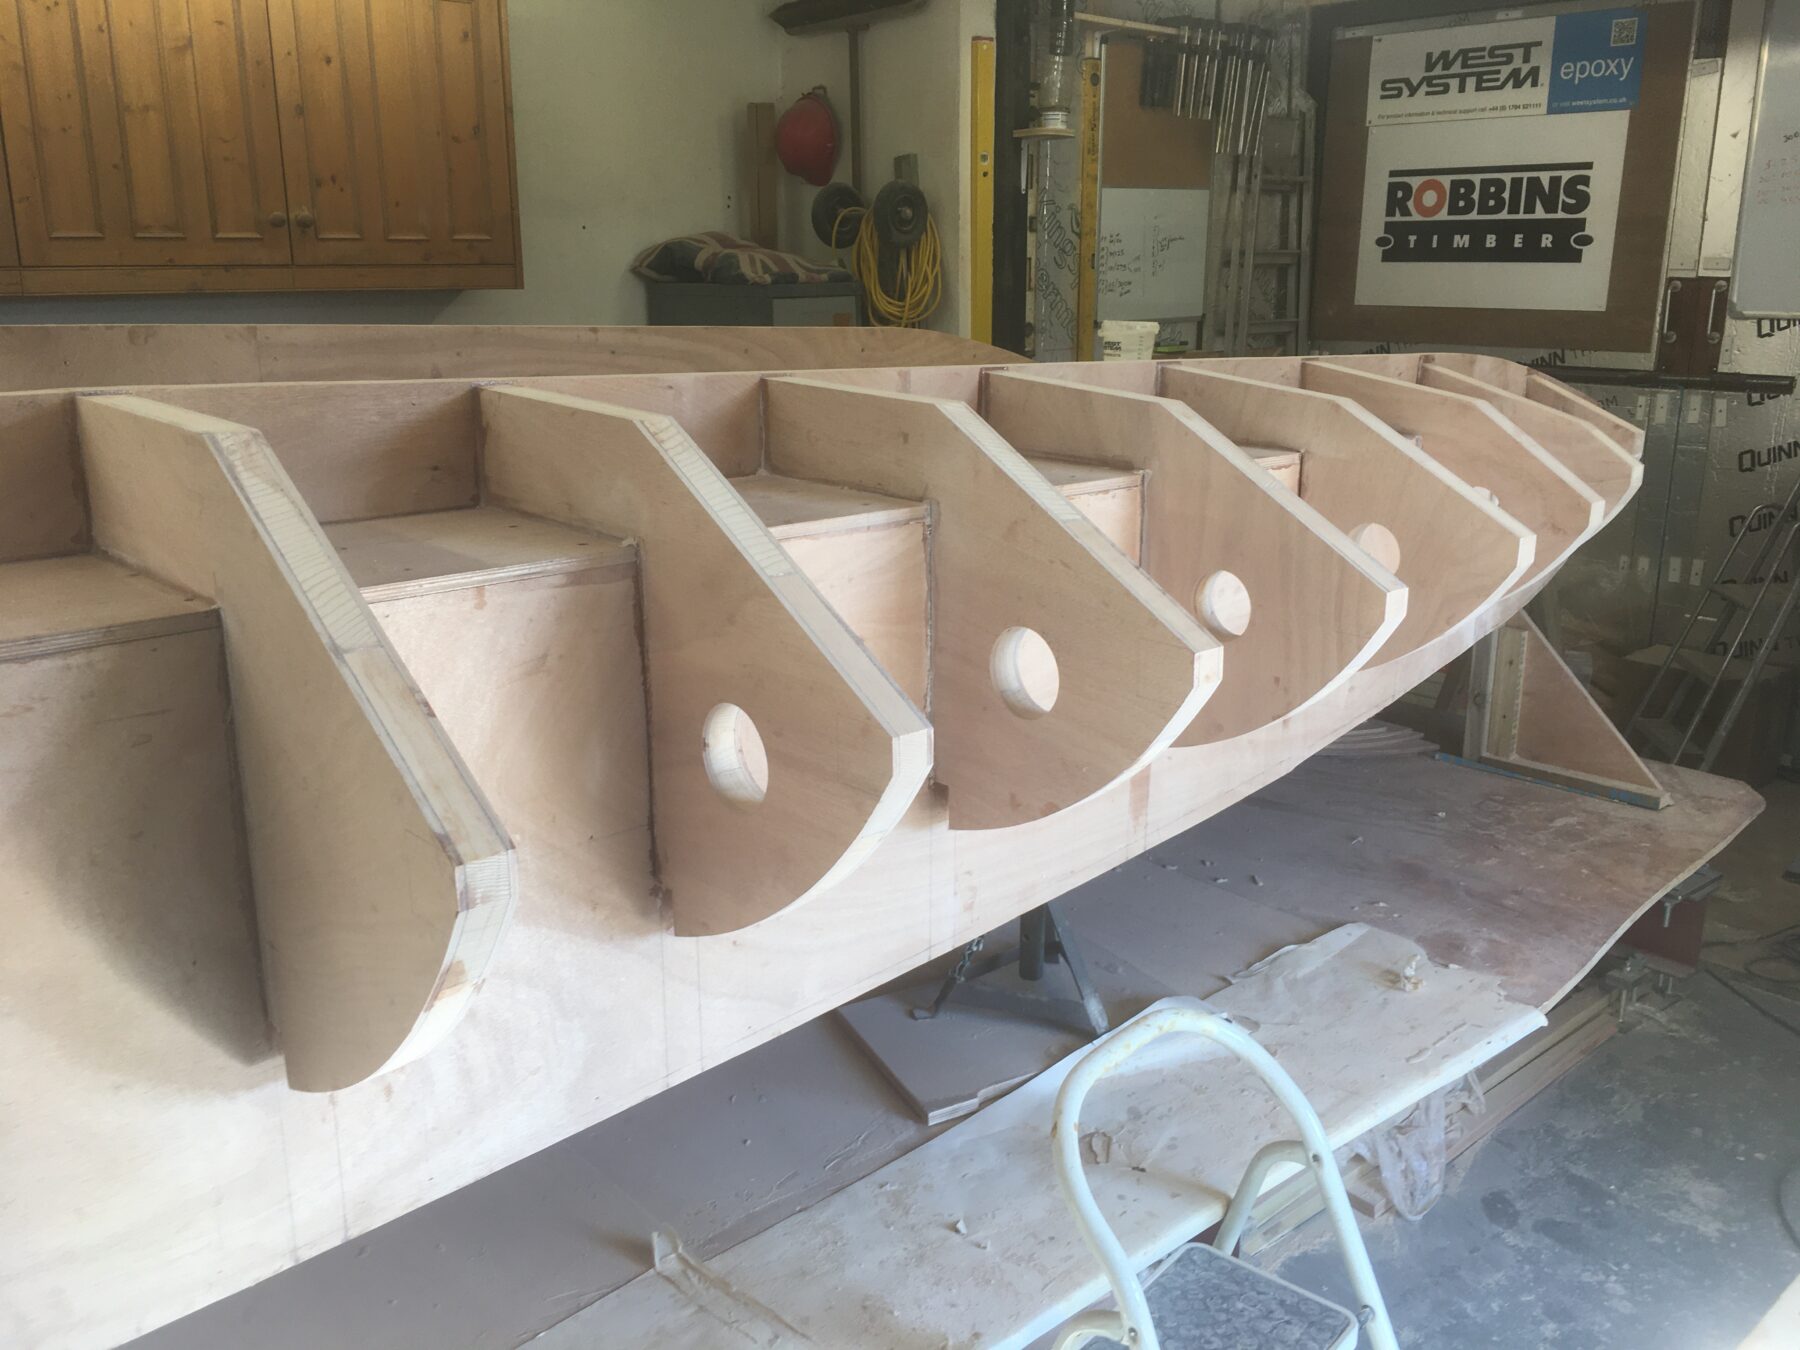
The team started to form the structure and curve the frames for the barrel back shape of the hull. “It was a very complicated and time-consuming exercise,” says David. Once the structures were formed along with the curved frames, it was onto the painting.
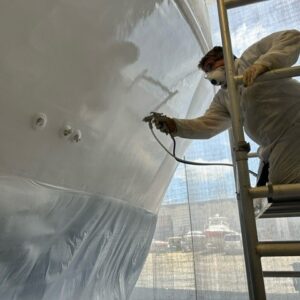
Several coats went into this thus far with sanding the hull between each coat turned the hull a lovely grey! Sanding between each coat meant the Hydroplane was soon back to white again and then on to the vibrant red on the underside of the hull! Dust challenges presented themselves but with a makeshift tent and a new strategy to combat the dust, the team was now ready to marry it with the craft she was designed to carry and then onto the turning once together which would involve 36 people.
Our very own Colin visited David and the team to see how the project was going. David says, “We had a very positive and productive meeting over a brew discussing the next steps going forward including finishing the sponson tops, interior coating of the hull with epoxy and beginning to get our heads around how we are going to form the driver cockpit composite safety cell.” David will be using our PRO-SET infusion epoxy for this task.
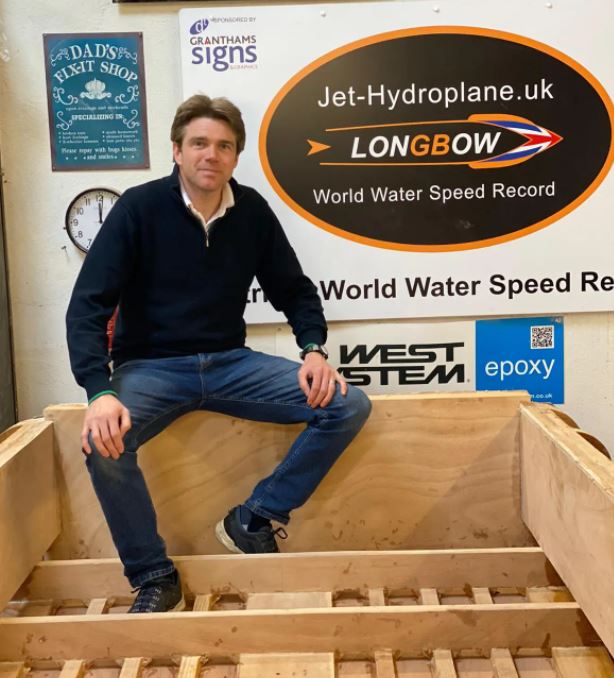
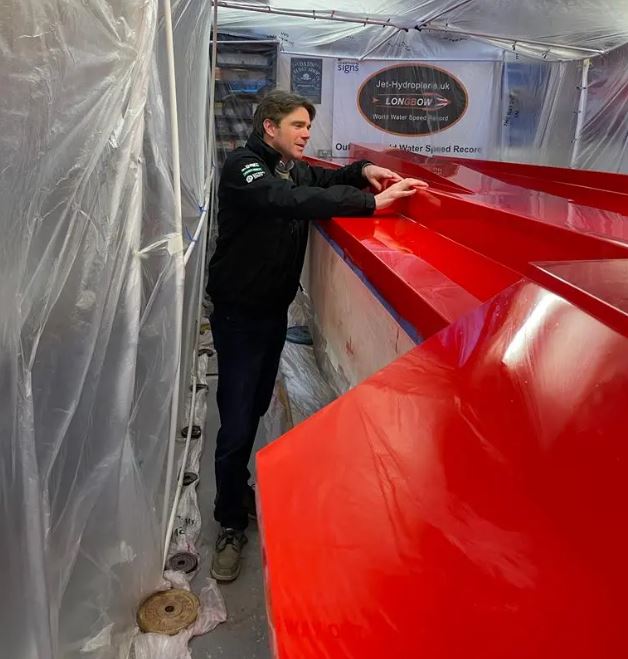
Busy months continued into the evening and at weekends with “one of those jobs that not many relish, which is sanding the inside of the hull where epoxy had wept out during clamping and fixing of the outer plywood skins” says David. “I was rightly taught that life is about doing the job right first time around and having a little pride in your work, so the right thing to do was to sand back the unsightly epoxy waste to make the area presentable before moving on to the next stage of the build.” With the use of Velcro backing pads for the air orbital sander, David and the team were able to reach all the awkward areas between the hull ribs that a bulky sander would not be able to get into. This was a long process that involved a much appreciated brew!
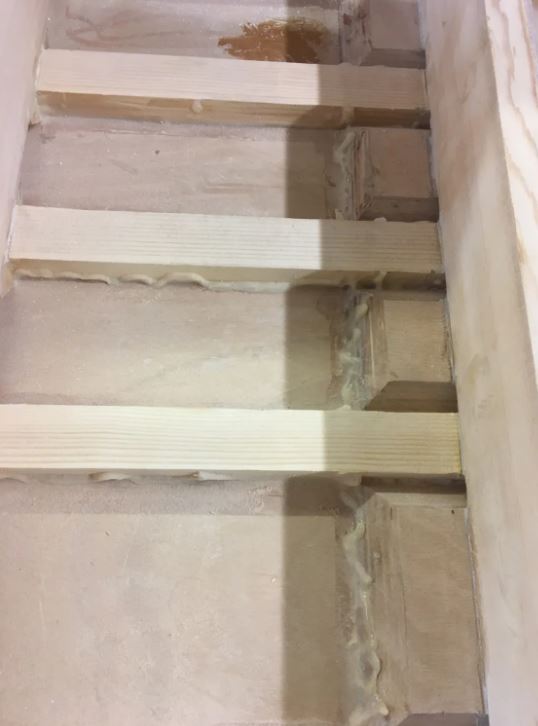
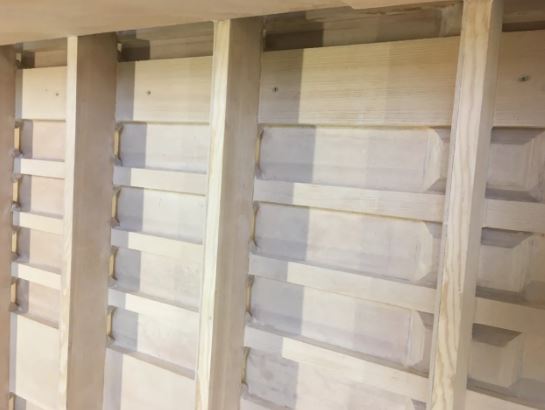
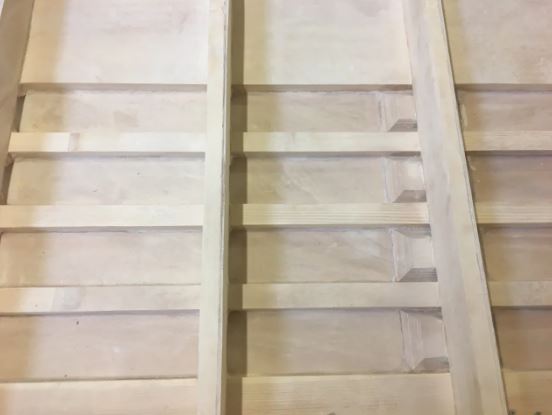
By the end of April what remarkable progress with the sanding, and coating.
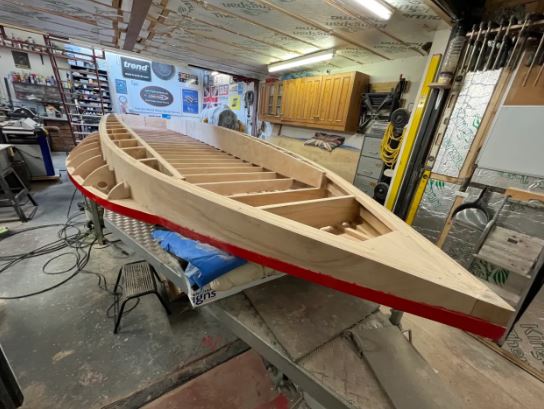
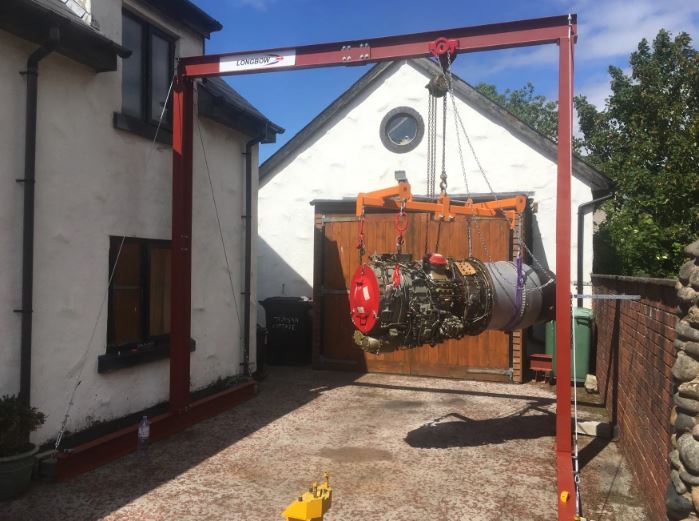
Longbow’s hull is now the right way up and with a clean inside the hull to remove any epoxy drips, she is ready for the fitting of not one… but two twin Rolls Royce Viper 535 jet engines. It was time to create a bespoke gantry big enough for the longbow and strong enough to hold the engines. Upcycling steel beams, welding, and lots of hands, the gantry was ready to hold the engines. With the prepping done, it is time for the next exciting phase of the build.

That’s it for Part 2 of this Longbow pure thrust jet hydroplane build. Keep your eyes peeled for Part 3 where the team starts working on the sponson tops, rear laminations towards the transom and installation of her twin Rolls Royce Viper 535 jet engines. In the meantime, you can find out more about the team and their work over on their website here: https://www.jet-hydroplane.uk

